

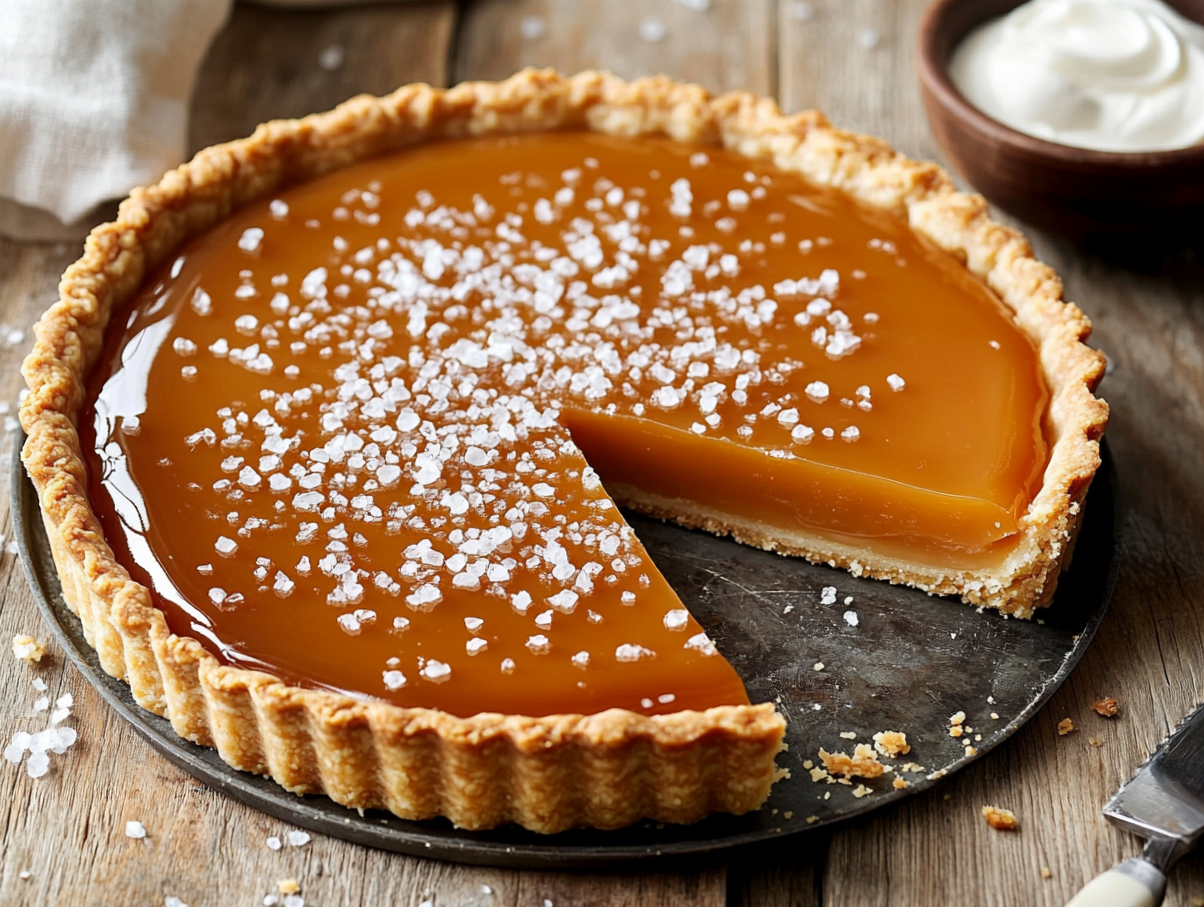
This salted caramel tart has a crisp shortcrust shell, a smooth caramel filling made from scratch on the stovetop, and a finish of flaky sea salt. It takes about two hours start to finish, most of that hands-off chilling time. It slices cleanly into eight portions and holds up well, which makes it a reliable choice when you need a dessert that looks impressive without requiring last-minute work.
Why this recipe works
Two things make this tart reliable. First, the shortcrust uses cold butter worked into flour by hand — keeping everything cold prevents gluten from developing too much, which is what gives you a crisp, crumbly shell rather than a tough one. Second, the caramel is a dry-method cook: sugar melts alone before the cream goes in. This gives you more control over color and flavor than a wet-method caramel, and it reduces the risk of crystallization. The cream must be at room temperature when you add it — cold cream hitting hot caramel causes violent splattering and can seize the sugar. That one detail is the difference between a smooth filling and a grainy one.
About the ingredients
- Flaky sea salt: Maldon or fleur de sel works best here. Fine table salt dissolves into the surface and disappears; you want distinct crystals that hold their crunch against the caramel. Skip the garnish if you only have fine salt — not worth the extra dish.
- Heavy cream: Do not substitute half-and-half or light cream. The fat content in heavy cream is what keeps the filling smooth and gives it body after chilling. Lower-fat alternatives produce a thinner, less stable filling.
- Unsalted butter (crust and filling): Using unsalted in both lets you control the total salt level precisely, since the filling already calls for a full teaspoon of sea salt.
- Egg yolk: This is what binds the shortcrust without making it tough. Do not substitute a whole egg — the extra white adds too much moisture and changes the texture of the dough.
Storage and make-ahead
The tart keeps well in the refrigerator, covered loosely with plastic wrap, for up to four days — the caramel firms further by day two, which actually makes it easier to slice cleanly. You can make the crust up to two days ahead and store it baked and cooled at room temperature, wrapped tightly. The caramel filling can be made a day ahead and kept in a sealed container in the fridge; rewarm it gently in a saucepan over low heat, stirring, until it’s just pourable before filling the shell. For parties or bake sales, assembling the night before and chilling overnight is the best approach: the filling sets firmly, slices hold their shape, and you have nothing to do on the day. The tart does not freeze well once assembled — the caramel weeps on thawing. However, the unbaked pastry dough freezes for up to one month; thaw overnight in the fridge before rolling.
What can go wrong
- Caramel seizes into a hard lump when cream is added: This happens when the cream is too cold. The sugar solidifies on contact. If it seizes, put the pan back on low heat and stir steadily — it will usually melt back into a smooth sauce with patience.
- Crust shrinks badly during blind baking: The dough was not chilled long enough after pressing it into the pan, or it was stretched rather than pressed in. After lining the pan, chill the unbaked shell in the fridge for 15 minutes before adding weights and baking.
- Filling does not set and stays liquid after chilling: The caramel was not cooked to a deep enough amber, or the cream ratio was off. A pale caramel has less structure. Cook until the color is a true amber-brown — about the color of an old penny — before pulling it off the heat.
- Crust is soggy on the bottom: The shell was not fully baked before filling. After removing the pie weights, the base should look dry and just golden, not pale and matte. Give it the full second bake and let it cool completely before pouring in the caramel.
- Caramel filling cracks on top after refrigerating: This is cosmetic and happens when the tart chills too quickly in a very cold fridge. It does not affect flavor or texture. Cover with flaky salt before serving and no one will notice.
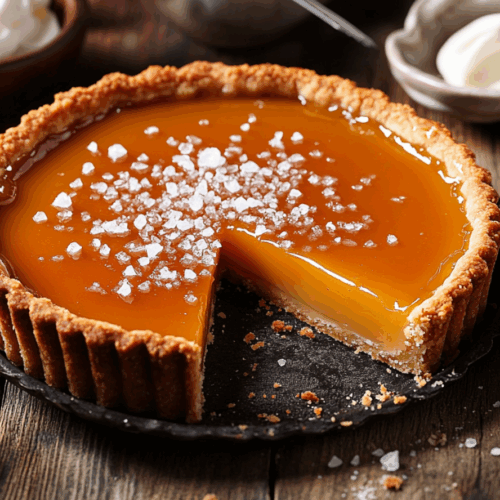
Salted Caramel Tart

Equipment
- Tart Pan with Removable Bottom
- Saucepan
- Mixing Bowl
- Rolling pin
- Whisk
Ingredients
For the Crust:
- 1 ¼ cups all-purpose flour sifted
- ¼ cup granulated sugar
- ½ cup unsalted butter cold, cut into cubes
- 1 large egg yolk
- 2 tablespoons ice water
For the Caramel Filling:
- 1 cup granulated sugar
- ½ cup heavy cream at room temperature
- 6 tablespoons unsalted butter cut into cubes
- 1 teaspoon sea salt
- 1 teaspoon pure vanilla extract
For Garnish:
- 1 teaspoon flaky sea salt for topping
Instructions
- Prepare the Crust: In a mixing bowl, combine the flour and sugar. Using a pastry cutter or your fingertips, blend the cold butter into the flour mixture until it resembles coarse crumbs. Add the egg yolk and ice water, mixing until the dough comes together. Wrap in plastic and chill for 30 minutes.
- Pre-Bake the Crust: Preheat the oven to 350°F (175°C). Roll out the dough on a floured surface to fit your tart pan. Press gently into the pan and trim any excess. Prick the base with a fork, line with parchment, and fill with pie weights. Bake for 15 minutes, remove weights, and bake for another 10 minutes until golden. Cool completely.
- Make the Caramel Filling: In a saucepan over medium heat, melt the sugar until it turns a rich amber color. Slowly whisk in the room-temperature heavy cream until smooth. Remove from heat and stir in the butter until melted. Add the sea salt and vanilla, mixing thoroughly. Set aside to cool slightly.
- Assemble the Tart: Pour the caramel filling into the cooled tart shell, smoothing the surface with a spatula. Sprinkle flaky sea salt over the top for garnish. Chill in the refrigerator for at least 1 hour before serving.
Notes
Lori’s Tips:
- For a nutty twist, consider grinding some roasted hazelnuts into the crust for additional flavor.
- Ensure your heavy cream is at room temperature to prevent the caramel from seizing.
- If you prefer a deeper caramel flavor, allow the sugar to turn a darker amber, but be cautious not to burn it.
Nutrition
Common questions
Can I double this recipe to make two tarts for a larger group?
Yes, doubling works well. Make the caramel in two separate batches rather than one large one — a single pan of doubled sugar is harder to heat evenly and increases the chance of burning around the edges before the center melts.
Do I need a tart pan with a removable bottom, or can I use a regular pie dish?
A removable-bottom pan is strongly recommended. A standard pie dish makes it nearly impossible to get clean slices out without breaking the crust, especially for serving at a gathering where presentation matters.
How do I know when the sugar has reached the right color for the caramel?
You’re looking for a deep amber — think dark honey or the color of a copper coin. If it looks pale gold, it needs more time; pale caramel tastes flat and may not set firmly. Watch it closely once it starts to color, because it moves from amber to burnt in under a minute.
Can I make this tart a day or two before a party?
Yes, and it actually improves with an overnight rest in the fridge — the filling firms up and slices more neatly. Assemble and chill the night before, add the flaky salt just before serving so it stays crunchy.
Try these next
- French Brown Butter Chocolate Tart
- Sesame Caramel Tart
- Caramelized Banana Tart
- Blackberry Mascarpone Tart