

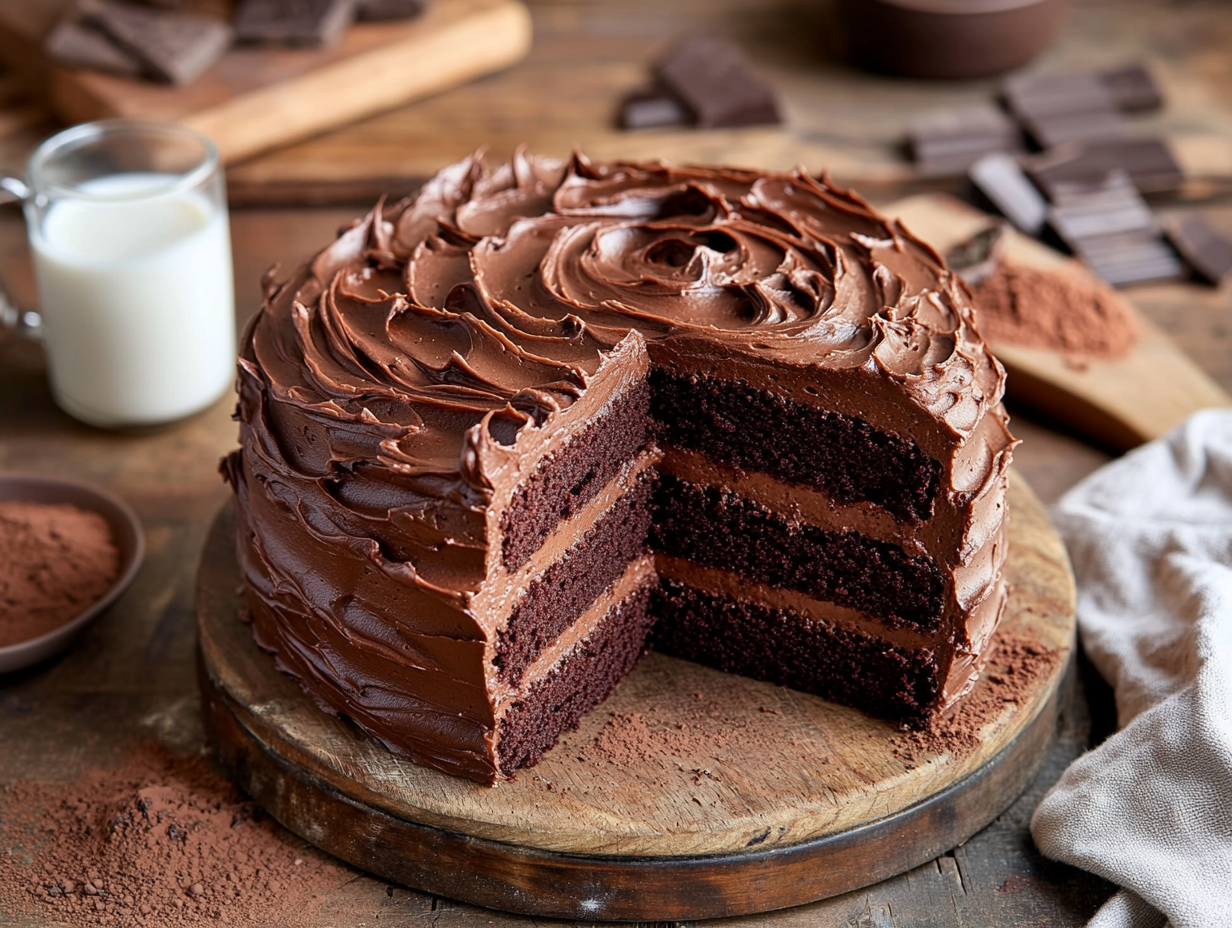
Devil’s Food Cake is a two-layer American chocolate cake built on Dutch-processed cocoa, buttermilk, and hot water — a combination that produces a deeply colored, very moist crumb that a standard chocolate cake doesn’t quite match. This recipe makes 12 generous slices and comes together in about 50 minutes of active work. If you need a reliable, crowd-sized chocolate cake that holds up well and travels easily, this is it.
Before you start
Two things will make or break this cake. First, cream the butter and sugar for the full 3–4 minutes on medium speed — not less. Under-creamed butter means a denser, tighter crumb, because you haven’t incorporated enough air to support the rise. Second, when you alternate the flour mixture and buttermilk, stop mixing the moment each addition disappears. Overworking the batter at this stage develops gluten and toughens the cake. The batter will look quite thin once the hot water goes in; that’s exactly right, and it’s what gives each layer its moist, tender texture after baking.
Smart swaps
- Dutch-processed cocoa: This is worth seeking out rather than substituting. Natural cocoa is more acidic and will react differently with the baking soda, affecting both rise and color. If you can only find natural cocoa, reduce the baking soda to 1 teaspoon and add ½ teaspoon of baking powder to compensate.
- Buttermilk: No buttermilk on hand? Add 1 tablespoon of white vinegar or lemon juice to a measuring cup, then fill to the 1-cup line with whole milk. Let it sit for 5 minutes before using.
- Hot water vs. hot coffee: Swapping the hot water for freshly brewed black coffee deepens the cocoa flavor noticeably without making the cake taste like coffee — skip the garnish on the finished cake if you go this route, not worth the extra dish.
- Heavy cream in the frosting: Whole milk works in a pinch, but the frosting will be slightly thinner. Add the liquid a tablespoon at a time until you reach a spreadable consistency.
Troubleshooting
- Layers dome sharply in the center: Your oven is likely running hot, or the pans are too close to the top element. Use an oven thermometer to verify temperature, and bake on the center rack. Domed layers can also be leveled with a serrated knife once fully cool before frosting.
- Cake pulls away from the pan sides but sinks in the middle: It was underbaked. A toothpick that comes out with wet batter — not just a few moist crumbs — needs more time. Give it 3–5 more minutes and test again.
- Frosting is grainy: The powdered sugar and cocoa weren’t sifted, or the butter was too cold. Sift both dry ingredients together before adding any liquid, and make sure the butter is genuinely soft — it should dent easily when pressed.
- Layers slide when stacking: The cake wasn’t fully cool before frosting. Even slight warmth melts buttercream and causes the top layer to shift. Cool completely on a wire rack — at least 1 hour — before assembling.
- Cake sticks to the pan: Greasing alone isn’t always enough with a dark, moist batter. Grease the pans, line the bottoms with parchment rounds, then grease and flour the parchment too.
Storage and freezing
Frosted cake keeps at room temperature, loosely covered, for up to 2 days — the buttercream seals in moisture and the crumb actually improves slightly overnight. Refrigerate after that for up to 5 days total; bring slices to room temperature for 30 minutes before serving so the frosting softens. For make-ahead baking, the unfrosted layers freeze very well: wrap each one tightly in two layers of plastic wrap, then a layer of foil, and freeze for up to 3 months. Thaw overnight in the refrigerator still wrapped, then frost once fully thawed. The frosting can also be made up to 3 days ahead and stored in an airtight container in the fridge; re-whip briefly with a hand mixer before spreading.
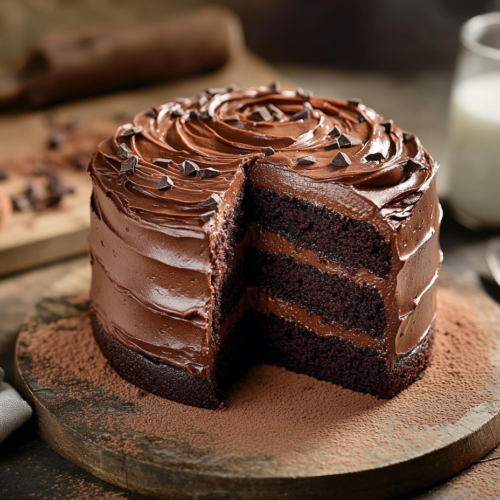
Devil’s Food Cake

Ingredients
Cake
- 1 and ¾ cups all-purpose flour sifted for lighter texture
- 1 cup unsweetened cocoa powder preferably Dutch-processed
- 1 and ½ teaspoons baking soda
- ½ teaspoon baking powder
- ½ teaspoon salt
- 1 cup unsalted butter room temperature
- 2 cups granulated sugar
- 2 large eggs at room temperature
- 2 teaspoons vanilla extract
- 1 cup buttermilk
- 1 cup hot water freshly boiled
Frosting
- 2 and ½ cups powdered sugar sifted for smooth texture
- ¾ cup unsweetened cocoa powder Dutch-processed
- 4 tablespoons unsalted butter room temperature
- ¼ cup heavy cream
- 1 teaspoon vanilla extract
Instructions
- Preheat your oven to 350°F (175°C). Grease and flour two 9-inch round baking pans. Set aside.
- In a medium bowl, whisk together the flour, cocoa powder, baking soda, baking powder, and salt. Set aside.
- In a large bowl, cream the butter and sugar using a stand mixer or hand mixer on medium speed until light and fluffy, about 3-4 minutes.
- Add the eggs one at a time, beating well after each addition. Mix in the vanilla extract.
- Gradually add the flour mixture to the creamed mixture, alternating with the buttermilk, beginning and ending with the flour mixture. Mix just until combined.
- Slowly stir in the hot water until the batter is smooth. The batter will be thin; this is normal.
- Divide the batter evenly between the prepared pans. Bake for 25-30 minutes, or until a toothpick inserted into the center comes out clean.
- Allow the cakes to cool in the pans for 10 minutes before transferring to a wire rack to cool completely.
- While the cake is cooling, prepare the frosting. In a bowl, combine the powdered sugar and cocoa powder.
- In another bowl, beat the butter until smooth. Gradually add the sugar cocoa mixture alternating with the heavy cream, beginning and ending with the sugar mixture. Beat until light and fluffy. Stir in the vanilla extract.
- Once the cakes are completely cooled, spread the frosting between the layers and over the top and sides of the cake.
Notes
Nutrition
Common questions
Can I double this recipe to make a four-layer cake for a large party?
Yes — doubling works reliably because the recipe uses standard leavening ratios that scale well. Mix the doubled batter in two separate batches if your mixer bowl is smaller than 5 quarts, since overfilling can cause uneven mixing.
Can I bake this as a sheet cake instead of two round layers?
A 9×13-inch pan works well with this batter at the same oven temperature. Start checking for doneness at 35 minutes; a single thick layer takes a bit longer than two thinner rounds.
Why does the recipe use both baking soda and baking powder?
Baking soda reacts with the buttermilk’s acidity to provide lift and help deepen the cocoa color, while the small amount of baking powder adds a secondary rise once the batter hits the oven’s heat. Using both gives a more consistent, even crumb than either alone.
Can I make the cake layers the day before and frost them the next day?
Absolutely — this is actually a practical approach when baking for a crowd. Cool the layers completely, wrap them tightly in plastic wrap, and leave them at room temperature overnight; they’ll be easy to frost and won’t shed crumbs.
If you liked this one
- Nostalgic Malted Milk Chocolate Cake
- Ultimate Chocolate Sheet Cake
- Dark Chocolate Espresso Tartlets
- Chocolate Peanut Butter Swirl Fudge