

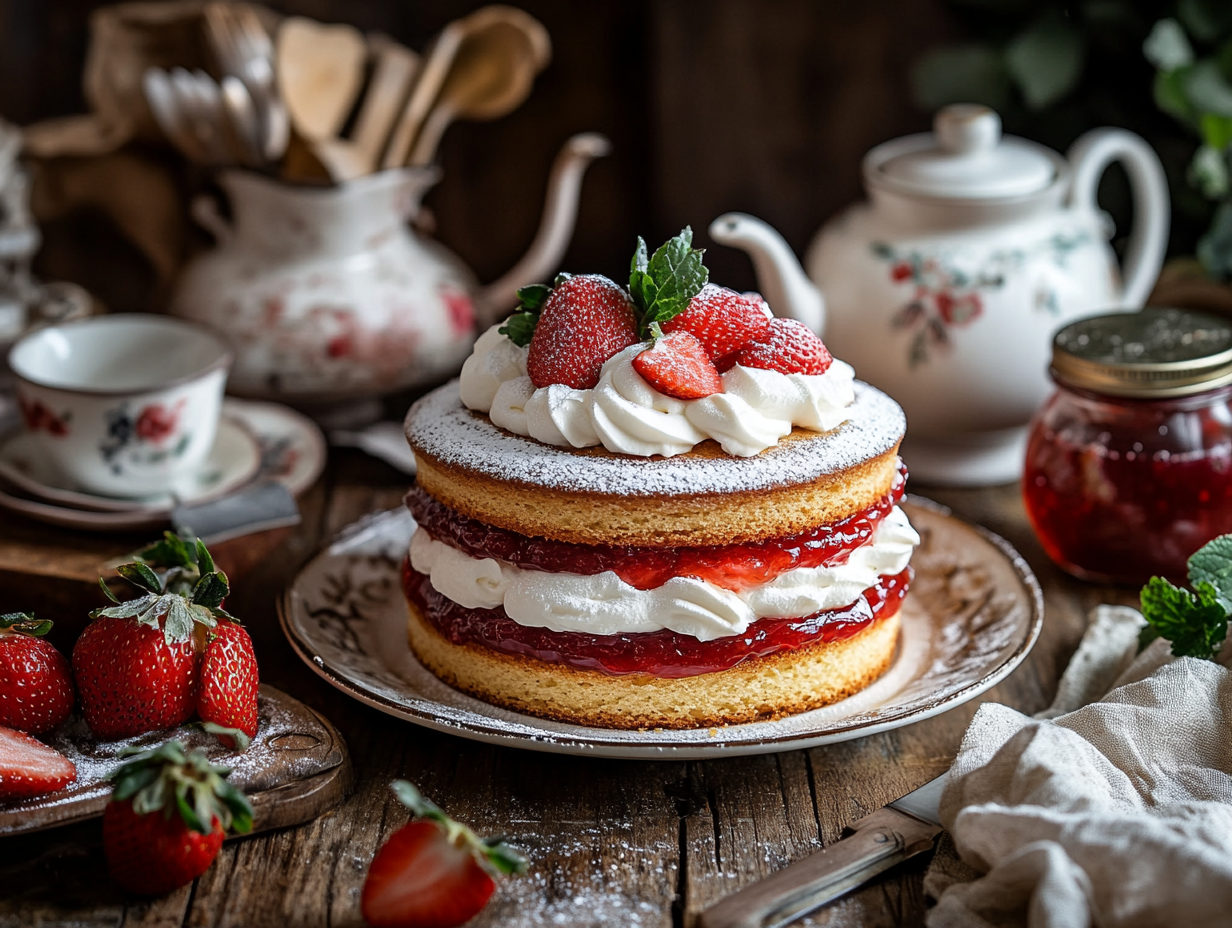
Victoria sponge is two layers of butter cake sandwiched with jam and whipped cream, finished with a dusting of powdered sugar — nothing more. It comes together in under an hour with a single bowl and a hand mixer, which makes it one of the most practical cakes you can bake when you need something that looks impressive without a complicated process. The equal-weight ratio of butter, sugar, eggs, and flour means the batter is forgiving and consistent every time.
Before you start
Two things determine whether this cake succeeds. First, your butter must be genuinely soft — not cold from the fridge, not melted, but soft enough that a finger leaves an easy indent. Cold butter won’t hold air when beaten, and that air is what gives the sponge its lift. Pull it out at least an hour before you bake. Second, once you add the flour, switch from beating to folding. Overworking the batter after the flour goes in develops gluten and makes the crumb tough instead of tender. A spatula and a light hand are all you need at that stage — twenty or so strokes is usually enough.
What can go wrong
- Domed, cracked tops: This usually means the oven is too hot or the batter was overfilled. Use an oven thermometer — many home ovens run 15–25°F hotter than the dial says. Divide the batter as evenly as possible between both pans.
- Layers that stick to the pans: Greasing alone isn’t always enough. Line the base of each pan with a circle of parchment after greasing, then grease the parchment too. This takes thirty seconds and prevents a frustrating tear.
- Soggy middle layer: If you spread the jam while the cake is still warm, it will melt into the sponge and make the cream layer slide. Both layers must be completely cool — not just warm — before you assemble.
- Cream that weeps or collapses: Double cream whipped to soft-to-medium peaks holds up better than cream beaten stiff. Stiff cream can turn grainy and is more likely to separate once the top layer is pressed down. Stop whipping when the cream just holds a gentle shape.
- Uneven layers: If one cake rises noticeably higher than the other, the batter wasn’t divided evenly. Weigh the batter into each pan on a kitchen scale next time — it takes ten seconds and guarantees even layers.
Shopping notes
Caster sugar is finer than regular granulated sugar and creams into butter more quickly and smoothly. It’s sold in most grocery stores near the baking sugar, sometimes labeled “superfine sugar.” In a pinch, pulse granulated sugar in a food processor for about 30 seconds — it won’t be identical but it works. Self-raising flour already contains a measured amount of baking powder; the recipe adds a little extra on top of that for additional lift. Don’t substitute all-purpose flour without adjusting — you’d need roughly 1½ teaspoons of baking powder per cup of all-purpose flour to approximate self-raising. Double cream has a higher fat content than US heavy whipping cream, but heavy whipping cream (36% fat or higher) is a reliable substitute and whips well. Skip the garnish beyond the powdered sugar — not worth the extra dish.
Make-ahead notes
The baked sponge layers keep well. Once fully cooled, wrap each layer tightly in plastic wrap and store at room temperature for up to two days, or freeze for up to one month — thaw at room temperature still wrapped so condensation forms on the outside of the wrap rather than on the cake. Assemble the cake with jam and cream no more than a few hours before serving; whipped cream softens and the jam can start to soak into the sponge if the assembled cake sits too long. If you need to make it further ahead, fill with jam only and refrigerate the assembled cake for up to 24 hours, then add the whipped cream layer shortly before serving.
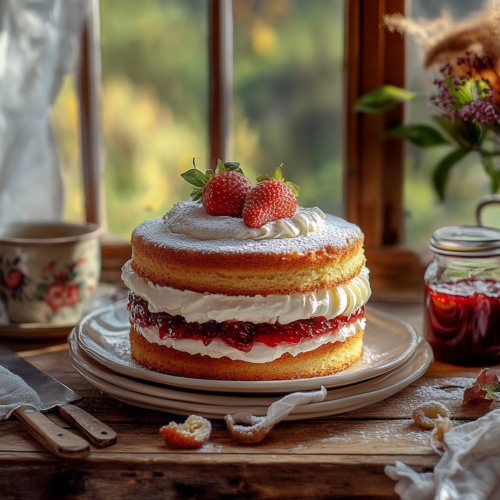
Victoria Sponge Cake

Equipment
- 1 9-inch round cake pans
- 1 Electric Mixer
- 1 Mixing Bowls
- 1 Spatula
- 1 Cooling Rack
Ingredients
Sponge Cake Ingredients
- 1 cup unsalted butter softened
- 1 cup caster sugar
- 4 large eggs preferably free-range
- 1 cup self-raising flour sifted
- 1 teaspoon baking powder
- 1 teaspoon vanilla extract high quality
Filling
- 1 cup double cream whipped
- ½ cup strawberry jam preferably homemade
- ½ cup powdered sugar for dusting
Instructions
- Prepare the Batter: Preheat your oven to 350°F (180°C). Grease and line two 9-inch round cake pans. Cream the butter and caster sugar together using an electric mixer. Beat until pale and fluffy, about 3-5 minutes.
- Add Eggs and Flour: Add the eggs one at a time, beating well after each addition. Gently fold in the sifted self-raising flour and baking powder using a spatula. Add the vanilla extract and mix gently until the batter is smooth.
- Bake the Cakes: Divide the batter evenly between the prepared pans. Bake for approximately 25 minutes or until a toothpick inserted into the center comes out clean. The cakes should be golden on top.
- Cool and Assemble: Allow the cakes to cool in the pans for 10 minutes, then transfer them to a wire cooling rack. Once cool, spread the strawberry jam over one cake layer. Top with whipped cream and place the second cake layer on top. Dust with powdered sugar.
Notes
- For a citrus twist, add a zest of one lemon to the batter.
- Raspberry jam can be used as an alternative to strawberry jam.
- For a lighter texture, separate the egg whites and yolks, beat the whites to stiff peaks, and gently fold into the batter last.
Nutrition
FAQ
Can I use salted butter instead of unsalted?
You can, but the cake will taste noticeably saltier. If salted butter is all you have, reduce or omit any additional salt and be aware the flavor balance will shift slightly toward savory.
My batter looks curdled after I add the eggs — is it ruined?
No, it’s fine. A curdled-looking batter at the egg stage is common, especially if the eggs were cold. Adding a tablespoon of your measured flour along with each egg helps the mixture stay smooth and emulsified.
Do I really need two separate cake pans, or can I bake one thick cake and slice it?
Two pans give you more even baking and a better crumb. A single thick cake takes much longer to bake through, and the outside tends to overbake before the center sets.
How do I know when the sponge is actually done — can I rely on the 25-minute time?
Use the toothpick test as your primary check, not the timer. The cake is done when the top springs back when lightly pressed and a toothpick inserted in the center comes out clean; oven temperatures vary enough that your cake could be ready a few minutes earlier or later.
Can I make this without an electric mixer?
Yes, if your butter is properly softened. Beat the butter and sugar by hand with a wooden spoon for about 5–8 minutes until pale and noticeably fluffy — it takes more effort but works. The key is not rushing the creaming stage.
How should I store leftovers, and how long will the assembled cake keep?
Store the assembled cake in the fridge, loosely covered, for up to two days. Bring it to room temperature for about 20 minutes before serving, since cold sponge is noticeably denser than room-temperature sponge.
More sweet things to bake
- Strawberry Elderflower Fool
- Brown Sugar Pavlova with Roasted Fruit
- Nutty Brown Butter Vanilla Bean Cupcakes
- Raspberry White Chocolate Scones