

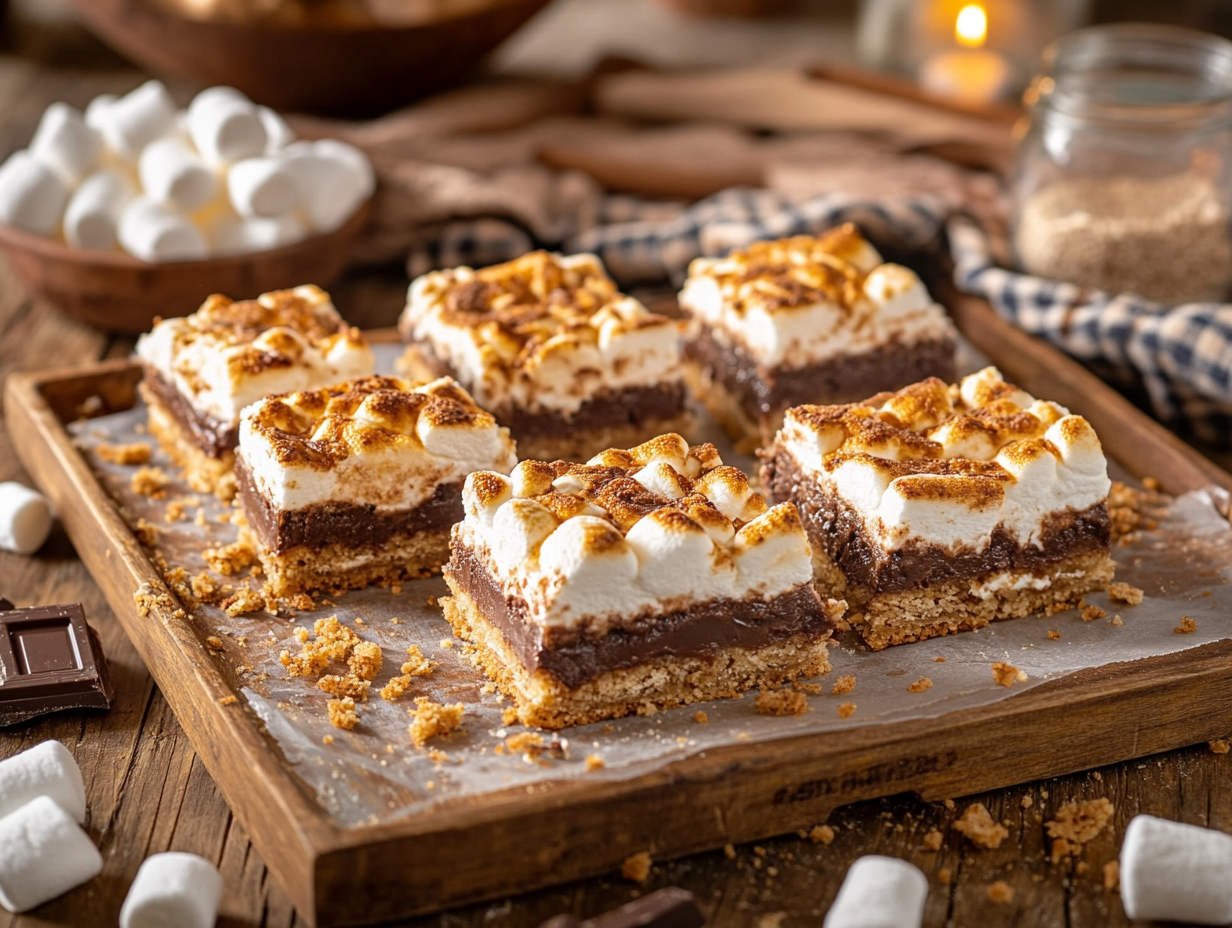
S’mores bars are a baked version of the campfire classic — graham cracker crust on the bottom, semi-sweet chocolate chips in the middle, and toasted mini marshmallows on top. The whole thing comes together in one 9×9 pan in about 40 minutes, and the result slices cleanly into 12 bars you can actually hand to someone without losing half of it down your shirt. If you want that s’mores flavor without a fire pit, this is the straightforward way to get it.
Smart swaps
The ingredient list here is short and forgiving. Standard store-brand graham crackers work perfectly fine — whole grain adds a slightly nuttier flavor, but it is not a meaningful difference. If you only have salted butter, use it and skip any added salt elsewhere. Regular-size marshmallows can work in a pinch: cut them in half with kitchen scissors dipped in water so they lay flat and melt more evenly. For a darker, less sweet result, swap the semi-sweet chips for bittersweet (60% cacao or higher). Gluten-free graham crackers substitute 1:1 with no other changes needed.
The technique that matters
Pressing the crust firmly and evenly is the step that determines whether your bars hold together or crumble when you slice them. Use the flat bottom of a measuring cup or a drinking glass to pack the crumb mixture into a compact, uniform layer — loose or uneven spots will fall apart at the knife. The second thing worth your attention is timing on the marshmallow bake: 15 minutes at 350°F gets them puffed and lightly golden, but ovens vary, so start checking at 12 minutes. Pull them when they are just turning golden on top; they continue to set as the bars cool, and over-browned marshmallows turn hard and chewy instead of soft.
Common problems and fixes
- Bars fall apart when sliced: The crust was not packed tightly enough, or the bars were cut before fully cooling. Let them cool completely at room temperature — at least 45 minutes — before slicing. A warm bar will not hold its layers.
- Chocolate chips slide around instead of melting into a layer: This usually means the crust was still too hot when you added the chips. Let the baked crust cool for 5 minutes before adding the chocolate, then the residual heat helps them soften slightly and grip the surface.
- Marshmallows brown unevenly: Uneven distribution is the culprit. Press them into a single, snug layer with no large gaps. Marshmallows in thin spots will brown faster than clustered ones.
- Bars stick to the pan despite parchment: The parchment overhang needs to extend at least 2 inches on two opposite sides so you have something to grip. If it shifted during baking, run a thin offset spatula or butter knife along the unlined edges before lifting.
- Crust tastes greasy: Too much butter, or the butter was measured by volume after melting rather than before. Measure the butter solid (or weigh it) for accuracy — melted butter is denser in a measuring cup and easy to over-pour.
Storage and make-ahead
Store cut bars in an airtight container at room temperature for up to 3 days — stack them with a sheet of parchment between layers to prevent sticking. They keep in the refrigerator for up to 5 days, though the marshmallow layer firms up considerably when cold; let them sit at room temperature for 15 minutes before serving. For make-ahead, bake the crust up to 2 days in advance, wrap the cooled pan tightly in plastic wrap, and store at room temperature. Add the chocolate and marshmallow layers and finish baking the day you plan to serve. Skip freezing the finished bars — the marshmallow texture turns rubbery after thawing and is not worth it.
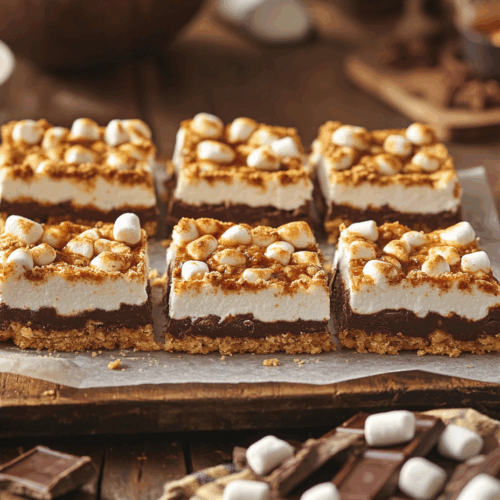
S’mores Bars

Equipment
- Mixing Bowls
- 9x9 inch baking pan
- Parchment Paper
- Oven
- Spatula
Ingredients
For the Crust:
- 1 ½ cups graham cracker crumbs preferably from whole grain graham crackers
- ¼ cup granulated sugar organic if possible
- ½ cup unsalted butter melted
For the Filling:
- 1 cup semi-sweet chocolate chips high quality for richer flavor
- 1 ½ cups mini marshmallows for traditional s'mores experience
Instructions
- Preheat your oven to 350°F (175°C). Line a 9x9 inch baking pan with parchment paper, leaving some overhang for easy removal.
- In a mixing bowl, combine the graham cracker crumbs and sugar. Stir in the melted butter until the mixture resembles wet sand. Press this crumb mixture firmly into the prepared pan to form an even crust.
- Bake the crust for 10 minutes until lightly golden and set. Remove from oven and let cool slightly.
- Sprinkle the chocolate chips evenly over the baked crust. Top with mini marshmallows, pressing them gently into the chocolate.
- Return the pan to the oven and bake for 15 minutes or until the marshmallows are golden and puffed. Watch closely to avoid over-browning.
- Allow the bars to cool before using the parchment overhang to lift them from the pan. Slice into 12 bars with a sharp knife, cleaning the knife between cuts for a neat appearance.
Notes
Lori’s Tips:
- For extra crunch, add a handful of chopped nuts to the crust mixture.
- If you prefer a gooier texture, use a higher amount of marshmallows and allow them to briefly soften before slicing.
- To make these bars gluten-free, use gluten-free graham crackers.
Nutrition
Common questions
Can I use a 9×13 pan instead of a 9×9?
Yes, but your bars will be thinner and will bake faster. Start checking the crust at 7 minutes and the marshmallow layer at 10 minutes, and expect a crispier, less layered result.
Do I really need to let them cool before slicing?
Yes — this is not optional. The chocolate needs time to re-solidify and the crust needs to firm up, otherwise the layers slide and the bars crumble. 45 minutes at room temperature is the minimum; an hour is better.
My marshmallows are browning too fast. What should I do?
Tent the pan loosely with foil for the last few minutes of baking. This slows the surface browning while the marshmallows finish puffing without burning.
Can I double the recipe?
Doubling works well in a 9×13 pan, though the layers will be slightly thicker than the original. Keep an eye on the marshmallow bake time — it may need an extra 2 to 3 minutes.
What is the best way to get clean cuts?
Use a sharp chef’s knife and wipe the blade clean with a damp cloth between every single cut. Marshmallow residue on the blade drags and tears the top layer on the next slice.
Can I make these without an oven using a broiler only?
No — the crust needs the full 10-minute bake at 350°F to set properly. The broiler alone will toast the marshmallows but leave the base raw and crumbly.
Try these next
- Chocolate Peanut Butter Swirl Fudge
- Tropical Lime Bars with Toasted Coconut Crunch
- Gourmet Vanilla Bean Marshmallows
- Brown Butter Rice Krispie Treats