

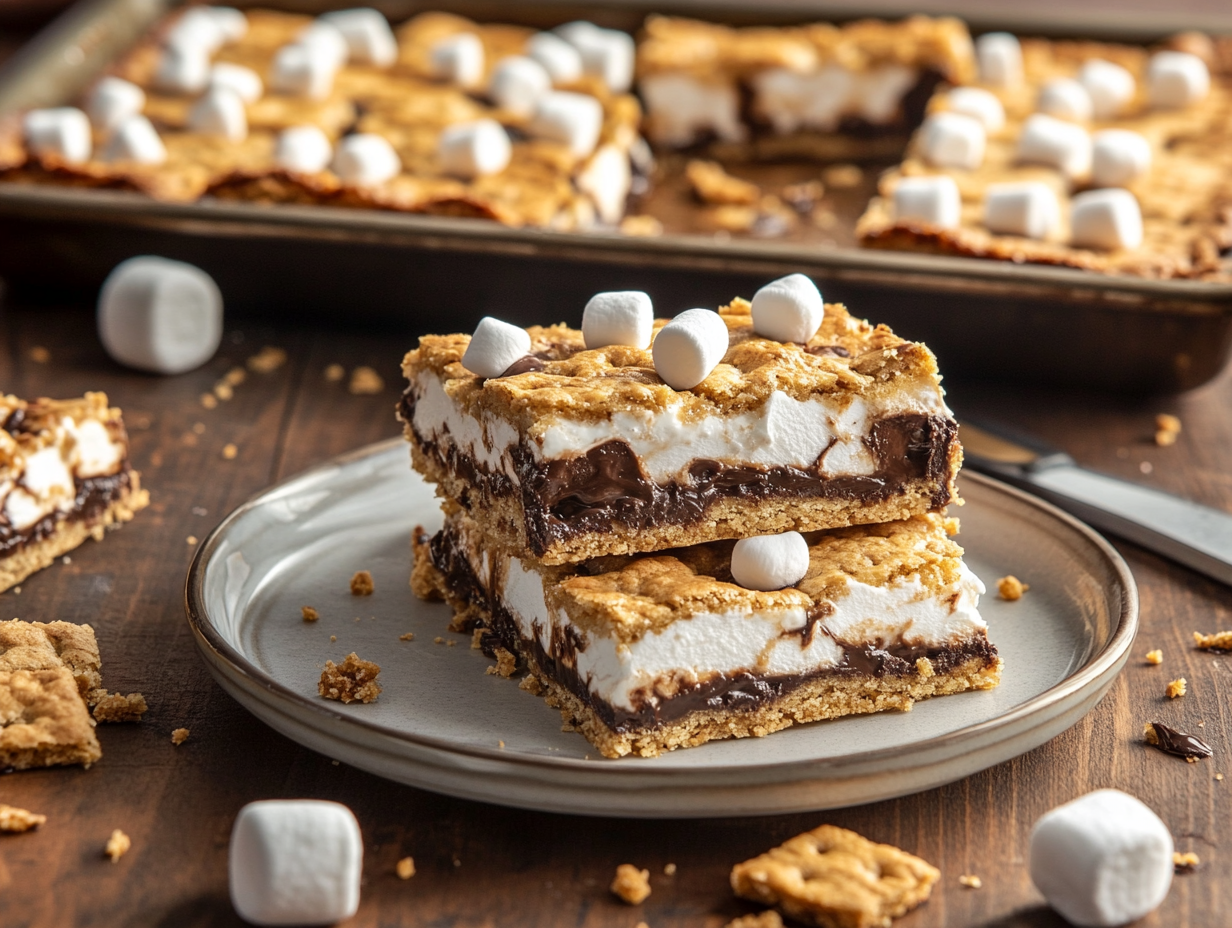
S’mores bars are a baked, sliceable version of the campfire classic — graham cracker crust on the bottom, chocolate chips in the middle, mini marshmallows on top, all held together with a drizzle of sweetened condensed milk. The honest reason to make them: you get the full s’mores flavor in a format that feeds twelve people without a single skewer or open flame. One bowl, one pan, fifty minutes.
What makes this version work
Two things actually matter here. First, pressing the crust firmly and evenly — not just scattering it — is what keeps the bars from crumbling when you cut them. Use the flat bottom of a measuring cup to compact it until it feels almost like packed sand. Second, the sweetened condensed milk does more than add sweetness: it seeps down between the marshmallows and chocolate chips as it bakes, acting as a binder that holds the layers together once the bars cool. Don’t skip it and don’t reduce the amount — that half cup is doing real structural work.
Mistakes to avoid
- Cutting the bars while they’re still warm. The condensed milk and chocolate stay molten for longer than you’d expect. If you cut too soon, the layers slide apart and you lose clean squares. Give the pan a full 45 minutes on the wire rack — an hour is better.
- Using full-size marshmallows. They don’t distribute evenly and they brown on the outside before the interior of the bar is set. Stick with mini marshmallows as written.
- Uneven marshmallow coverage near the edges. The edges of the pan run hotter, so any gaps in marshmallow coverage there will leave exposed chocolate that scorches before the center is done. Push marshmallows all the way to the pan walls.
- Skipping the parchment. Greasing alone makes removal difficult because the condensed milk caramelizes against the pan. Line with parchment and leave an overhang on two sides so you can lift the whole slab out cleanly before slicing.
- Pulling the bars at the first sign of golden marshmallows. The marshmallows brown quickly on top but the crust underneath needs the full 25–30 minutes to set properly. If the tops are browning too fast, lay a loose sheet of foil over the pan for the last five minutes rather than cutting the bake time short.
Storage and make-ahead
Once fully cooled and cut, store the bars in a single layer in an airtight container at room temperature for up to three days — stacking them causes the marshmallow tops to stick together. For longer storage, refrigerate for up to a week; the texture firms up considerably in the fridge, so let them sit at room temperature for 15–20 minutes before serving. These bars also freeze well: wrap individual squares in plastic wrap, then place them in a zip-top freezer bag for up to two months. Thaw at room temperature for about 30 minutes. If you want to get ahead of a party, the graham cracker crust can be pressed into the pan, covered tightly, and refrigerated a day in advance — add the toppings and bake the day of.
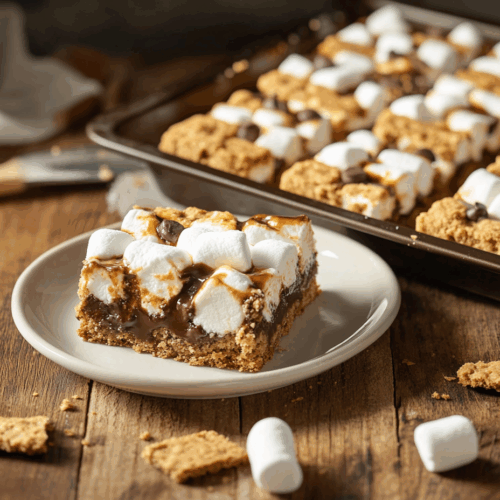
S'mores Bars

Equipment
- Baking pan (9x9 inch)
- Mixing Bowls
- Electric Mixer
- Spatula
- Oven
Ingredients
Crust
- 1½ cups graham cracker crumbs finely crushed
- ½ cup unsalted butter melted
- ¼ cup sugar granulated
Filling
- 1 cup semi-sweet chocolate chips high quality
- 2 cups mini marshmallows
- ½ cup sweetened condensed milk
Instructions
- Preheat the oven to 350°F (175°C). Grease a 9x9 inch baking pan or line it with parchment paper for easy removal.
- In a mixing bowl, combine finely crushed graham cracker crumbs with melted butter and granulated sugar. Mix until the texture resembles wet sand.
- Press the graham cracker mixture firmly and evenly into the bottom of the prepared baking pan to form the crust.
- Sprinkle the semi-sweet chocolate chips evenly over the crust layer.
- Scatter the mini marshmallows on top of the chocolate layer.
- Evenly drizzle the sweetened condensed milk over the marshmallows and chocolate chips.
- Bake in the preheated oven for 25-30 minutes, or until the marshmallows are golden brown and bubbling.
- Remove from the oven and allow the bars to cool in the pan on a wire rack before cutting into squares.
Notes
Lori’s Tips
- For an extra layer of flavor, try adding a pinch of cinnamon to the graham cracker crust.
- Substitute milk chocolate chips for a sweeter taste, or dark chocolate chips for a more intense flavor.
- For a gluten-free version, use gluten-free graham cracker crumbs.
Nutrition
Your questions, answered
Can I use a 9×13 pan instead of a 9×9?
You can, but the bars will be noticeably thinner and the bake time will drop to roughly 18–22 minutes. Watch the marshmallows closely and check for a set crust around the 18-minute mark.
My graham cracker crust is crumbly and won’t hold together — what went wrong?
The most common cause is not enough butter or not pressing the mixture firmly enough. Make sure all the crumbs are evenly coated with melted butter before pressing, and use real pressure when compacting — it should feel dense, not loose.
Can I make these without sweetened condensed milk?
Not really, no — it’s the ingredient that binds the layers and keeps the bars from falling apart when sliced. There’s no straightforward substitute that does the same job in this particular recipe.
The marshmallows on top burned before the bars were done. What should I do next time?
Tent the pan loosely with aluminum foil for the last 5–8 minutes of baking. This lets the crust and filling continue to set without the marshmallow tops taking on more color.
Do these need to be refrigerated?
No, refrigeration isn’t required for short-term storage. Room temperature in an airtight container works fine for up to three days, and the texture is better — the bars stay soft and chewy rather than firm.
Can I double the recipe?
Yes — use a 9×13 pan for a doubled batch, which gives you roughly the same bar thickness as the original 9×9. Skip the garnish of extra chocolate chips on top after baking — not worth the extra dish — and just slice and serve straight from the pan.
More sweet things to bake
- Chocolate Peanut Butter Swirl Fudge
- Tropical Lime Bars with Toasted Coconut Crunch
- Gourmet Vanilla Bean Marshmallows
- Almond Joy Cheesecake Bars