

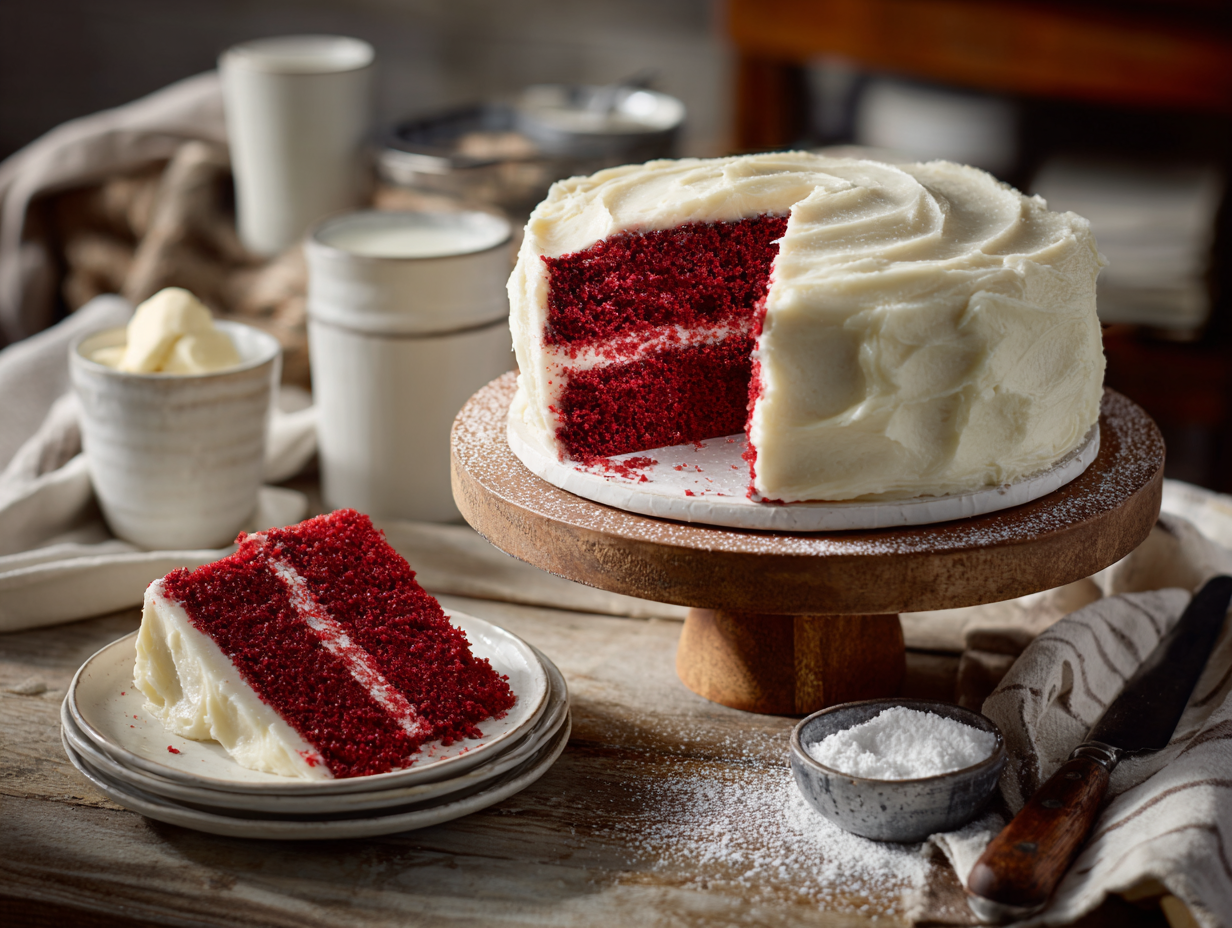
Red velvet cake is a two-layer American classic with a mild cocoa flavor, a tender crumb from buttermilk and oil, and a tangy cream cheese frosting that holds the whole thing together. The deep red color comes from red food coloring — gel-based works best — and the cake bakes in about 30 minutes per layer. It’s a reliable centerpiece cake that looks impressive without requiring any advanced skills.
The technique that matters
The most important thing in this recipe is how you combine the wet and dry ingredients. Overmixing develops gluten, which turns a tender crumb into a tough one. Whisk your dry ingredients together first, then pour in the wet mixture and stir only until the flour disappears — a few small streaks are fine. Add the vinegar last and give it one or two more folds. That’s it. The second thing worth getting right is pan prep: grease the pans, then line the bottoms with parchment. Without parchment, the layers often stick and tear when you try to flip them out, and a torn layer is hard to frost cleanly.
Mistakes to avoid
- Using cold eggs or buttermilk straight from the fridge. Cold dairy can cause the oil to seize into small clumps in the batter. Set both out at least 30 minutes before you start.
- Skipping the tap on the counter. The recipe mentions it briefly, but it’s worth doing firmly — lift each pan about two inches and drop it flat. This pops large air pockets that would otherwise bake into tunnels through the crumb.
- Frosting a warm cake. Even slightly warm layers will melt cream cheese frosting on contact. The frosting turns greasy and slides. Cool the layers completely — at least 90 minutes at room temperature — before you start.
- Beating the frosting too long after adding the powdered sugar. Once the sugar is in, beat just until smooth and fluffy. Overbeating at this stage can make the frosting too soft to hold its shape between layers.
- Using liquid food coloring instead of gel. Liquid coloring is more diluted, so you need more of it to get a deep red, and that extra liquid can throw off the batter consistency. Gel coloring gives a stronger color with a smaller amount.
Make-ahead notes
The baked, unfrosted cake layers keep well — wrap each one tightly in plastic wrap and store at room temperature for up to two days, or refrigerate for up to four days. Freezing works too: wrap the layers in plastic, then a layer of foil, and freeze for up to two months; thaw overnight in the fridge still wrapped. The cream cheese frosting can be made up to three days ahead and stored in an airtight container in the fridge — give it a quick beat with a hand mixer before using to bring it back to a spreadable texture. Skip making a crumb coat with a separate offset spatula and extra bowl — just apply the frosting in two passes with a regular spatula and it comes out clean enough.
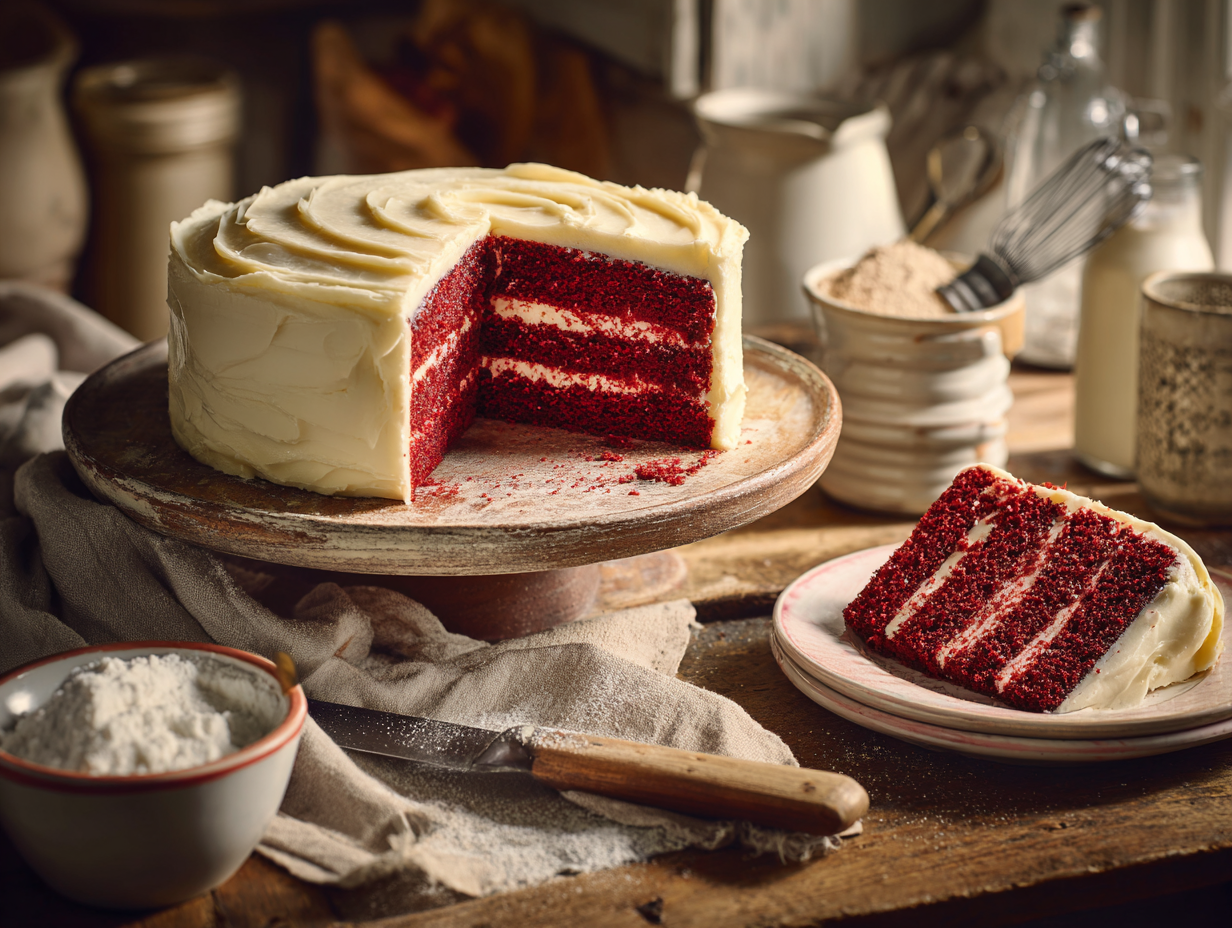
Classic Red Velvet Cake

Equipment
- Oven
- Stand mixer or hand mixer
- 9-inch cake pans
- Cooling Rack
- Spatula
- Parchment Paper
Ingredients
For the Cake Batter:
- 2 ½ cups all-purpose flour sifted
- 1 ½ cups granulated sugar
- 1 teaspoon baking soda
- 1 teaspoon salt
- 2 tablespoons unsweetened cocoa powder
- 1 ½ cups vegetable oil
- 1 cup buttermilk room temperature
- 2 large eggs room temperature
- 2 teaspoons vanilla extract
- 2 tablespoons red food coloring preferably gel-based
- 1 teaspoon white vinegar
For the Cream Cheese Frosting:
- 16 ounces cream cheese room temperature
- 1 cup unsalted butter room temperature
- 4 cups powdered sugar sifted
- 2 teaspoons vanilla extract
Instructions
- Preheat your oven to 350°F (175°C). Grease and line two 9-inch cake pans with parchment paper.
- In a large bowl, whisk together the flour, sugar, baking soda, salt, and cocoa powder.
- In another bowl, mix the oil, buttermilk, eggs, vanilla, and red food coloring until well combined.
- Gently mix the wet ingredients into the dry ingredients, then add the vinegar last and mix until just combined.
- Divide the batter evenly between the prepared cake pans. Tap on the counter to release any air bubbles.
- Bake for 25-30 minutes, or until a toothpick inserted in the center comes out clean. Allow to cool in the pans for 10 minutes, then turn out onto a cooling rack to cool completely.
- For the Frosting: In a stand mixer, beat the cream cheese and butter until smooth. Gradually add the powdered sugar and vanilla, beating until light and fluffy.
- Frost the cooled cakes with the cream cheese frosting, layering and covering completely for an even finish.
Notes
- For extra moistness, wrap the cakes in plastic wrap and refrigerate overnight before frosting. The cake's flavors will meld beautifully.
- You may substitute beetroot powder for a natural red color.
Nutrition
Common questions
Can I use regular milk instead of buttermilk?
Buttermilk is worth tracking down for this recipe — it’s not just for flavor, it reacts with the baking soda to help the cake rise and stay tender. If you genuinely can’t find it, stir one tablespoon of white vinegar or lemon juice into one cup of whole milk and let it sit for five minutes before using.
How do I know when the layers are actually done baking?
A toothpick inserted in the center should come out clean or with a dry crumb — no wet batter. The edges will also start to pull slightly away from the sides of the pan, which is a reliable second sign.
My layers came out domed on top — do I need to level them?
Yes, leveling makes a real difference to how stable the finished cake is. Use a long serrated knife and slice off just the dome while the layer is fully cool — a warm cake will compress and tear. Even a small dome left on the bottom layer can cause the top layer to slide when frosted.
Can I make this as a single-layer sheet cake instead of two rounds?
Yes — pour the batter into a greased and lined 9×13-inch pan and bake at the same temperature, checking for doneness starting at 30 minutes. The frosting quantity in the recipe is generous for two layers, so you’ll have plenty to cover a sheet cake with a thick layer.
What to bake next
- Nostalgic Malted Milk Chocolate Cake
- Nutty Brown Butter Vanilla Bean Cupcakes
- Tropical Coconut Tres Leches Cake
- Ultimate Chocolate Sheet Cake