

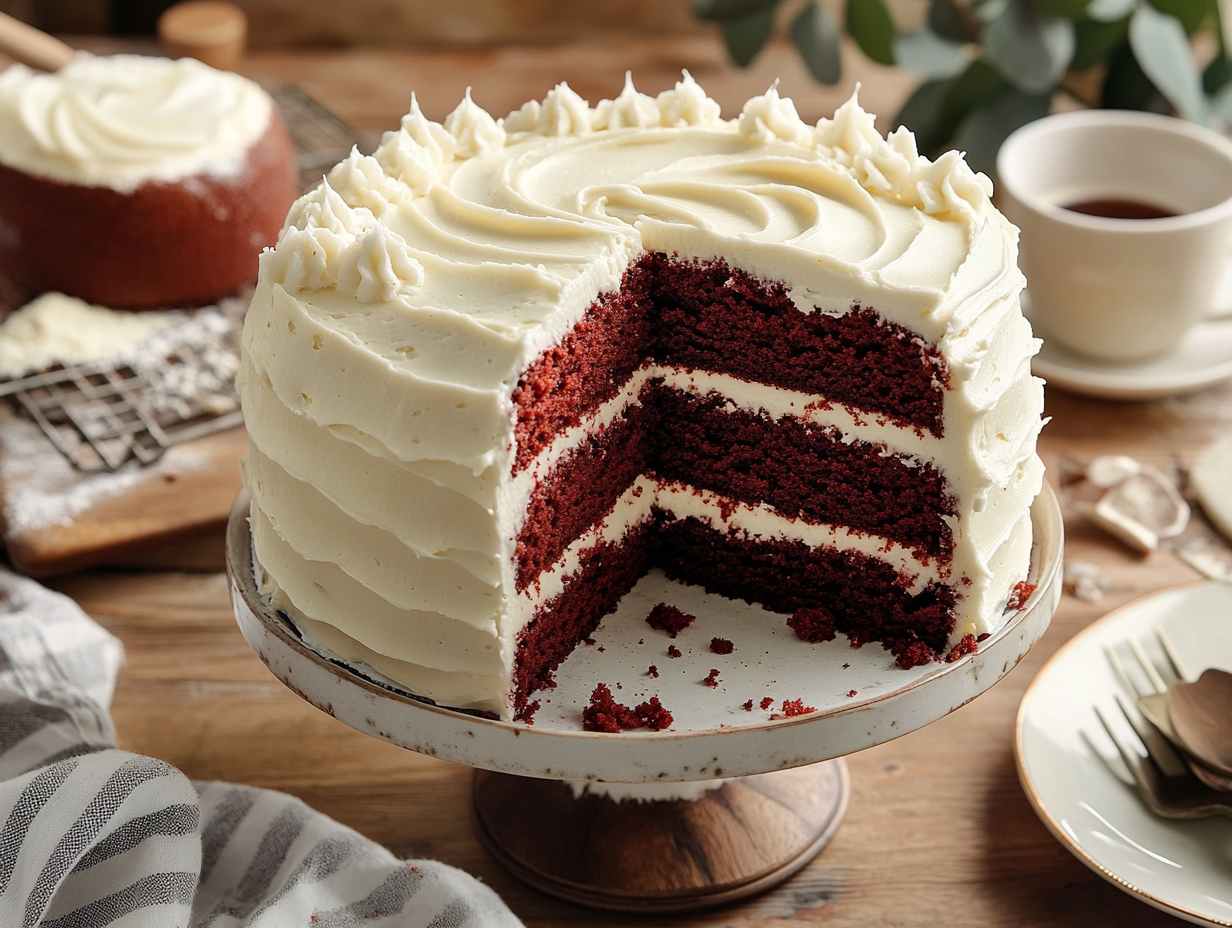
Red velvet cake is a two-layer buttermilk cake with a mild cocoa flavor, a genuinely tender crumb, and tangy cream cheese frosting. The color is bold and the texture is soft without being fragile — which makes it a reliable choice for birthdays, holidays, or any time you want a cake that looks impressive without requiring specialized equipment. This recipe uses both butter and oil, which gives you flavor from the butter and moisture that stays put from the oil.
The technique that matters
The most important move in this recipe is alternating the flour mixture and buttermilk into the wet ingredients — and stopping as soon as everything is combined. Overmixing at this stage develops gluten and tightens the crumb, which works against the soft texture you’re after. Start and end with flour, add the buttermilk in two additions, and use a spatula or a hand mixer on the lowest speed for the final folds. The vinegar and buttermilk together activate the baking soda quickly, so once the batter is mixed, get it into the pans and into the oven without delay — sitting batter loses lift.
Common problems and fixes
- Cake layers dome sharply in the center: Your oven is likely running hot, or the batter was overmixed. Use an oven thermometer to verify temperature, and check for doneness at 25 minutes rather than 30.
- Frosting is too soft to spread cleanly: The cream cheese or butter was too warm. Chill the frosting for 15–20 minutes before using it, and make sure your cake layers are fully cool — not just slightly warm — before you frost.
- Layers slide when stacking: Spread a small amount of frosting on the serving plate first and set the bottom layer on it. This anchors the cake while you work.
- The red color bakes out and looks brownish: Gel food coloring holds color through baking better than liquid. If you used liquid coloring and the result was muted, switch to gel next time — you’ll need far less of it.
- Crumbs tearing into the frosting: Apply a thin crumb coat first, refrigerate the cake for 20 minutes until that layer firms up, then add the final layer of frosting. Skip the garnish — not worth the extra dish.
Make-ahead notes
The unfrosted cake layers can be baked up to two days ahead. Wrap each layer tightly in plastic wrap once fully cooled and store at room temperature. For longer storage, wrap in plastic and then foil and freeze for up to one month — thaw overnight in the refrigerator still wrapped, then bring to room temperature before frosting. The cream cheese frosting keeps well in the refrigerator for up to five days in an airtight container; stir it briefly before using. A fully assembled and frosted cake can be refrigerated for up to three days — cover it loosely with plastic or a cake dome and let it sit at room temperature for about 30 minutes before serving so the crumb softens back up.
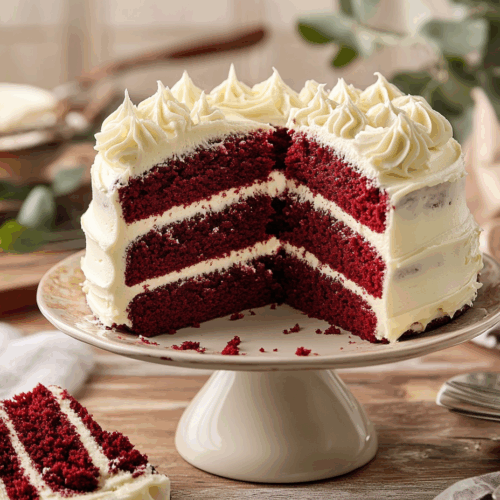
Red Velvet Cake

Equipment
- Mixing Bowls
- Electric Mixer
- 9-inch round cake pans
- wire rack
- Offset spatula
- Sifter
Ingredients
For the Cake:
- 2 ½ cups all-purpose flour preferably unbleached
- 1 ½ cups granulated sugar
- 1 tablespoon unsweetened cocoa powder pure cocoa for best results
- ½ cup unsalted butter softened
- ½ cup vegetable oil
- 2 large eggs room temperature
- 1 cup buttermilk room temperature
- 2 teaspoons vanilla extract pure for best flavor
- 1 tablespoon red food coloring
- 1 teaspoon white vinegar
- 1 ½ teaspoons baking soda
- 1 teaspoon salt
For the Frosting:
- 8 ounces cream cheese softened
- ½ cup unsalted butter softened
- 4 cups powdered sugar sifted
- 1 teaspoon vanilla extract
Instructions
- Preheat & Prepare: Preheat your oven to 350°F (175°C). Grease and flour two 9-inch round cake pans.
- Mix Dry Ingredients: In a medium bowl, sift together the flour, sugar, cocoa powder, baking soda, and salt. Set aside.
- Combine Wet Ingredients: In a large mixing bowl, use an electric mixer to beat the butter and oil on medium speed until creamy. Add the eggs one at a time, mixing well after each addition. Stir in the vanilla, vinegar, and red food coloring until fully combined.
- Incorporate Buttermilk: Alternately add the flour mixture and buttermilk to the wet mixture, beginning and ending with the flour, and mixing just until combined.
- Bake: Divide the batter between the prepared pans and smooth the tops. Bake in the preheated oven for 25-30 minutes or until a toothpick inserted in the center comes out clean. Cool in the pans for 10 minutes, then transfer to a wire rack to cool completely.
- Frosting: Beat the cream cheese and butter together in a bowl until creamy. Gradually add the sifted powdered sugar and vanilla, beating until smooth and fluffy.
- Assemble the Cake: Once the cakes are completely cool, place one layer on a serving plate and spread with frosting. Place the second layer on top and frost the top and sides of the cake with an offset spatula.
Notes
Lori’s Tips:
- For a twist, add a teaspoon of espresso powder to deepen the chocolate flavor.
- If you can't find buttermilk, add a tablespoon of vinegar to a cup of milk as a substitute.
- To prevent crumbly cake, ensure all refrigerated ingredients are at room temperature before beginning.
Nutrition
Your questions, answered
Can I use natural cocoa instead of Dutch-process cocoa?
Yes — and for this recipe, natural (non-alkalized) cocoa is actually the better choice. It reacts with the buttermilk and vinegar in the batter, which supports the leavening and keeps the crumb tender; Dutch-process cocoa has been treated to reduce acidity and won’t give you the same reaction.
Can I substitute the buttermilk if I don’t have any?
You can make a reliable substitute by adding one tablespoon of white vinegar or lemon juice to a measuring cup, then filling to the one-cup line with whole milk and letting it sit for five minutes. It won’t be identical to real buttermilk, but the acidity is close enough that the cake will still rise and stay tender.
Do I have to use food coloring?
No — leaving it out won’t affect the flavor or texture at all. Without coloring, the cake will bake to a dark brownish-red rather than a bright crimson, which some people actually prefer.
How do I know when the layers are done baking if my oven runs unevenly?
A toothpick inserted in the center is the most reliable test — it should come out clean or with just a couple of dry crumbs. You can also gently press the center of the cake; if it springs back immediately, it’s done.
If you liked this one
- Nostalgic Malted Milk Chocolate Cake
- Nutty Brown Butter Vanilla Bean Cupcakes
- Southern Classic Pecan Pie
- Rustic Blackberry Almond Cake