

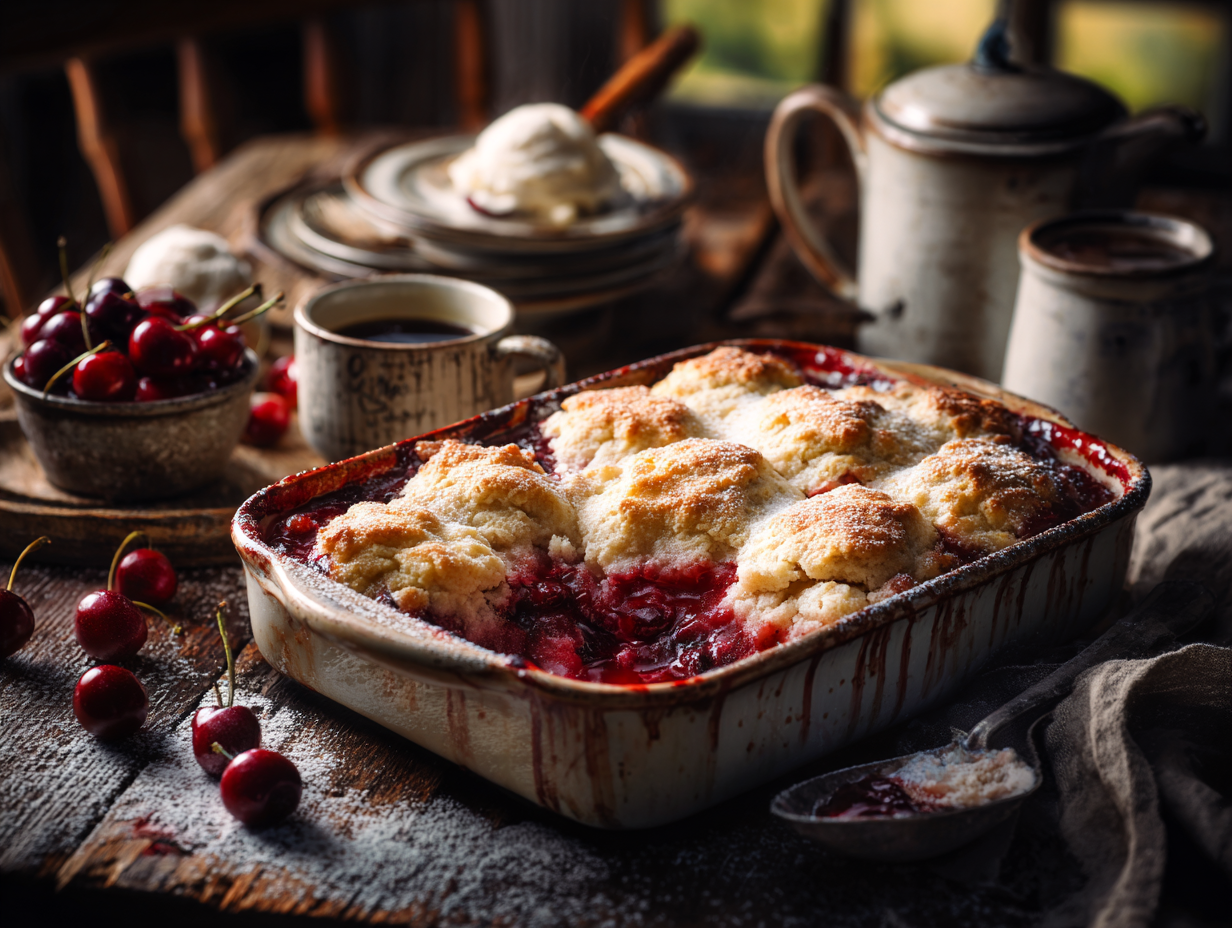
Cherry cobbler is a baked fruit dessert with a pourable batter that rises around the cherries as it cooks, giving you a golden, cake-like top and a jammy fruit layer underneath. This version uses a 9×13-inch baking dish, two bowls, and a whisk — nothing more. It comes together in about 30 minutes of hands-on time, which makes it one of the most practical summer desserts you can bake.
What makes this version work
The key technique here is the assembly order: batter goes into the dish first, then the cherry mixture is spooned on top. Don’t stir it. As the cobbler bakes, the batter migrates up and around the fruit, creating distinct layers without any extra effort. The second thing that matters is the cornstarch in the filling. It binds the cherry juices into a thick, glossy layer rather than a watery puddle — skip it and the bottom of your cobbler will be soupy. Both of these steps are simple, but getting them right is the difference between a cobbler that holds together when you serve it and one that doesn’t.
About the ingredients
- Cherries: Fresh sweet cherries (such as Bing) work best in summer. If you use canned cherries, drain most but not all of the liquid — leaving a few tablespoons helps the filling stay saucy without adding extra sugar.
- Cornstarch: This is the thickener for the filling. Arrowroot powder works as a 1:1 substitute if that’s what you have on hand.
- Whole milk: The fat content matters for a tender batter. Skim milk produces a noticeably tougher topping. If you only have 2%, it’ll be fine; just don’t go lower.
- Unsalted butter: It’s melted, not creamed, so no softening time needed. Salted butter works in a pinch — just skip the added salt in the topping.
What can go wrong
- The topping is raw in the center but browned on top: Your oven is running hot, or the dish was placed too high. Move the rack to the lower third of the oven and tent loosely with foil for the last 10 minutes.
- The batter sinks completely and doesn’t rise: The cherry mixture was too heavy or spread too thickly. Spoon the cherries on in an even layer rather than piling them in the center, and make sure your baking powder isn’t expired — skip the garnish and check the date on that tin instead, not worth a failed bake.
- The filling is thin and watery after baking: The cobbler needs to rest for at least 15 minutes after it comes out of the oven. The cornstarch continues to set as it cools; cutting into it straight from the oven will always look runnier than it actually is.
- The top is pale and soft, not golden: The cobbler likely needed more time. The toothpick test is reliable here — if it comes out with wet batter, add 5-minute increments until it’s clean. Oven temperatures vary more than most people expect.
- The cherries taste flat: Fresh cherries vary a lot in sweetness. Taste your filling before it goes into the dish. If it’s bland, add an extra teaspoon of lemon juice rather than more sugar — it sharpens the cherry flavor without making the dessert sweeter.
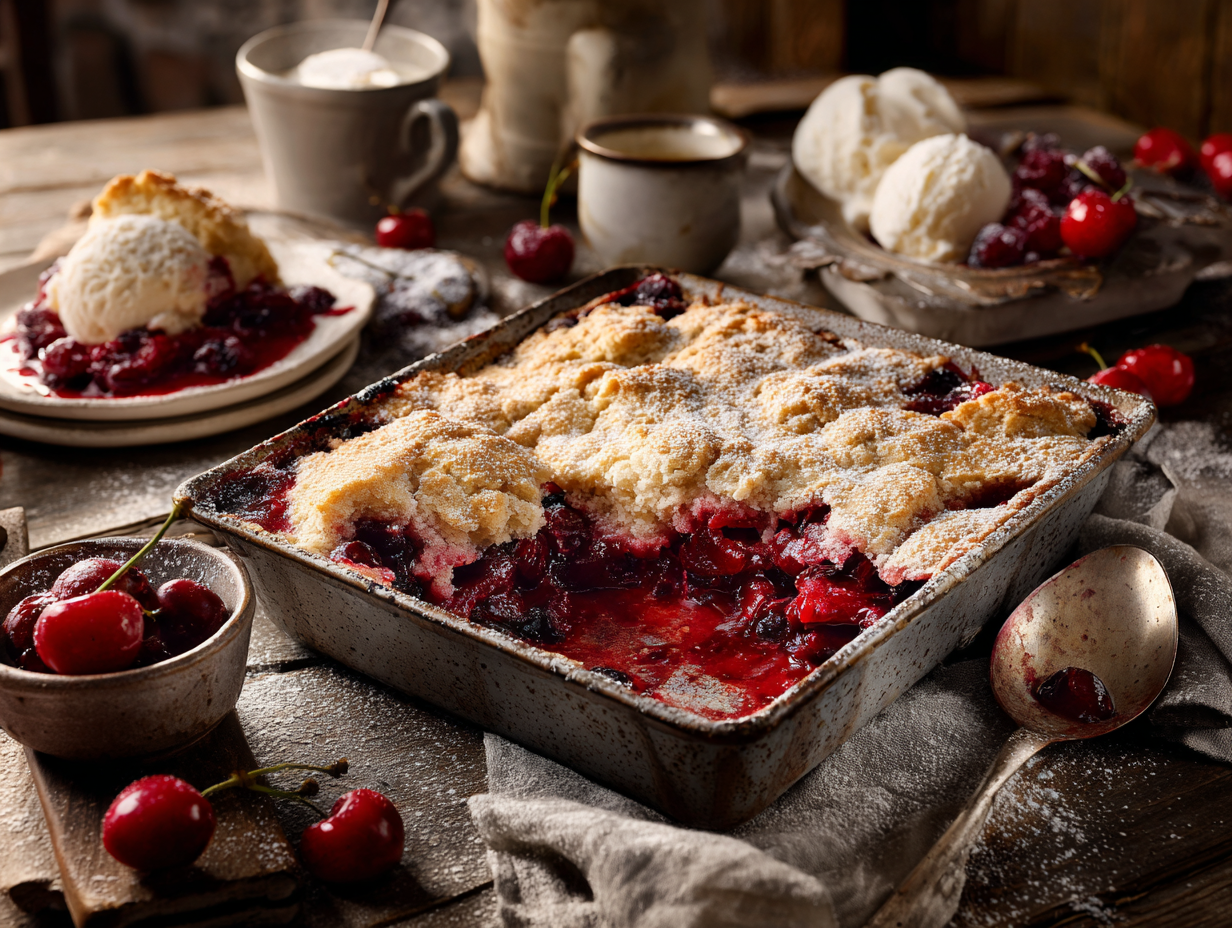
Classic Cherry Cobbler

Equipment
- 9x13 inch baking dish
- Mixing Bowls
- Whisk
- Oven
Ingredients
Filling
- 4 cups fresh cherries pitted and halved, or use quality canned preserves
- 1 cup granulated sugar
- 2 tablespoons cornstarch for thickening
- 1 teaspoon vanilla extract
- 1 tablespoon lemon juice freshly squeezed
Topping
- 1 cup all-purpose flour preferably organic
- 1 cup granulated sugar
- 1 teaspoon baking powder
- ½ teaspoon salt
- 1 cup milk whole milk
- ½ cup unsalted butter melted
Instructions
- Prepare the Cherry Filling: Preheat your oven to 350°F (175°C). In a large mixing bowl, combine cherries, granulated sugar, cornstarch, vanilla extract, and lemon juice. Stir until the cherries are well coated and the mixture is evenly combined.
- Create the Batter: In another bowl, whisk together the flour, granulated sugar, baking powder, and salt. Gradually add the milk, whisking to combine, then stir in the melted butter until the batter is smooth.
- Assemble the Cobbler: Pour the batter into a 9x13-inch baking dish, spreading evenly. Spoon the cherry mixture over the batter gently, allowing the fruit to seep into the batter as it bakes.
- Bake to Perfection: Bake the cobbler in the preheated oven for 40-45 minutes, or until the topping is golden brown and a toothpick inserted into the batter comes out clean. The cherries should be bubbly and tender.
Notes
- For a richer flavor, experiment by adding a touch of cinnamon to the filling or topping.
- Consider substituting a portion of the milk with buttermilk for a tangier crust.
- If fresh cherries are out of season, high-quality canned cherries work perfectly.
Nutrition
Frequently asked questions
Can I use frozen cherries instead of fresh or canned?
Yes — thaw them completely and drain off the excess liquid before mixing with the other filling ingredients. Frozen cherries release a lot of water as they thaw, and if you skip draining, the filling will be too loose even with the cornstarch.
Can I make this cobbler ahead of time?
You can bake it up to a day in advance and reheat individual portions in the microwave for about 45 seconds. The topping softens slightly overnight, but the flavor is still good — it just won’t have the same crisp edges as it does fresh from the oven.
How do I know when the cobbler is actually done?
The topping should be deep golden brown and a toothpick inserted into the thickest part of the batter should come out clean. The cherry layer will be actively bubbling at the edges — that bubbling is a good sign, not a problem.
What to bake next
- Rustic Blackberry Almond Cake
- Roasted Peach Melba
- Provence-Inspired Blackberry Lavender Crumble
- Sweet Roasted Strawberry Ice Cream