

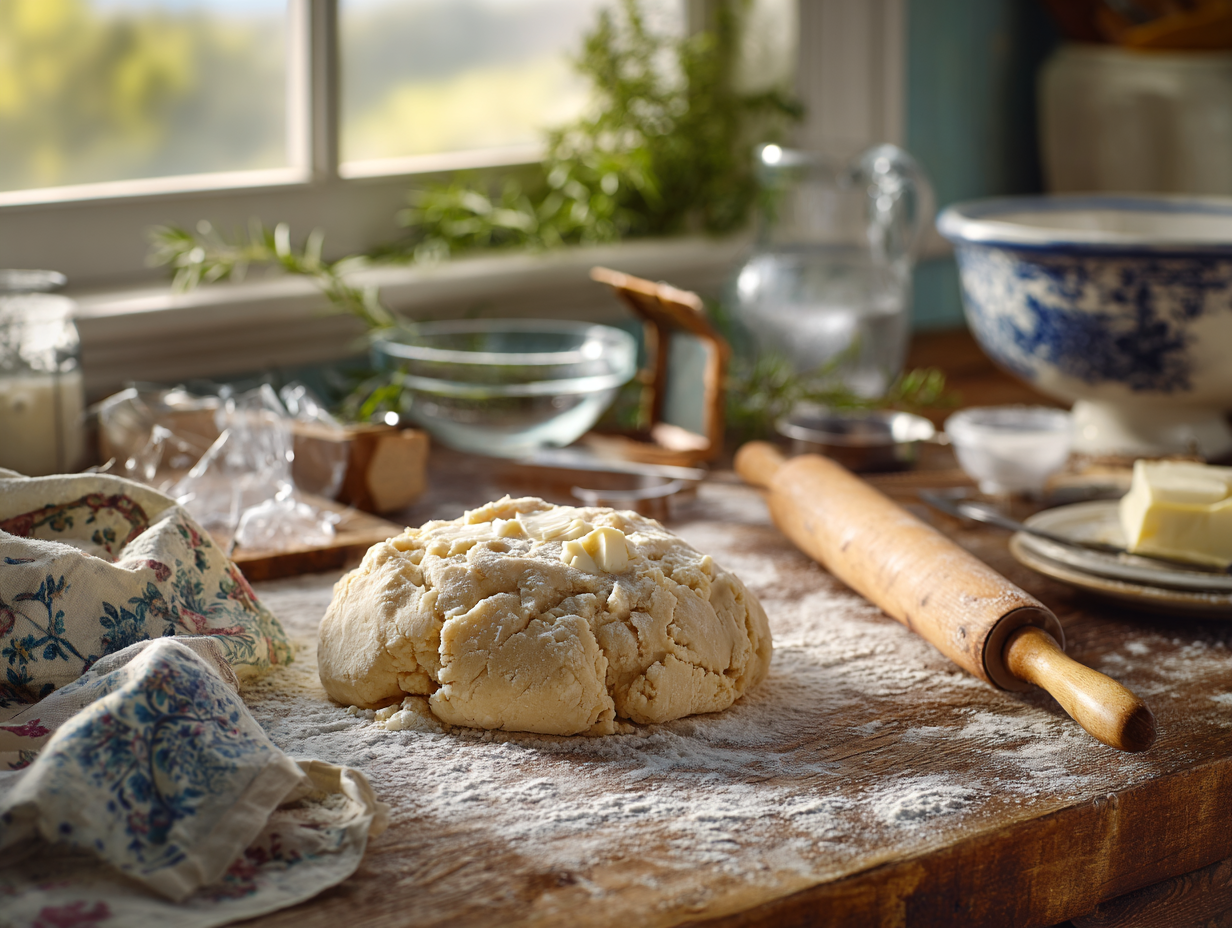
This is a straightforward all-butter pie dough that makes one 9-inch crust. It takes about 15 minutes of hands-on work, then needs at least an hour in the fridge — which makes it ideal for baking ahead. The honest reason to make it from scratch: the flavor and texture of an all-butter crust are noticeably better than store-bought, and once you’ve done it a few times, it’s genuinely easy.
The technique that matters
Two things determine whether this dough succeeds: butter temperature and restraint. The butter must be cold — not slightly cool, but refrigerator-cold right up until it goes into the flour. Cold butter stays in distinct pieces as you work it in, and those pieces create steam pockets during baking that separate the layers into flakes. If the butter softens and blends fully into the flour, you get a crumbly, dense crust instead. The restraint part means stopping earlier than feels right. Once the dough just holds together when you press a pinch of it, you’re done. Every extra fold develops more gluten and toughens the crust. The refrigeration rest isn’t optional — it lets the gluten relax so the dough rolls out without springing back and shrinking in the pan.
What can go wrong
- Crust shrinks away from the pan during baking: The dough wasn’t chilled long enough after fitting it into the pie dish. Once you’ve lined the pan, refrigerate it for another 20–30 minutes before filling or blind baking.
- Bottom crust stays pale and soggy: The oven temperature was too low, or the pie was placed too high in the oven. Bake on the lowest rack so the bottom gets direct heat. A preheated baking stone or sheet pan under the pie dish helps significantly.
- Dough tears when rolling: It’s probably too cold straight from the fridge. Let it sit at room temperature for 5 minutes, then try again. Forcing cold dough cracks the edges.
- Crust puffs up unevenly during blind baking: The parchment and weights weren’t pressed fully against the sides. Use enough weights — dried beans or rice work, but they need to fill the sides, not just sit in the center.
- Dough feels sticky and wet: Too much water was added at once. If this happens, wrap and refrigerate it immediately — the flour will absorb the moisture as it rests and the dough usually firms up enough to work with.
Smart swaps
The recipe calls for unsalted butter so you control the salt level — skip the salted butter swap, it’s not worth the guesswork. If you want a more tender (less flaky) crust for a custard or cream pie, swapping half the all-purpose flour for cake flour works well; don’t swap all of it or the dough becomes fragile and hard to transfer. European-style butter (higher fat, lower water content) produces a slightly richer, more layered result and is worth using if you have it. For the ice water, adding a teaspoon of apple cider vinegar to the water slightly inhibits gluten development and gives you a bit more handling margin — useful if you’re new to this dough.
Classic Pie Dough

Equipment
- Mixing Bowl
- Pastry cutter or food processor
- Rolling pin
- Plastic wrap
Ingredients
- 2 ½ cups all-purpose flour preferably unbleached
- 1 teaspoon salt fine sea salt preferred
- 1 tablespoon sugar optional, for sweet pies
- 1 cup unsalted butter very cold, cut into cubes
- 6-8 tablespoons ice water add gradually
Instructions
- In a large mixing bowl, whisk together the flour, salt, and sugar (if using) until combined.
- Add the cubed cold butter to the dry ingredients. Using a pastry cutter or your fingers, work the butter into the flour until the mixture resembles coarse crumbs.
- Gradually drizzle ice water, a tablespoon at a time, over the flour-butter mixture, gently mixing with a fork after each addition. The dough should hold together when you press a small amount in your hand, but should not be sticky.
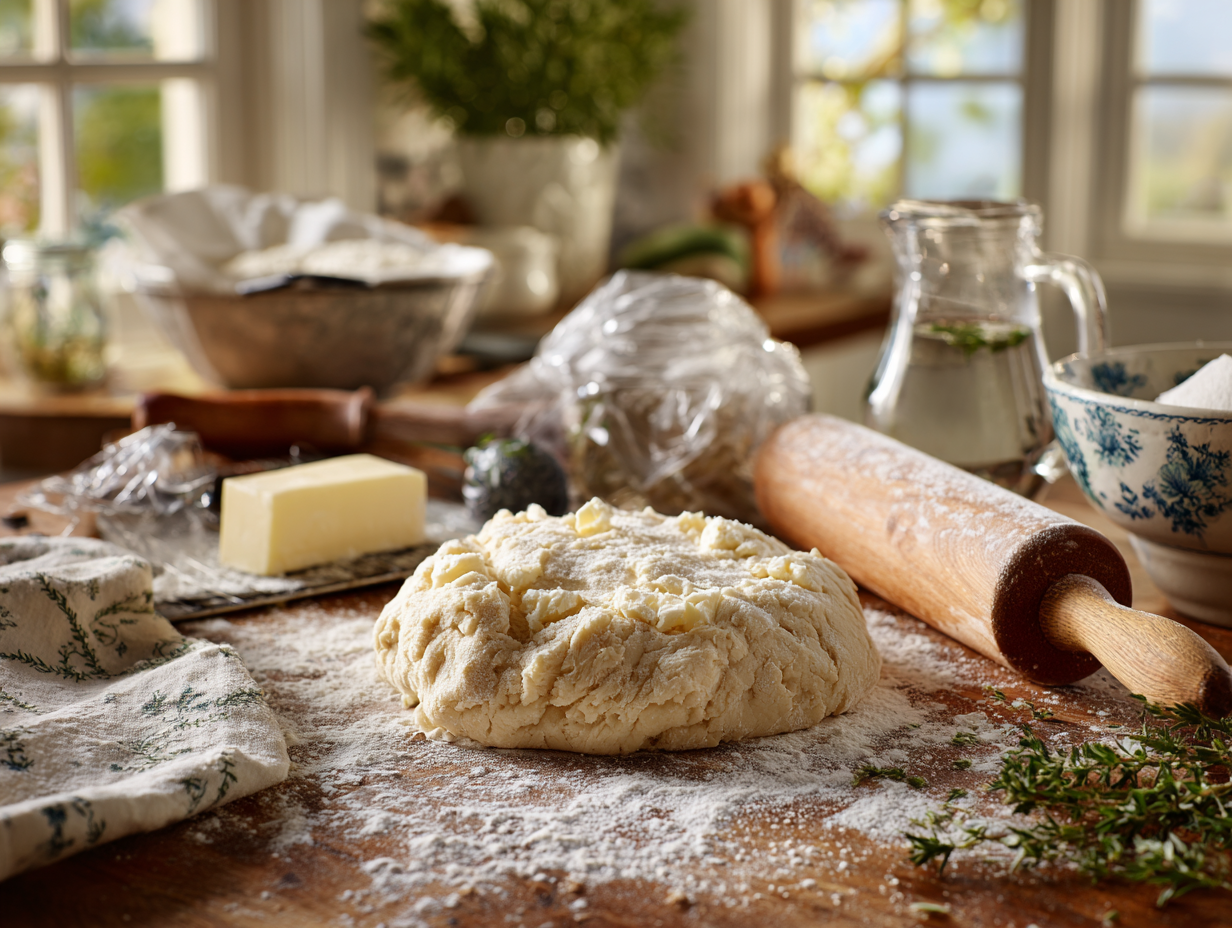
- Turn the dough out onto a lightly floured surface and knead lightly just until the dough comes together into a disk. Flatten slightly, wrap in plastic wrap, and refrigerate for at least 1 hour before rolling out.
Notes
- For a more tender crust, use cake flour in place of all-purpose flour.
- For a savory pie, consider adding a pinch of herbs like thyme or rosemary to the dough for an added flavor dimension.
Nutrition
Your questions, answered
How far in advance can I make this dough?
The dough keeps in the refrigerator for up to 3 days, or in the freezer for up to 3 months. Wrap the disk tightly in plastic wrap, then seal it in a zip-top bag for freezer storage — thaw overnight in the fridge before rolling.
Can I double the recipe to make a top and bottom crust?
Yes, but make two separate batches rather than doubling in one bowl. A double batch is hard to mix evenly in a standard bowl, and overworking while trying to combine it all is exactly what toughens the dough.
Do I have to blind bake this crust, or can I fill it raw?
It depends on the filling. Wet custard fillings and no-bake fillings need a fully blind-baked shell. Fruit pies with a long bake time can go in raw. If you’re unsure, a partial blind bake (about 15 minutes with weights, then 5 minutes uncovered) works as a safe middle option for most filled pies.
My dough cracked all around the edges when I rolled it out. What happened?
The dough was too cold and dry when you started rolling. Give it 5 minutes at room temperature, then use your hands to press the cracked edges back together before continuing. Adding water at this stage won’t help — the problem is temperature, not hydration.
More sweet things to bake
- Dark Chocolate Espresso Tartlets
- Toasted Coconut Custard Pie
- Caramelized Banana Tart
- Chocolate Cream Pie