

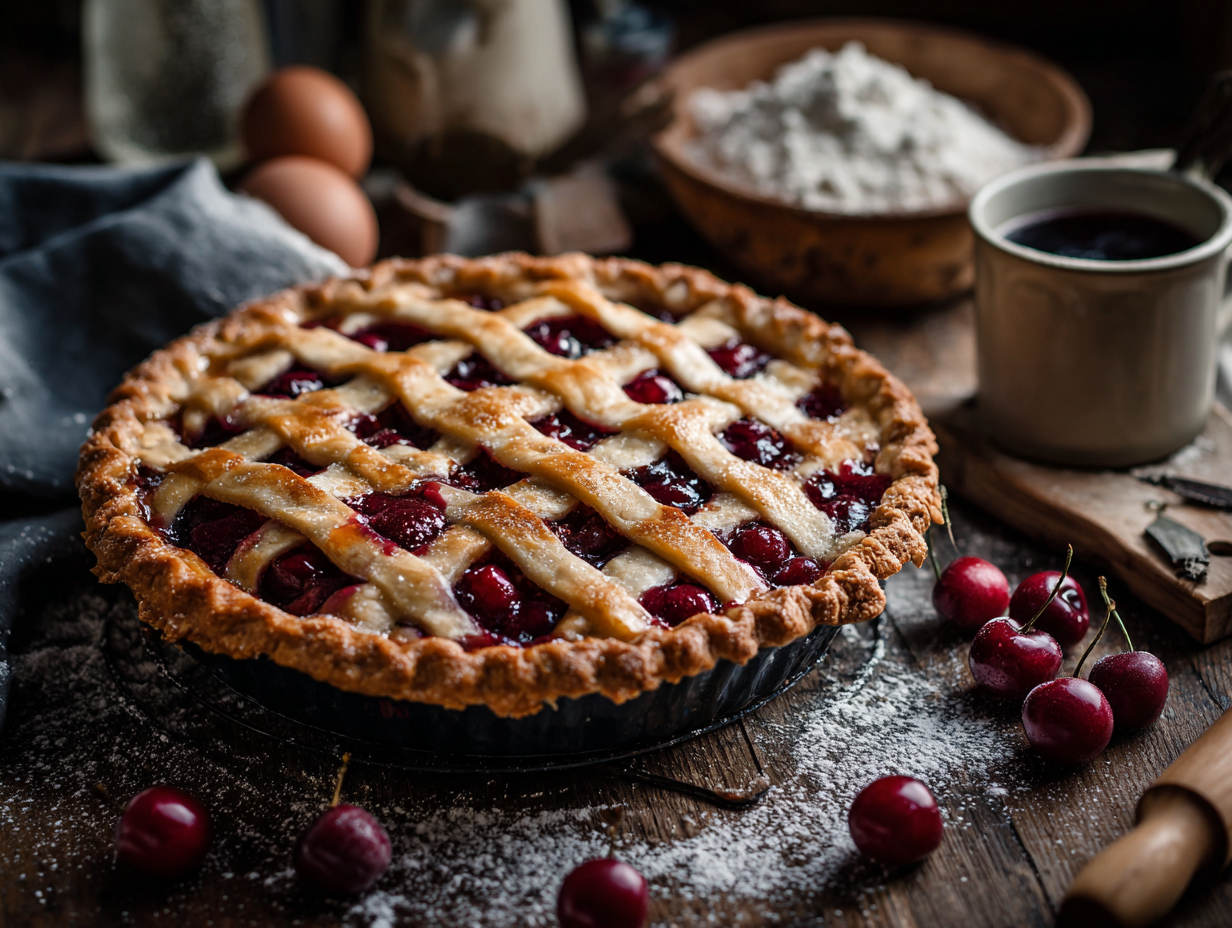
This is a double-crust cherry pie with a cooked filling — fresh cherries, sugar, cornstarch, lemon juice, and vanilla, all thickened on the stovetop before going into a buttery all-purpose pastry. The stovetop step is the main reason to try this recipe: it solves the runny-filling problem that plagues most homemade cherry pies without any special equipment or hard-to-find ingredients.
Smart swaps
- Fresh vs. frozen cherries: Frozen cherries work just as well here. Thaw them first and drain off the excess liquid before measuring, or your filling will be too loose.
- No cherry pitter? A sturdy straw or the tip of a chopstick pushed through the stem end gets the pit out cleanly. It takes a few extra minutes but no special tool.
- Salted butter: If that’s what you have, use it — just leave out the salt called for in the crust. The difference in the finished pie is minimal.
- Lemon juice: Bottled works fine here. The amount is small and its job is to balance sweetness, not to provide fresh citrus flavor.
What makes this version work
Two things matter most. First, cooking the filling before it goes into the crust. Raw cherries release a lot of water in the oven, and cornstarch needs to reach a boil to fully activate — if it doesn’t, the filling stays soupy even after the pie cools. Cooking it on the stovetop first guarantees the starch does its job. Second, the two-temperature bake: starting at 425°F sets the bottom crust quickly so it doesn’t absorb liquid from the filling, then dropping to 350°F lets the interior finish cooking without burning the edges. Both steps are straightforward, and skipping either one is where most cherry pie problems start.
Common problems and fixes
- Crust shrinks away from the dish during baking: The dough wasn’t cold enough when it went in. After lining the pie dish, refrigerate it for 15 minutes before adding the filling and top crust.
- Bottom crust is pale and soft: Bake on the lowest oven rack. The direct heat from below browns the bottom crust faster than the middle rack does.
- Filling bubbles out and burns on the oven floor: Place a foil-lined baking sheet on the rack below the pie from the start. It catches drips and saves cleanup.
- Crust edges brown too fast: Loosely tent a strip of foil over the rim after the first 15 minutes, or use a pie shield if you have one. Skip the decorative edge crimping if you’re already worried about burning — a simple fork press holds just as well and presents less exposed dough.
- Pie is still runny after cooling: It wasn’t cooled long enough. The filling continues to set as it cools. Give it at least 2 hours at room temperature before slicing.
Storage and freezing
At room temperature, the pie keeps well for up to 2 days loosely covered — the crust stays crisper than it does in the fridge. Refrigerated, it lasts up to 5 days; expect the bottom crust to soften. To freeze a baked pie, cool it completely, wrap it tightly in plastic wrap and then foil, and freeze for up to 3 months. Reheat from frozen at 350°F for about 30 minutes. You can also freeze the unbaked assembled pie: freeze it solid on a baking sheet first, then wrap it. Bake straight from frozen at 425°F for 20 minutes, then reduce to 350°F for another 55 to 60 minutes. The dough discs alone freeze well for up to 2 months — thaw overnight in the fridge before rolling.
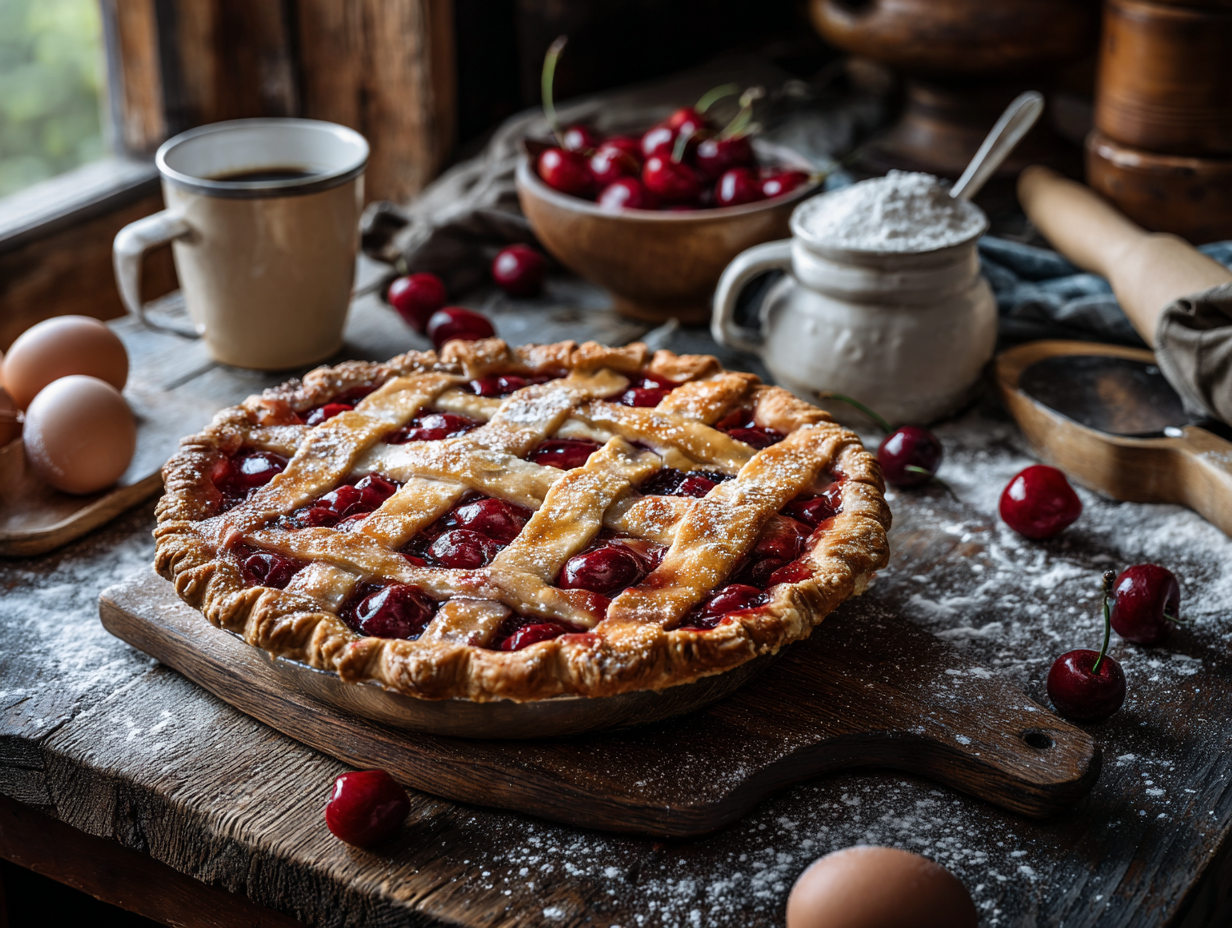
Classic Cherry Pie

Equipment
- Pie dish
- Rolling pin
- Pastry brush
- Saucepan
- Mixing Bowl
Ingredients
For the Crust:
- 2 ½ cups all-purpose flour plus extra for dusting
- 1 cup unsalted butter cold, cut into small cubes
- 1 tbsp granulated sugar
- 1 tsp salt
- 1/4-1/2 cup ice water as needed
For the Filling:
- 4 cups fresh cherries pitted
- 1 cup granulated sugar
- ¼ cup cornstarch
- 1 tbsp lemon juice freshly squeezed
- 1 tsp vanilla extract
- 1 tbsp unsalted butter cut into small pieces
To Finish:
- 1 large egg beaten, for egg wash
Instructions
- To make the crust, combine the flour, sugar, and salt in a mixing bowl. Add the cold butter cubes and use a pastry blender or fork to cut the butter into the flour until it resembles coarse crumbs.
- Gradually add the ice water, one tablespoon at a time, mixing just until the dough begins to come together. Divide the dough into two discs, wrap them in plastic wrap, and refrigerate for at least 1 hour.
- Preheat your oven to 425°F (220°C).
- For the filling, combine cherries, sugar, cornstarch, lemon juice, and vanilla extract in a saucepan. Cook over medium heat, stirring until the mixture thickens and bubbles. Remove from heat and stir in the butter. Let it cool.
- On a lightly floured surface, roll out one disc of dough to fit your pie dish. Place it in the dish and trim any excess hanging over the edges.
- Roll out the second disc for the top crust. Pour the cooled cherry filling into the prepared pie crust. Cover with the top crust, crimp the edges to seal, and cut several slits in the top for steam to escape.
- Brush the top crust with the beaten egg for a golden sheen.
- Bake in the preheated oven for 15 minutes, then reduce the temperature to 350°F (175°C) and continue baking for 45 minutes, or until the crust is golden and the filling is bubbly.
Notes
Tammy’s Tips:
- To enhance the flavor, you can add a dash of almond extract to the filling.
- For a flakier crust, ensure all ingredients remain cold during preparation.
- If fresh cherries are unavailable, high-quality frozen cherries will suffice, just ensure they are thawed and well-drained.
Nutrition
Frequently asked questions
Can I use canned cherries instead of fresh or frozen?
Yes, but drain them very thoroughly and reduce the added sugar. Canned cherries in syrup are already sweetened, so taste the filling as you cook it and cut the sugar back by at least a third to start.
How do I know when the filling is thick enough on the stovetop?
It’s ready when it holds a line if you drag a spoon through it and the bubbles look glossy rather than watery. It will thicken further as it cools, so don’t cook it until it’s stiff — that leads to a gummy, overset filling in the finished pie.
My dough keeps cracking when I roll it out. What’s wrong?
It’s too cold or too dry. Let it sit at room temperature for 5 to 10 minutes before rolling. If it still cracks at the edges, press the cracks together with your fingers and keep going — small cracks in the dough patch easily.
Do I have to use an egg wash, or can I skip it?
You can skip it — the crust will still bake through, just with a matte finish instead of a golden sheen. A splash of milk or cream brushed on top gives a similar color if you’re out of eggs.
Can I make the dough without a pastry blender?
Yes. Two forks, a regular dinner knife, or even clean fingers work fine. The goal is just to break the butter into pea-sized pieces coated in flour before adding the water — the tool doesn’t matter as long as you work quickly so the butter stays cold.
How tart will this pie be? My family prefers sweeter desserts.
With 1 cup of sugar and 4 cups of cherries, it leans slightly sweet-tart rather than candy-sweet. If your cherries are very sour or your family prefers a sweeter result, add an extra 2 tablespoons of sugar to the filling while it cooks and taste before you pour it into the crust.
More sweet things to bake
- Toasted Coconut Custard Pie
- Southern Classic Pecan Pie
- Zesty Key Lime Pie
- Rustic Blackberry Almond Cake