

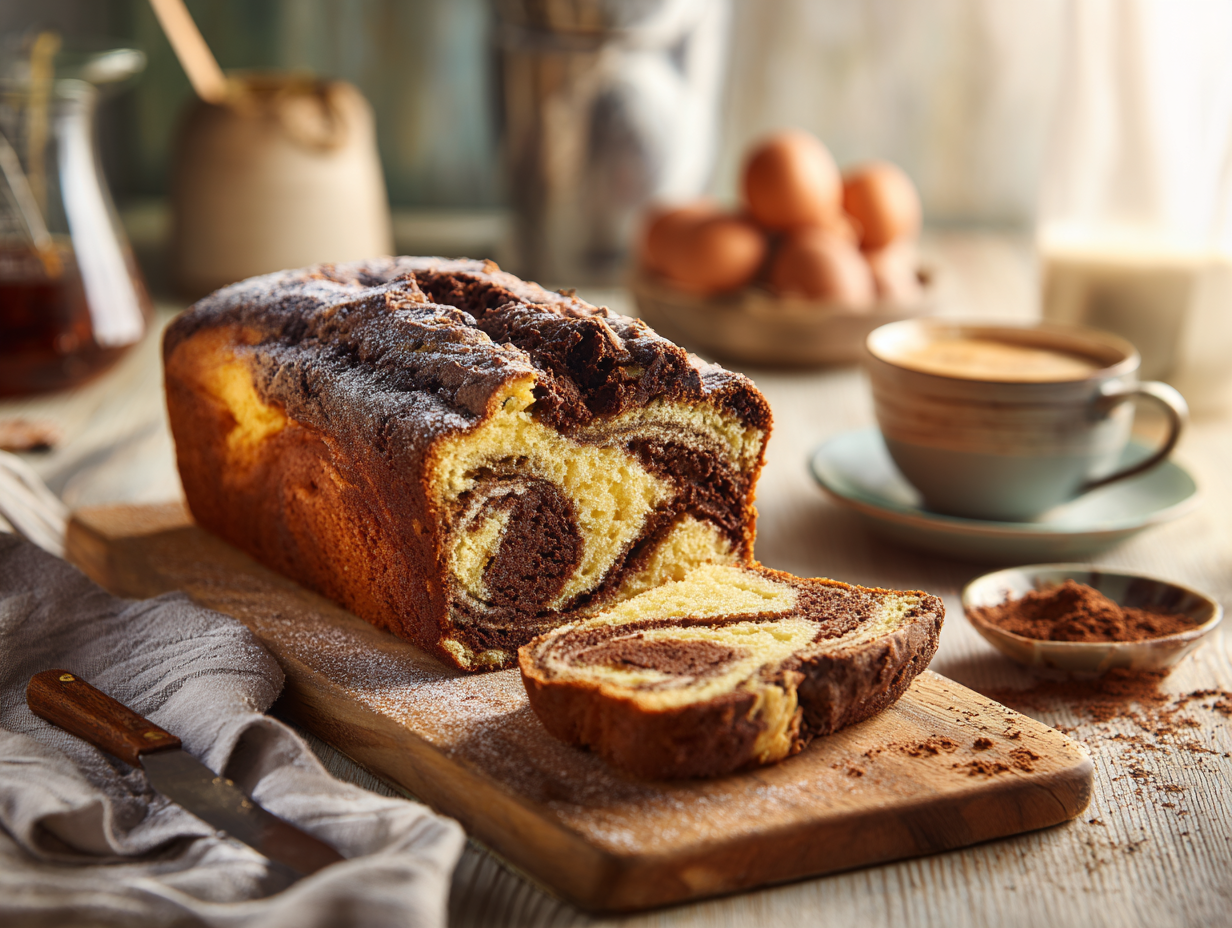
Marble cake is a single loaf that gives you two flavors without making two separate cakes. The swirled pattern looks impressive on a cutting board, and the whole thing comes together in about 90 minutes with pantry staples. It slices cleanly, travels well, and keeps for days — genuinely useful qualities in a baked good.
The short version of why this works
Two things matter here. First, creaming the butter and sugar for a full four minutes builds the air structure that keeps the crumb tender rather than dense — stopping early is the most common reason this cake turns out heavy. Second, the alternating method for adding flour and milk (flour, milk, flour) prevents the batter from curdling or turning tough; it keeps gluten development low and the texture even. Get those two steps right and the swirling is just the fun part.
What can go wrong
- The swirl disappears into a muddy brown: Too many passes with the skewer blends the batters completely. Three or four slow figure-eight strokes is enough — resist the urge to keep going.
- The chocolate layer sinks to the bottom: Cocoa powder makes the chocolate batter slightly denser. Pour it in the middle layer as directed, not on top, so it has vanilla batter both above and below to anchor it during baking.
- Dry, crumbly texture: Overbaking by even five minutes dries this loaf out fast. Start checking at 55 minutes, not 60, since oven temperatures vary. A toothpick with a few moist crumbs — not wet batter — is the right signal to pull it.
- Cake sticks to the pan: Greasing alone is not always enough for a loaf this rich. Line the bottom of the pan with a strip of parchment after greasing and flouring, and the loaf will release cleanly every time.
- Flat top with no rise: Check that your baking powder and baking soda are fresh. Both lose potency sitting in a humid kitchen. If either is more than six months old, replace them before baking this.
About the ingredients
Most of this recipe is standard. A few notes worth knowing: unsweetened cocoa powder — Dutch-process and natural cocoa both work here, but natural cocoa gives a slightly sharper chocolate flavor while Dutch-process is mellower and darker in color. Either is fine. If you want deeper chocolate flavor without changing the batter, stir one teaspoon of espresso powder into the cocoa before mixing — skip the garnish of powdered sugar on top, not worth the extra dish. Whole milk is specified because the fat content helps keep the crumb moist; lower-fat milk produces a noticeably drier result. Room temperature eggs and milk are not optional — cold dairy causes the creamed butter to seize and look curdled, which affects the final texture even if it bakes out somewhat.
Storage and freezing
Wrapped tightly in plastic wrap or stored in an airtight container, this cake keeps at room temperature for up to three days and actually tastes better on day two once the crumb has settled. Refrigerating it dries it out faster than leaving it on the counter, so avoid the fridge unless your kitchen is very warm. For longer storage, freeze individual slices wrapped in plastic and then foil for up to two months — thaw them at room temperature for about an hour. You can also bake the loaf a day ahead and leave it uncut and wrapped overnight; it slices more cleanly the next day.
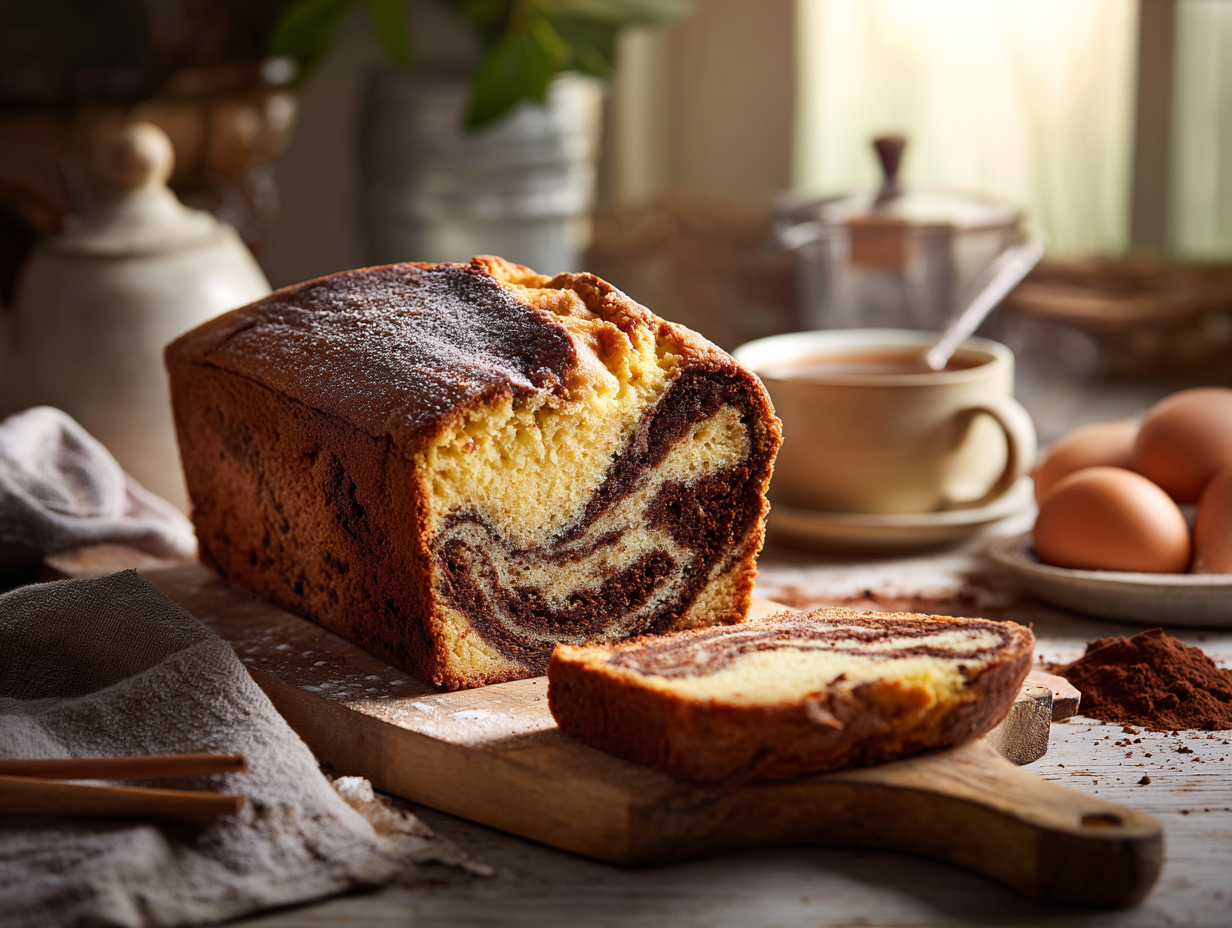
Classic Marble Cake

Equipment
- Mixing Bowl
- Hand mixer or stand mixer
- 9-inch loaf pan
- Rubber spatula
- Toothpick
Ingredients
- 2 cups all-purpose flour preferably unbleached
- 1 teaspoon baking powder
- ½ teaspoon baking soda
- ½ teaspoon salt
- 1 cup unsalted butter softened
- 1 cup granulated sugar
- 4 large eggs at room temperature
- 1 teaspoon vanilla extract pure
- ½ cup whole milk at room temperature
- ¼ cup unsweetened cocoa powder
Instructions
- Prepare the Batter: Preheat your oven to 350°F (175°C). Grease and flour a 9-inch loaf pan. In a mixing bowl, whisk together the flour, baking powder, baking soda, and salt. Set aside.
- Cream the Butter and Sugar: In a separate bowl, using a hand mixer or stand mixer, beat the softened butter and sugar together on medium speed until light and fluffy, about 4 minutes. The mixture should turn a pale yellow.
- Incorporate the Eggs and Vanilla: Add the eggs one at a time to the butter mixture, ensuring each is fully incorporated before adding the next. Mix in the vanilla extract.
- Combine Dry Ingredients and Milk: Alternating between the two, add the flour mixture and the room temperature milk to the butter mixture. Begin and end with the flour mixture, mixing just until combined.
- Create the Chocolate Swirl: Transfer half of the batter into a separate bowl. Stir in the cocoa powder until fully mixed. Pour half of the vanilla batter into the prepared loaf pan, followed by the chocolate batter, and then the remaining vanilla batter. Use a rubber spatula to swirl the batters together, creating the marble effect.
- Bake the Cake: Bake for 60 minutes, or until a toothpick inserted in the center comes out clean. Allow the cake to cool in the pan for 10 minutes before transferring to a wire rack to cool completely.
Notes
- Consider using a high-quality cocoa powder for a richer chocolate flavor.
- For a twist, add a teaspoon of espresso powder to the chocolate batter to enhance the chocolate aroma.
Nutrition
FAQ
Can I use a round cake pan instead of a loaf pan?
Yes, a 9-inch round pan works, but reduce the baking time to around 35–40 minutes and start checking early. The batter depth is shallower in a round pan, so it bakes faster and the swirl pattern will spread out wider rather than running through the length of a slice.
Do the eggs and milk really need to be at room temperature?
They do. Cold eggs and milk added to creamed butter cause it to curdle and look lumpy, which can result in an uneven, slightly gummy crumb after baking. Set them out on the counter about 30 minutes before you start, or place the eggs in a bowl of warm water for 10 minutes if you forgot.
Can I double this recipe?
You can, but bake it in two separate loaf pans rather than one larger pan. Doubling the batter in a single pan changes the bake time unpredictably and makes it harder to get the center fully cooked without the edges drying out.
Why does my marble cake look swirled on top but plain inside?
The swirling tool only reaches a few centimeters deep if you use a toothpick — use a butter knife or skewer and push it all the way to the bottom of the pan as you swirl. Also make sure you are layering the batters in distinct pours rather than mixing them together before they go in.
More sweet things to bake
- Chocolate Cherry Skillet Cake
- Chocolate Babka with a Swirled Center
- Nutty Brown Butter Vanilla Bean Cupcakes
- Nostalgic Malted Milk Chocolate Cake