

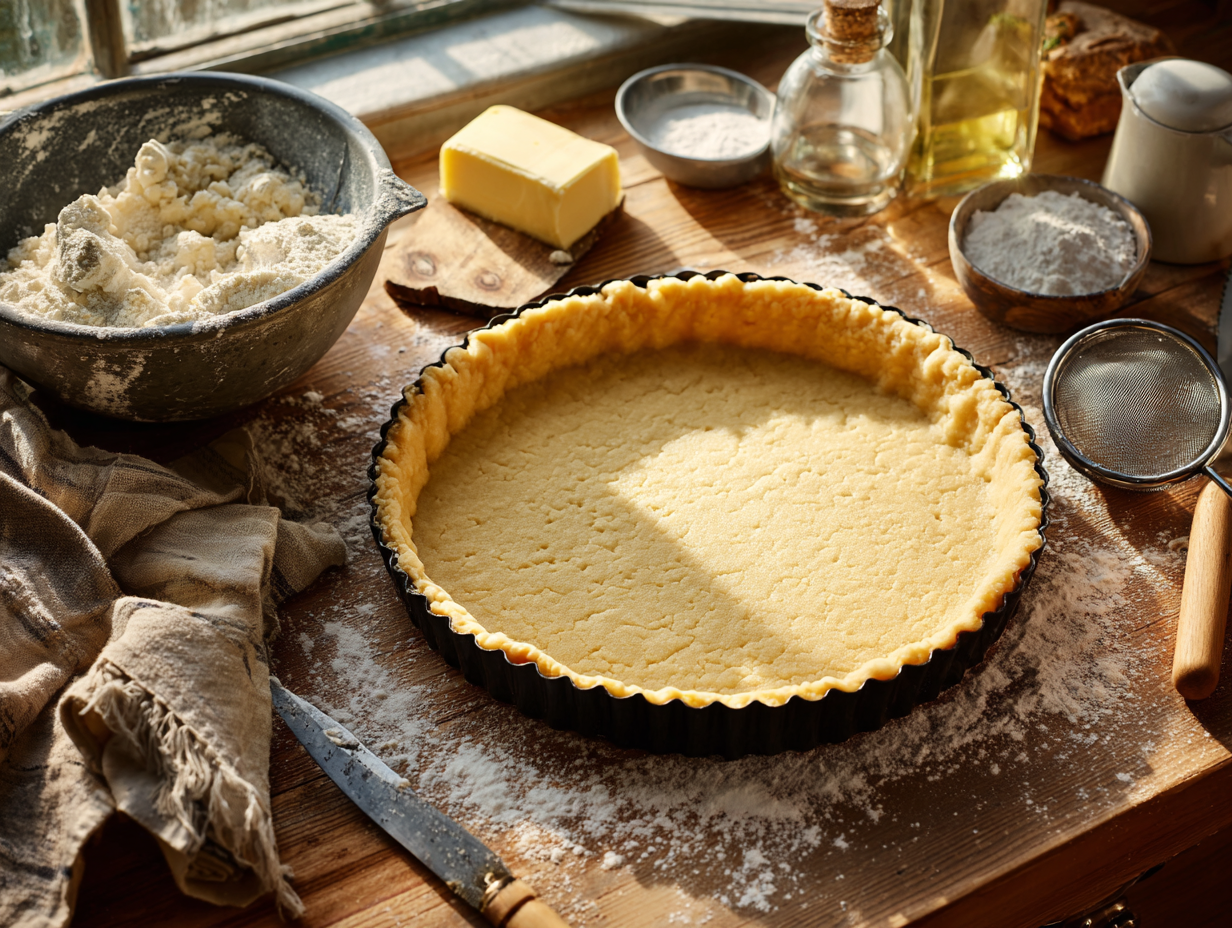
This shortbread crust is five ingredients pressed into a pan — no rolling pin, no blind baking, no pie weights. It bakes firm enough to hold custards, curds, and no-bake fillings without going soggy, and it comes together in about 15 minutes of hands-on work. If you’ve ever fought with a crumbly pastry crust, this is the one you’ll keep coming back to.
Before you start
The single thing that makes or breaks this crust is keeping the butter cold. Cold butter doesn’t fully incorporate into the flour — it stays in small, separate pieces. Those pieces create the crumbly, slightly layered texture that makes shortbread different from a dense cookie base. Pull the butter from the fridge right before you cube it, and work quickly. If your kitchen is warm and the mixture starts to feel greasy or paste-like before you’ve pressed it into the pan, set the bowl in the freezer for five minutes and continue. The second thing worth knowing: press the dough firmly and evenly, especially up the sides of the tart pan. Thin spots will over-bake and crack before the thicker base is done. Use the flat bottom of a measuring cup on the base and your thumb to pack the sides — slow and deliberate beats fast and uneven every time.
If something goes sideways
- The edges brown but the center looks raw: Your oven likely runs hot at the edges. Next time, rotate the pan halfway through baking. This time, tent the edges loosely with a small strip of foil and give the center another three to four minutes.
- The crust shrinks away from the sides of the pan: The butter was too warm when you pressed the dough in, so it contracted during baking. Chill the pressed, unbaked crust in the fridge for 15 minutes before it goes into the oven — this firms the fat back up and holds the shape.
- The crust crumbles when you try to slice it: It needed more time in the oven. A properly baked shortbread crust feels firm and dry to the touch at the center, not just at the edges. It also needs to cool completely before filling — cutting into a warm shortbread crust will always cause it to fall apart.
- The dough won’t come together and stays powdery: Add vanilla last and stir it in thoroughly — it provides just enough moisture to bind the dough. If it’s still not holding, add cold water half a teaspoon at a time, no more than one teaspoon total.
- The crust sticks to the pan: A standard non-stick tart pan with a removable bottom usually releases cleanly, but if yours doesn’t, lightly butter the pan before pressing in the dough. Skip the parchment — it bunches at the corners and creates uneven thickness.
Shopping notes
Unsalted butter is worth buying specifically for this recipe rather than using salted and adjusting — the salt content in salted butter varies by brand, and shortbread has so few ingredients that the balance matters. Use whatever all-purpose flour you have; bread flour will make the crust noticeably tougher, so skip it if that’s all that’s in the pantry. Pure vanilla extract is called for in the recipe, and it’s the right call here — imitation vanilla has a sharper, slightly chemical edge that’s more noticeable in a simple dough than it would be in a heavily spiced cake. If you’re considering the almond flour swap noted in the recipe card, coconut flour is a much harder substitution than almond flour and requires significant liquid adjustment; almond flour is the more reliable gluten-free route.
Storage and make-ahead
The baked, unfilled crust keeps well at room temperature for up to two days — cover it loosely with a clean kitchen towel rather than wrapping it tightly in plastic, which traps steam and softens the texture. Once filled, storage depends entirely on the filling, but the crust itself holds its structure in the fridge for up to four days without going unpleasantly soft. To get ahead, press the unbaked dough into the tart pan, wrap the whole pan in plastic wrap, and refrigerate it for up to 48 hours before baking — this actually improves the texture slightly by giving the flour time to hydrate evenly. The baked crust also freezes well: cool it completely, wrap the pan tightly in two layers of plastic wrap, and freeze for up to six weeks. Thaw at room temperature for an hour before filling.
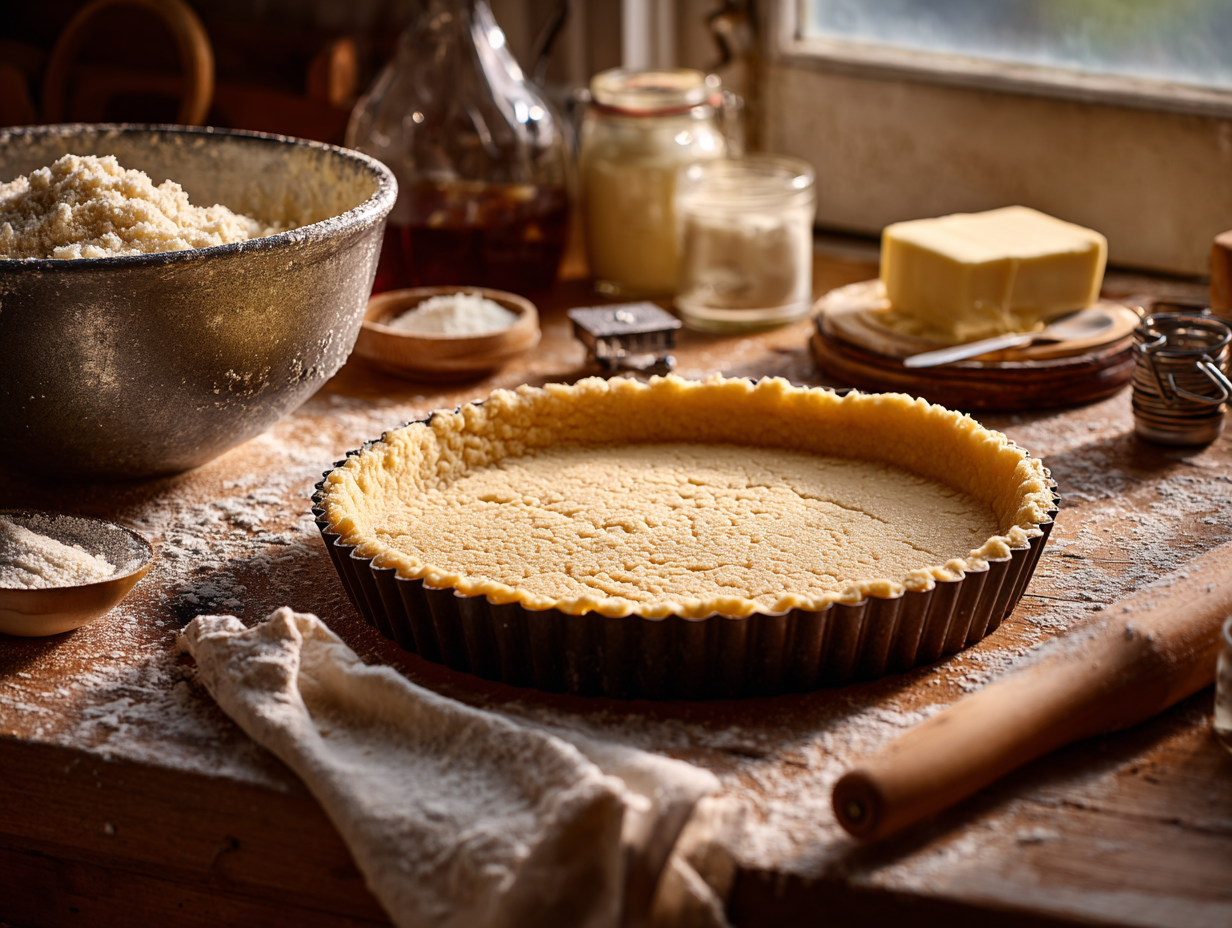
Classic Shortbread Dessert Crust

Equipment
- Mixing Bowl
- Pastry cutter or fork
- 9-inch tart pan
- Baking sheet
Ingredients
- 1 cup unsalted butter cold and cubed
- 0.5 cup granulated sugar preferably organic
- 2 cups all-purpose flour sifted
- 1 teaspoon vanilla extract pure vanilla
- 0.25 teaspoon salt
Instructions
- Preheat the oven to 350°F (175°C). This temperature allows the crust to bake evenly without browning too quickly.
- In a mixing bowl, combine the flour, sugar, and salt. Use a whisk to ensure even distribution of the salt.
- Add the cold, cubed butter to the dry ingredients. Using a pastry cutter or fork, blend the butter until the mixture resembles coarse crumbs.
- Stir in the vanilla extract until the dough begins to hold together.
- Transfer the mixture into a 9-inch tart pan, pressing it evenly across the bottom and up the sides. Use the flat bottom of a measuring cup to create an even surface.
- Place the tart pan on a baking sheet and bake in the preheated oven for 25 minutes, or until the edges are lightly golden.
- Remove from the oven and let cool completely before adding your desired filling.
Notes
- For a gluten-free alternative, substitute all-purpose flour with almond or coconut flour, adjusting the bake time as needed.
- Enhance the flavor by adding a pinch of zest from a lemon or orange.
Nutrition
Your questions, answered
Can I use salted butter instead of unsalted?
You can, but leave out the added salt in the recipe entirely. Salted butter varies in sodium content between brands, so the result may be slightly saltier than intended — not a disaster, but worth knowing before you start.
Do I need a tart pan with a removable bottom, or will a regular pie dish work?
A regular pie dish works fine, though you’ll serve the crust from the dish rather than removing it cleanly. The removable-bottom tart pan makes for a neater presentation if you’re serving the finished tart as a standalone dessert.
How do I know when the crust is actually done — the edges look golden but the center still looks pale?
The center will always look a shade paler than the edges, and that’s normal. What you’re looking for is the center feeling dry and set when you press it very gently with a fingertip — it shouldn’t feel soft or give at all. If it still has any give, give it two more minutes.
Can I make this in a square or rectangular pan instead of a round tart pan?
Yes — an 8-inch square pan works well with the same quantity of dough. Press it to an even thickness across the bottom; you won’t be pressing up the sides, so the bake time may be a minute or two shorter.
My dough looks more like dry crumbs than dough — is that right before pressing it in?
Yes, that’s exactly right. Shortbread dough doesn’t look like a cohesive ball before it’s pressed — it should look like coarse, slightly damp crumbs that just barely hold together when you squeeze a handful. It comes together under the pressure of pressing it into the pan.
If you liked this one
- Dark Chocolate Orange Shortbread
- French Brown Butter Chocolate Tart
- Blackberry Mascarpone Tart
- Lemon Thyme Shortbread Bars