

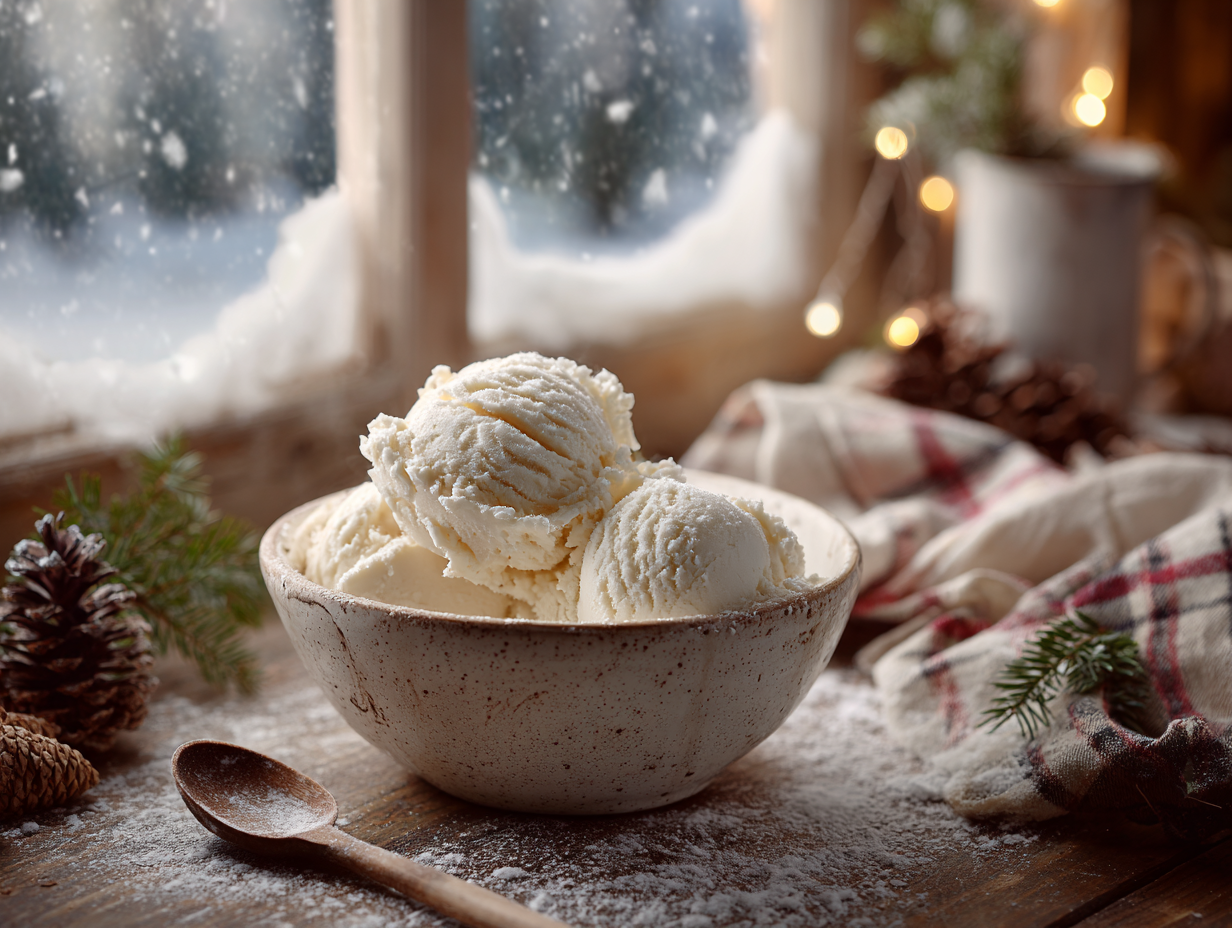
Snow ice cream is exactly what it sounds like: fresh snow stirred together with whole milk, sugar, vanilla, and a pinch of salt until it holds a soft, scoopable texture. No machine, no freezing time, no special equipment. The honest reason to make it is that it comes together in under ten minutes and kids will talk about it for the rest of the winter.
Why this recipe works
Two things actually matter here. First, the sugar dissolves completely into the milk before the snow goes in — this keeps the sweetness even throughout instead of leaving gritty pockets. Second, the snow is folded in gradually rather than dumped in all at once, which lets you control the final texture precisely. Add too little snow and you get a sweet milk slush; add too much and it turns crumbly and dry. Stopping when it just holds its shape in a spoon is the right call. Everything else in this recipe is forgiving.
Common problems and fixes
- It melts before everyone gets a bowl: Chill your mixing bowl in the freezer for 15 minutes before you start. For larger batches, work in two or three smaller bowls rather than one giant one — the mass of warm hands and room-temperature air works against you fast.
- The texture is icy and grainy, not creamy: You likely used wet, heavy snow rather than light, powdery snow. Wet snow has larger ice crystals and doesn’t incorporate smoothly. If that’s all you have, use slightly less milk to compensate.
- It tastes flat or bland: The vanilla measurement assumes pure extract. If you’re using imitation vanilla, start with half the amount — it’s stronger and can turn sharp. A small pinch of extra salt also sharpens the flavor noticeably.
- It’s too sweet for some people: The recipe is written on the sweeter side. You can reduce the sugar to ⅓ cup without affecting the texture at all.
- Running out mid-party: Pre-mix the milk, sugar, vanilla, and salt in a pitcher and refrigerate it. When snow is ready, just pour and fold — this cuts your active time per batch to about two minutes and makes scaling up much smoother.
Shopping notes
Every ingredient here is a standard pantry staple, so there’s nothing unusual to track down. One note worth making: whole milk genuinely produces a creamier result than 2% or skim, because the fat content helps the mixture hold together. If you’re scaling up for a crowd and buying milk specifically for this, don’t substitute lower-fat versions to save money — the difference is noticeable. For a dairy-free version, full-fat oat milk works better than almond milk because its fat content is closer to whole milk.
Storage and make-ahead
Snow ice cream does not store well — this is not a make-ahead dessert. It should be eaten within minutes of being made. If you put leftovers in the freezer, the snow recrystallizes and the texture becomes hard and unpleasant; there’s no recovering it. The only real make-ahead step is preparing the liquid base (milk, sugar, vanilla, salt) up to 24 hours in advance and keeping it covered in the fridge, so you can move quickly once the snow is collected. Skip making decorative toppings or garnishes ahead of time — not worth the extra dish when the whole thing needs to be served immediately anyway.
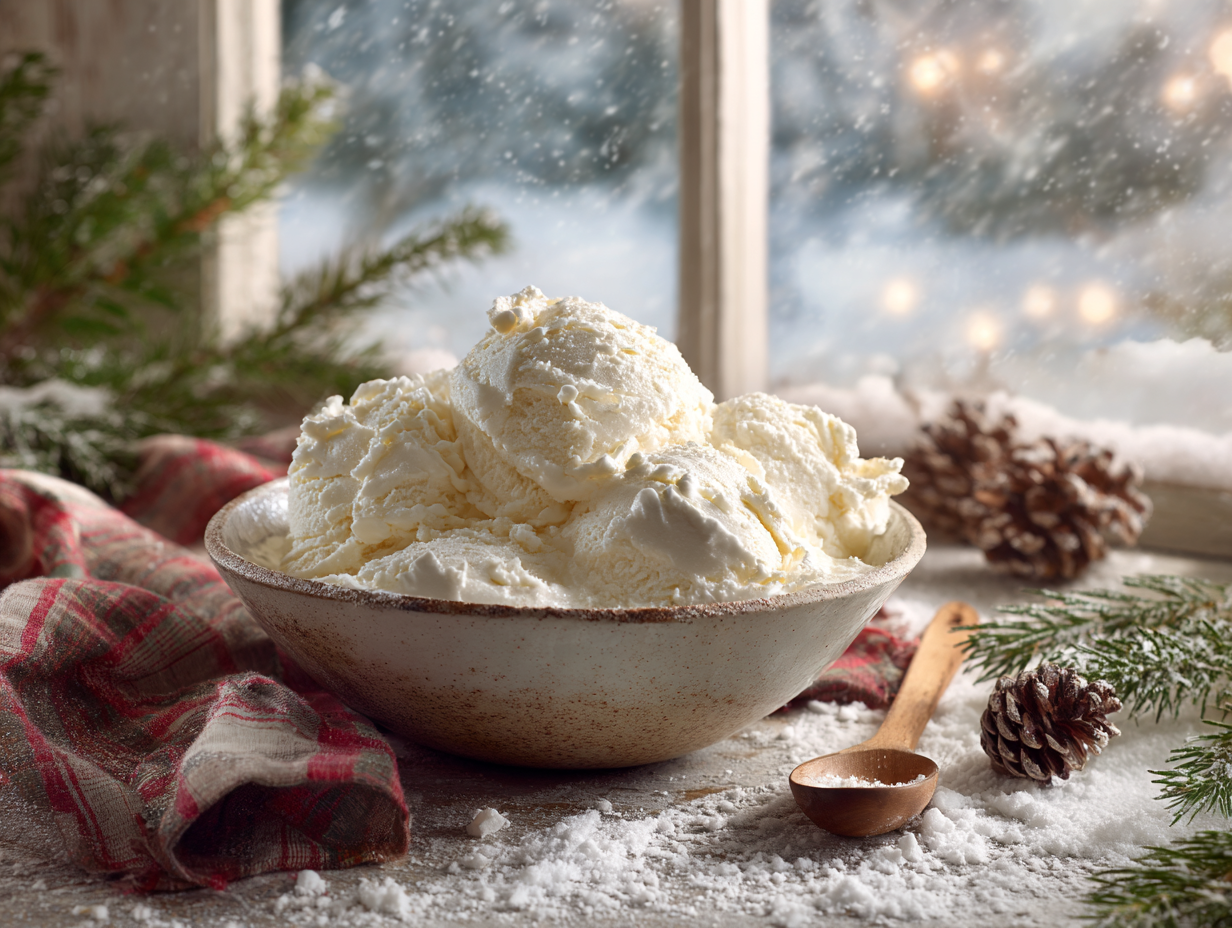
Homemade Snow Ice Cream

Equipment
- Large Mixing Bowl
- Wooden Spoon or Spatula
- Measuring cups
Ingredients
- 8 cups fresh clean snow gathered just before preparing to maintain freshness
- 1 cup whole milk cold and fresh for the creamiest texture
- ½ cup granulated sugar to sweeten the snow gently
- 1 tablespoon vanilla extract pure vanilla for a richer flavor
- ⅛ teaspoon salt to balance the sweetness
Instructions
- In a large mixing bowl, combine the milk, sugar, vanilla extract, and salt. Stir until the sugar is completely dissolved and the mixture is smooth.
- Gradually add the snow to the mixture, folding it in gently with a wooden spoon or spatula. Continue adding snow until the mixture reaches your desired ice cream consistency.
- Serve immediately in bowls and enjoy your homemade snow ice cream, best consumed quickly for the freshest taste.
Notes
- For a twist in flavor, consider adding a few drops of peppermint extract or a sprinkle of cinnamon.
- For a dairy-free version, substitute almond milk for whole milk.
Nutrition
FAQ
How much snow do I need if I’m making this for a large group?
Plan on 8 cups of snow per 4 servings, so double or triple the full recipe batch by batch rather than trying to mix one enormous bowl. Snow ice cream loses texture quickly as it sits, so working in smaller batches — even if it means a few rounds — keeps each serving at the right consistency.
Is it actually safe to eat snow?
Fresh snow collected away from roads, driveways, and areas where pets have been is generally considered safe for healthy adults and children. Collect it from an open area after it has been falling for at least 30 minutes, which allows the first layer — which picks up more airborne particles — to pass.
Can I use condensed milk instead of whole milk and sugar?
Yes, sweetened condensed milk works and is a common swap. Use about ½ cup in place of the 1 cup whole milk plus ½ cup sugar, and skip the added sugar entirely since condensed milk is already very sweet.
What if it snows and I’m not ready to make it right away?
You can scoop clean snow into a large bowl or container and keep it in your freezer for a few hours before using it. It won’t be quite as light and powdery as freshly fallen snow, but it still works — just expect a slightly denser result.
Can I add mix-ins like sprinkles or chocolate chips?
Yes, but stir them in at the very end, right before serving. Adding mix-ins too early slows down the folding process and gives the ice cream more time to melt before it reaches the bowl.
Try these next
- Honeycomb Ice Cream
- Tropical Coconut Cardamom Ice Cream
- Gourmet Vanilla Bean Marshmallows
- Nutty Brown Butter Vanilla Bean Cupcakes