

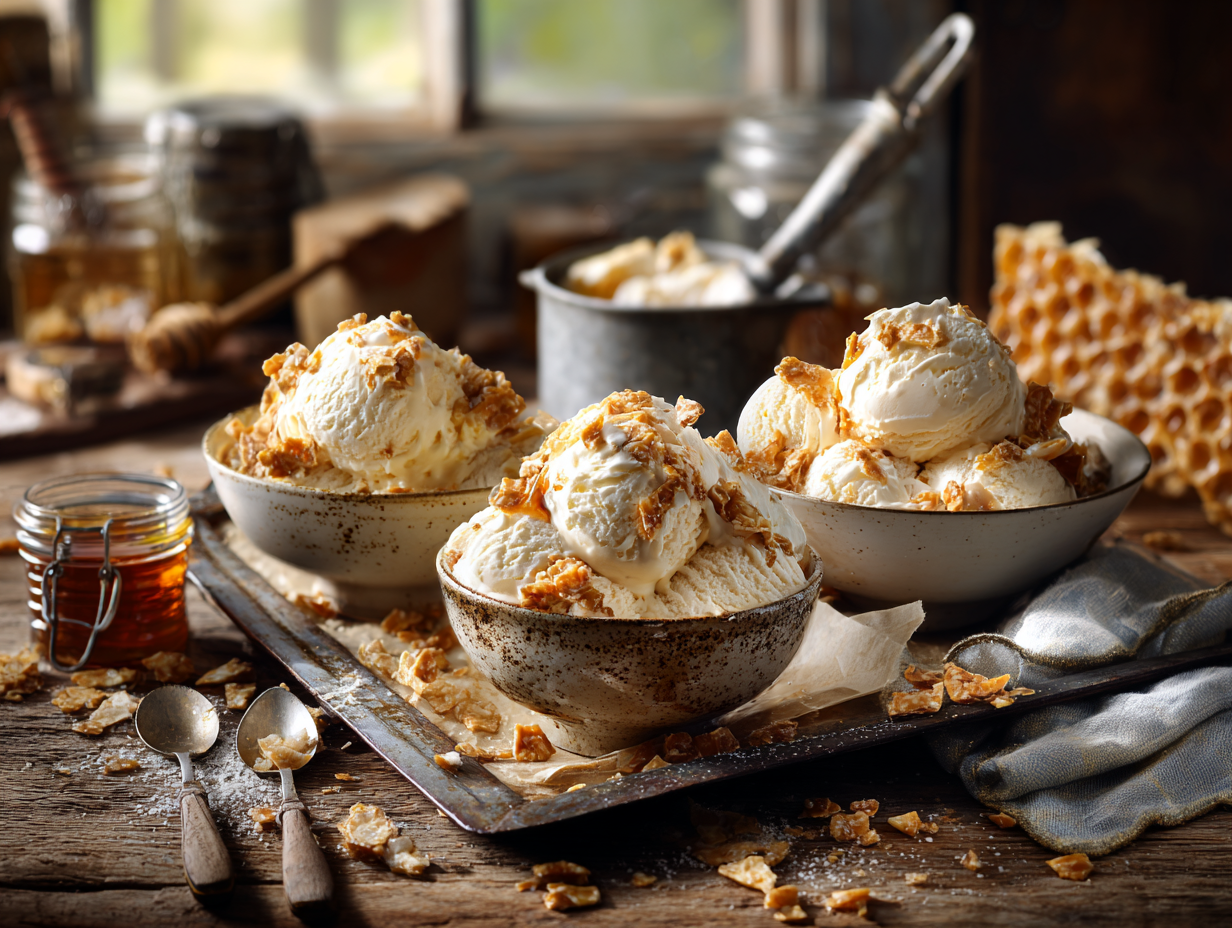
Honeycomb ice cream is vanilla ice cream packed with shards of brittle, aerated toffee — the same candy known as hokey pokey in New Zealand. The honeycomb is made from scratch with sugar, honey, and baking soda, then broken into pieces and folded through a no-cook, egg-free ice cream base. It takes about an hour of active work plus freezing time, and the result is genuinely better than anything you can buy.
Before you start
Two things will make or break this recipe. First, the honeycomb: you need to hit 300°F (150°C) before pulling the pan off the heat — a candy thermometer is not optional here. Pull it too early and the candy stays chewy and sticky instead of snapping cleanly; go much past 300°F and it turns bitter. Have your lined baking tray ready before the sugar even goes on the stove, because once you whisk in the baking soda you have about five seconds to pour before the foam starts to collapse. Second, the honeycomb must be completely cool and fully set — at least an hour at room temperature — before it touches the ice cream. Fold it in while the candy is still warm and it dissolves into the base instead of staying crunchy.
Storage and freezing
Finished honeycomb ice cream keeps well in an airtight container in the freezer for up to two weeks; press a piece of plastic wrap directly onto the surface before sealing the lid to reduce ice crystals. The honeycomb pieces will soften gradually over time as they absorb moisture from the cream, so the texture is at its best within the first four to five days. If you want to get ahead, make the honeycomb candy up to a week in advance — store it in an airtight container at room temperature with a silica gel packet or a small piece of dry bread to absorb humidity, and it will stay crisp and ready to fold in whenever you churn. The ice cream base can be mixed and refrigerated up to 24 hours before churning. Do not store finished ice cream in the fridge; it will melt unevenly and the candy will turn to toffee syrup.
If something goes sideways
- Honeycomb won’t set firm — it’s sticky and bendy: The sugar didn’t reach 300°F. There’s no fix once it’s poured; let it cool fully and taste it. If it’s chewy rather than brittle, use it as a topping instead of folding it in, and make a fresh batch for the ice cream.
- Honeycomb pieces disappear into the ice cream: They were added too soon, while the churned base was still very soft and warm from the machine. Next time, spread the churned ice cream into its container, scatter the honeycomb on top, fold just two or three times, and freeze immediately rather than mixing thoroughly.
- Ice cream base won’t dissolve the sugar after stirring: The cream and milk are too cold straight from the fridge. Let them sit at room temperature for 10 minutes, or whisk briefly over low heat — just enough to dissolve the sugar, not to cook anything — then chill the base fully before churning.
- Ice cream is icy and grainy rather than creamy (no-churn method): The stirring intervals were too far apart. For the no-churn approach, stir every 45 minutes for the first three hours — skip the garnish on top before the final freeze, not worth the extra dish — then leave it undisturbed to set firm overnight.
- Honeycomb candy is very dark and tastes bitter: The caramel went past 300°F, likely because the pan stayed on the heat after the thermometer read close to temperature. Residual heat in a heavy pan can push it 10–15 degrees higher. Pull the pan at 295°F if you’re using cast iron or a thick-bottomed saucepan.
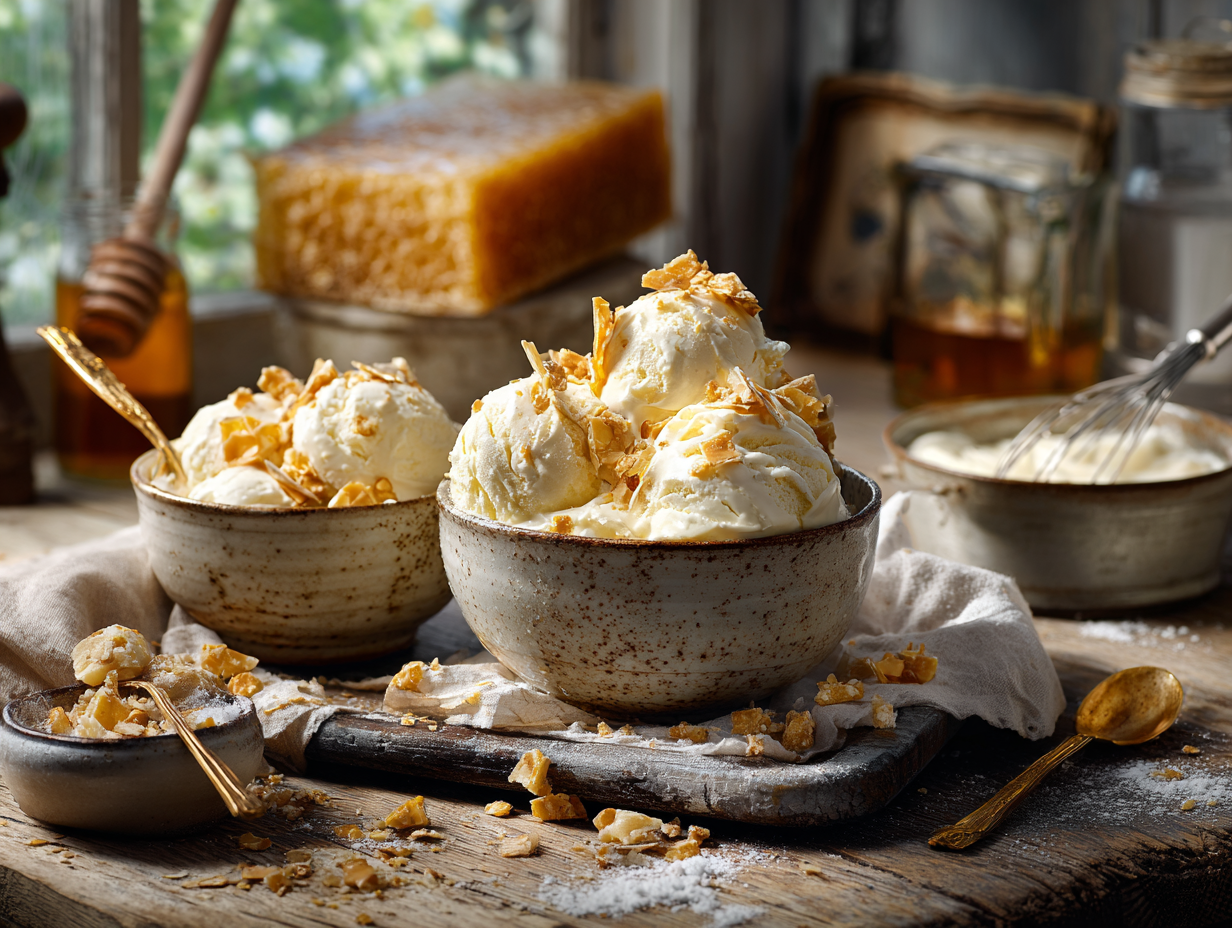
Honeycomb Ice Cream

Equipment
- Ice Cream Maker
- Medium saucepan
- Whisk
- Mixing Bowls
- Baking Tray
- Candy Thermometer
Ingredients
For the Honeycomb:
- 1 cup granulated sugar
- ¼ cup honey
- 2 tablespoons water
- 1 ½ teaspoons baking soda ensure no lumps
For the Ice Cream Base:
- 2 cups heavy cream
- 1 cup whole milk
- ¾ cup granulated sugar
- 1 tablespoon vanilla extract
- ¼ teaspoon salt
Instructions
- Prepare the Honeycomb: In a medium saucepan, combine the sugar, honey, and water. Cook over medium heat until the mixture reaches 300°F (150°C) on a candy thermometer. Remove from heat and quickly whisk in the baking soda until it foams up. Pour onto a lined baking tray and let it cool completely.
- Make the Ice Cream Base: In a mixing bowl, combine the heavy cream, whole milk, sugar, vanilla extract, and salt. Stir until the sugar is dissolved. Chill in the refrigerator for at least 2 hours.
- Churn the Ice Cream: Pour the chilled ice cream base into an ice cream maker and churn according to the manufacturer's instructions, usually about 20 minutes, until it reaches a soft-serve consistency.
- Add Honeycomb: Break the cooled honeycomb into small pieces. Gently fold them into the churned ice cream, ensuring even distribution.
- Freeze and Set: Transfer the ice cream to an airtight container. Freeze for at least 4 hours or until firm before serving.
Notes
Tammy’s Tips:
- To prevent the honeycomb from becoming sticky, avoid making it on a humid day.
- For a richer flavor, try dark honey varieties.
- If you don't have an ice cream maker, freezing the mixture and occasionally stirring will still yield a satisfactory result, though the texture will differ.
Nutrition
Frequently asked questions
Do I really need a candy thermometer, or can I use the cold-water test?
A candy thermometer is strongly recommended for this recipe. The cold-water test can work — 300°F is the hard-crack stage, where a drop of syrup shatters in cold water — but the window between underdone and burnt is narrow, and a thermometer gives you a reliable read without repeatedly opening the pan and losing heat.
Can I make this without an ice cream maker?
Yes, but expect a denser, slightly icier texture than churned ice cream. Pour the base into a shallow freezer-safe container, freeze until the edges are solid but the center is still slushy (about 45 minutes), then stir vigorously with a fork; repeat every 45 minutes for three hours before folding in the honeycomb and freezing solid.
Will the honeycomb stay crunchy in the ice cream, or does it go soft?
It softens over time as it absorbs moisture from the cream. For the crunchiest result, eat the ice cream within four days of making it. After that the pieces take on a chewy, toffee-like texture — still good, just different.
Can I package this as a gift or does it need to be eaten right away?
It travels and gifts well as long as it stays frozen. Pack the ice cream in a sealed container inside an insulated bag with dry ice or a frozen gel pack, and it will hold for two to three hours in transit. For gifting, a batch of the honeycomb candy on its own — wrapped in parchment and sealed in a tin — keeps for up to a week at room temperature and makes a simpler, more stable gift than the ice cream itself.
What type of honey works best here?
A medium-flavored honey like clover or wildflower gives a clean caramel note without competing with the vanilla. Very strongly flavored honeys — buckwheat, for example — can make the toffee taste slightly medicinal once cooked, so save those for something where the honey flavor is front and center.
What to bake next
- Tropical Coconut Cardamom Ice Cream
- Caramelized Honey Frozen Dessert
- Gourmet Vanilla Bean Marshmallows
- Sweet Roasted Strawberry Ice Cream