

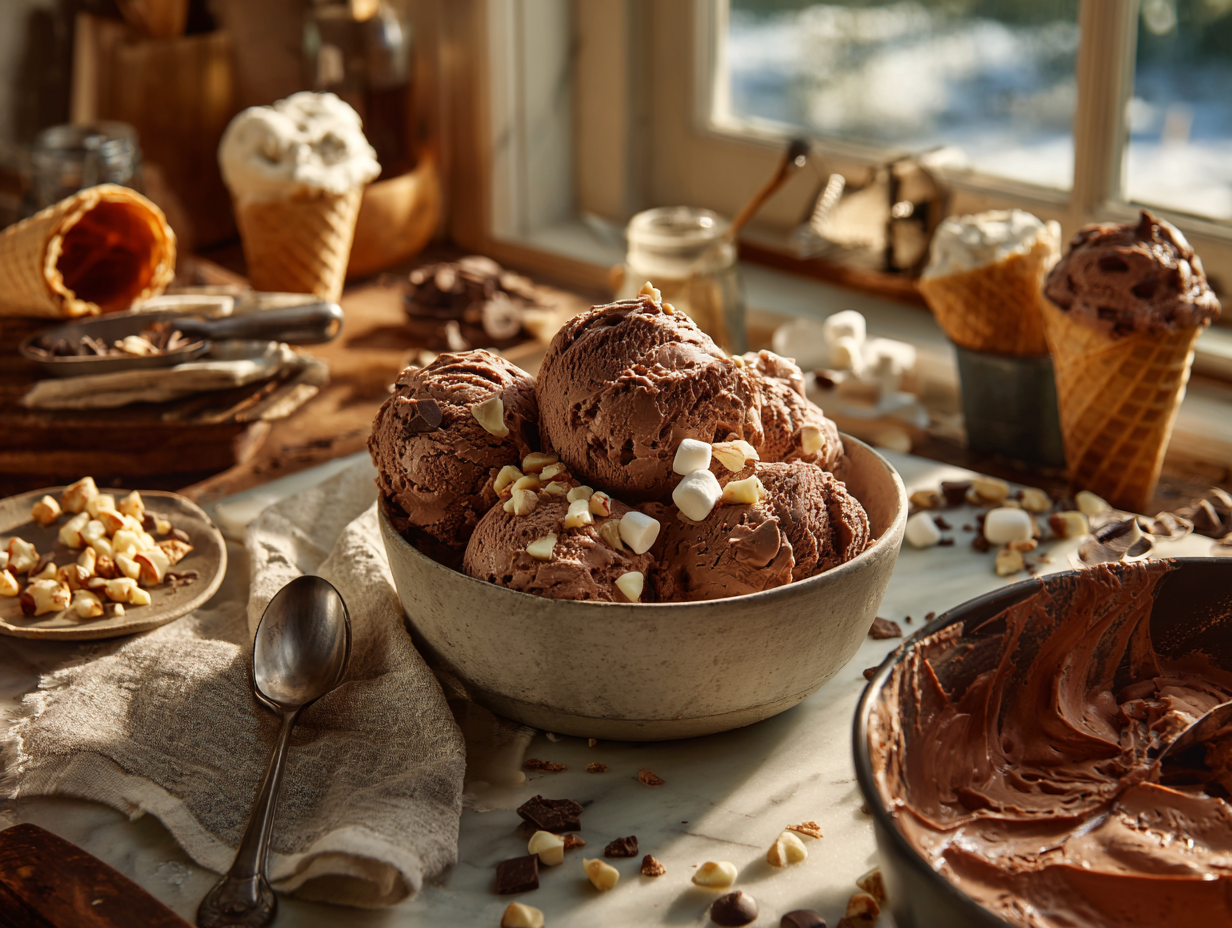
Rocky Road ice cream is a chocolate base packed with roasted almonds, mini marshmallows, and dark chocolate chips — three add-ins that give you crunch, chew, and extra richness in every scoop. This homemade version takes about 30 minutes of active work, then the freezer does the rest. If you have an ice cream maker and a whisk, you have everything you need.
The short version of why this works
Two things matter most here. First, dissolving the sugar and cocoa powder together in warm cream and milk before churning ensures a smooth, grit-free base — rushing this step and churning while the mixture is still warm will give you icy, uneven results, so let it cool fully. Second, folding the add-ins in after churning rather than during it protects the marshmallows from breaking down into the base and keeps the almonds from getting pulverized. You want distinct pockets of each ingredient, not a blended mush.
Substitutions that actually work
- Dutch-processed cocoa powder: This is worth seeking out. Natural cocoa will work but produces a noticeably sharper, more acidic chocolate flavor. The Dutch-processed version gives you a deeper, mellower result that suits ice cream well.
- Roasted almonds: Buy them pre-roasted to save a step. Raw almonds will taste flat by comparison. If you need a nut-free version, toasted pumpkin seeds hold up well in the freezer and add a similar crunch.
- Dark chocolate chips: Semi-sweet chips are a fine swap. Avoid milk chocolate — it tends to get waxy once frozen.
- Whole milk: 2% milk works but produces a slightly icier texture. Do not substitute non-dairy milk without expecting a meaningful change in creaminess.
Storage and make-ahead
Store the finished ice cream in an airtight container with a piece of plastic wrap pressed directly onto the surface — this prevents ice crystals from forming on top. It keeps well in the freezer for up to 3 weeks before the texture starts to suffer. The base (before churning) can be made up to 2 days ahead and kept covered in the fridge, which actually helps: a thoroughly chilled base churns faster and produces a creamier result. Pull the finished ice cream out of the freezer and let it sit at room temperature for 5 minutes before scooping — it firms up considerably after the full freeze.
Mistakes to avoid
- Churning a warm base: If the mixture goes into the ice cream maker above fridge temperature, it will churn slowly and freeze unevenly. Give it at least 2 hours in the fridge, or 30 minutes in an ice bath, before churning.
- Overfilling the ice cream maker: The base expands as it churns. Fill the bowl no more than two-thirds full or you risk overflow and uneven freezing.
- Adding the mix-ins too early: Putting marshmallows and almonds into the machine while it is still running will break them apart. Wait until the ice cream is fully churned and transferred to its container, then fold them in by hand.
- Skipping the final freeze: Freshly churned ice cream is soft-serve consistency. It needs the full 8 hours in the freezer to set properly — skip the garnish of extra chips on top before the final freeze, not worth the extra dish when you can add them fresh at serving.
- Using a warm container: Transfer the churned ice cream into a container that has been chilling in the freezer for at least 15 minutes. A room-temperature container raises the surface temperature of the ice cream and slows the final set.
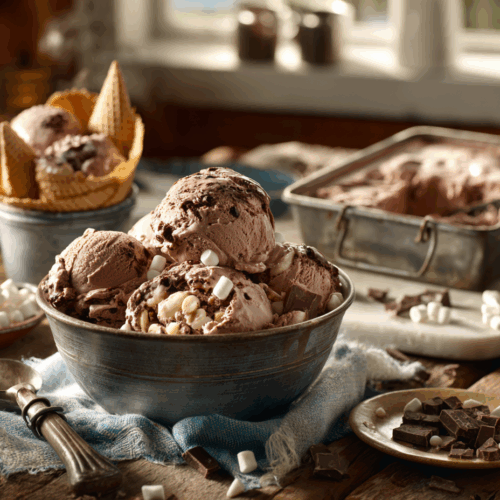
Rocky Road Ice Cream

Equipment
- Ice Cream Maker
- Mixing Bowls
- Whisk
- Saucepan
- Measuring cups
- Spatula
Ingredients
For the Chocolate Ice Cream Base:
- 2 cups heavy cream high quality
- 1 cup whole milk preferably organic
- 0.75 cup granulated sugar
- 0.5 cup unsweetened cocoa powder preferably Dutch-processed
- 1 teaspoon vanilla extract
- 1 pinch salt
For the Add-Ins:
- 1 cup mini marshmallows
- 0.75 cup roasted almonds roughly chopped
- 0.5 cup dark chocolate chips
Instructions
Prepare the Chocolate Ice Cream Base:
- In a saucepan, combine heavy cream, milk, sugar, cocoa powder, and a pinch of salt. Whisk together and place over medium heat. Stir continuously until the sugar dissolves completely and the mixture is smooth.
- Remove from heat and stir in the vanilla extract. Pour the mixture into a mixing bowl and allow it to cool to room temperature.
Churn the Ice Cream:
- Once cooled, transfer the mixture to an ice cream maker. Churn according to the manufacturer's instructions until it reaches a thick, creamy consistency.
Incorporate the Add-Ins:
- Gently fold in the mini marshmallows, chopped roasted almonds, and chocolate chips. Ensure even distribution.
Freezing:
- Transfer the ice cream into an airtight container. Freeze for at least 8 hours, or until firm.
Notes
- For a nut-free version, replace almonds with your favorite seeds or omit entirely.
- Enhance the depth of chocolate flavor by adding a tablespoon of coffee powder to the base.
Nutrition
Common questions
Can I make this without an ice cream maker?
You can, but the texture will be noticeably icier. Pour the cooled base into a shallow freezer-safe dish, freeze for 45 minutes, then scrape and stir vigorously with a fork. Repeat every 30–45 minutes for 3–4 hours before folding in the add-ins and doing a final freeze — it takes patience and the result is denser than the churned version.
Why are my marshmallows rock-hard after freezing?
Marshmallows freeze solid because of their high sugar and gelatin content — this is normal and expected straight from the freezer. Let the ice cream sit at room temperature for 5 minutes before serving and they will soften back to a chewy texture.
My ice cream base looks grainy after heating — what went wrong?
The cocoa powder likely was not fully incorporated before the mixture got too hot. Next time, whisk the cocoa into the cold milk first to form a smooth paste before adding the cream and heating. If your current batch looks grainy, strain it through a fine mesh sieve before cooling — it will smooth out.
If you liked this one
- Homemade Vanilla Bean Marshmallows
- Roasted Strawberry Ice Cream
- Dark Chocolate Espresso Tartlets
- Honeycomb Ice Cream