

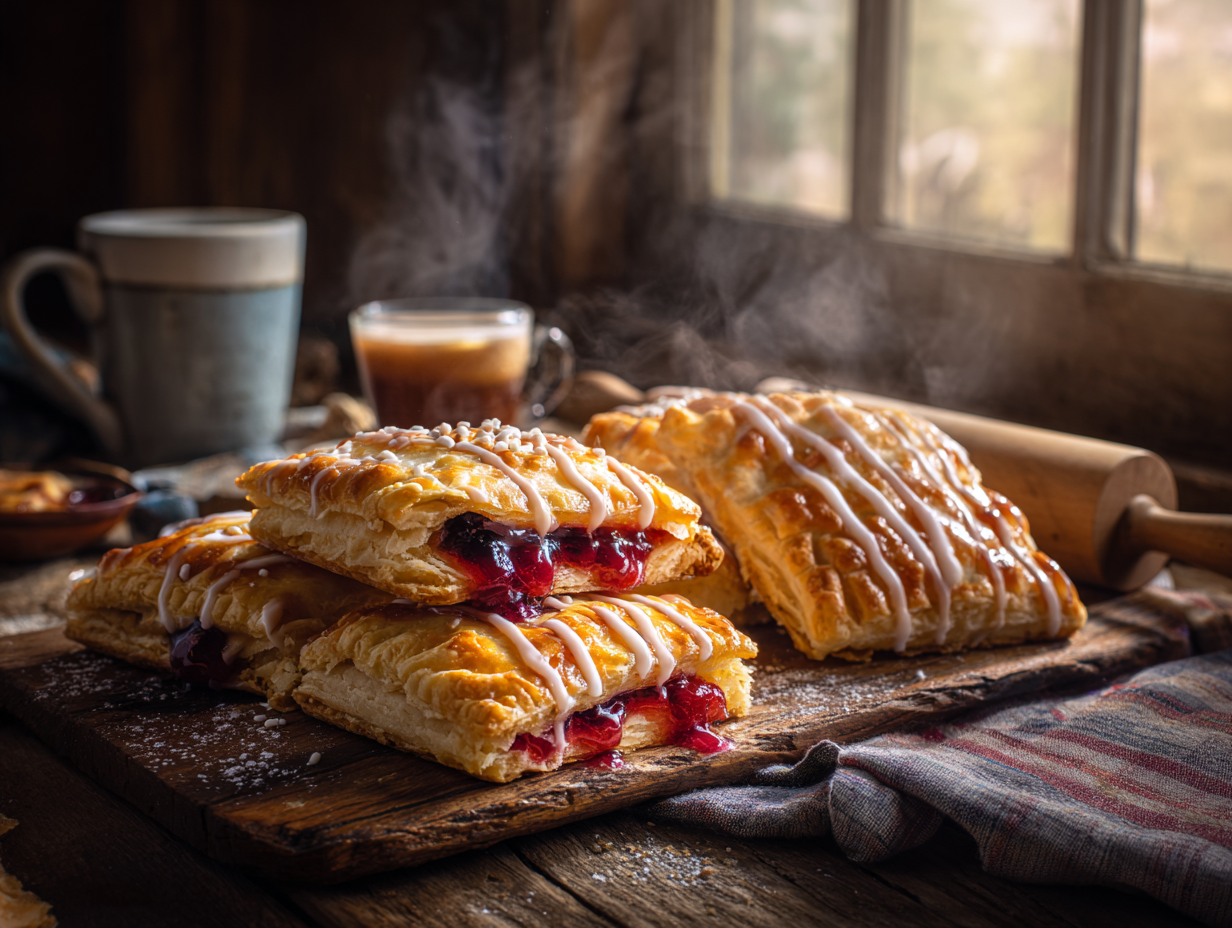
These homemade pop-tarts are hand-sized jam-filled pastries made from a buttery, flaky dough and finished with a vanilla glaze. The real reason to make them is the dough: it bakes up in a way that packaged versions simply cannot replicate. Each batch makes 8 pastries and takes about 1 hour 30 minutes start to finish, including the chill time the dough genuinely needs.
What makes this version work
Two things matter most here. First, the butter must be cold — not cool, cold. Warm butter blends fully into the flour and you lose the small, distinct fat pockets that create flaky layers as the pastry bakes. Cut the butter into cubes and put them back in the freezer for 10 minutes if your kitchen runs warm. Second, stop mixing earlier than feels right. The dough should look shaggy and rough when you press it into a disk; if it looks smooth, you’ve overworked it and the baked crust will be tough rather than tender. Both of these things are worth getting right before you roll out a single rectangle.
Substitutions that actually work
- Jam alternatives: Thick preserves or fruit butter work well. Avoid very runny jams — they steam and leak through the fork-crimped edges during baking. If your jam is loose, stir in a teaspoon of cornstarch before filling.
- Butter: Salted butter can replace unsalted; just omit the added salt in the dough.
- Milk in the glaze: Any milk works, including oat or almond milk. The glaze sets the same way.
- Flour: Unbleached all-purpose is specified, but standard bleached all-purpose produces nearly identical results here.
If something goes sideways
- Filling leaks out during baking: The seal wasn’t tight enough, or there was too much jam. Use no more than a heaping tablespoon per pastry, keep filling away from the edges, and press the fork firmly all the way around. Don’t skip the fork pricks on top — they let steam escape rather than forcing it through the seam.
- Dough tears when rolling: It’s too cold straight from the fridge. Let it sit at room temperature for 5 minutes before rolling. If it tears, press it back together with your fingers — this dough is forgiving.
- Bottoms are pale and soft: Move the baking sheet to a lower oven rack for the last 5 minutes. Pale bottoms usually mean the heat isn’t reaching the underside of the pastry.
- Glaze stays sticky and won’t set: The pastries weren’t fully cool when you glazed them. Even slightly warm pastries will keep the glaze soft. Give them at least 20 minutes on the wire rack first.
- Pastries puff up and separate at the edges: The top and bottom rectangles weren’t pressed together firmly before baking. Next time, brush the edges with water and use firm fork pressure — skip the garnish sprinkles on the seam edge, not worth the extra distraction when you’re trying to seal properly.
Storage and make-ahead
Glazed pop-tarts keep at room temperature in an airtight container for up to 3 days. For longer storage, freeze them unglazed in a single layer, then transfer to a zip bag; they keep well for up to 2 months. Reheat straight from frozen in a 350°F oven for about 10 minutes, then add the glaze once they’ve cooled slightly. If you want to break up the work, the dough can be made up to 2 days ahead and kept wrapped in the fridge, or frozen for up to a month — thaw it overnight in the refrigerator before rolling.
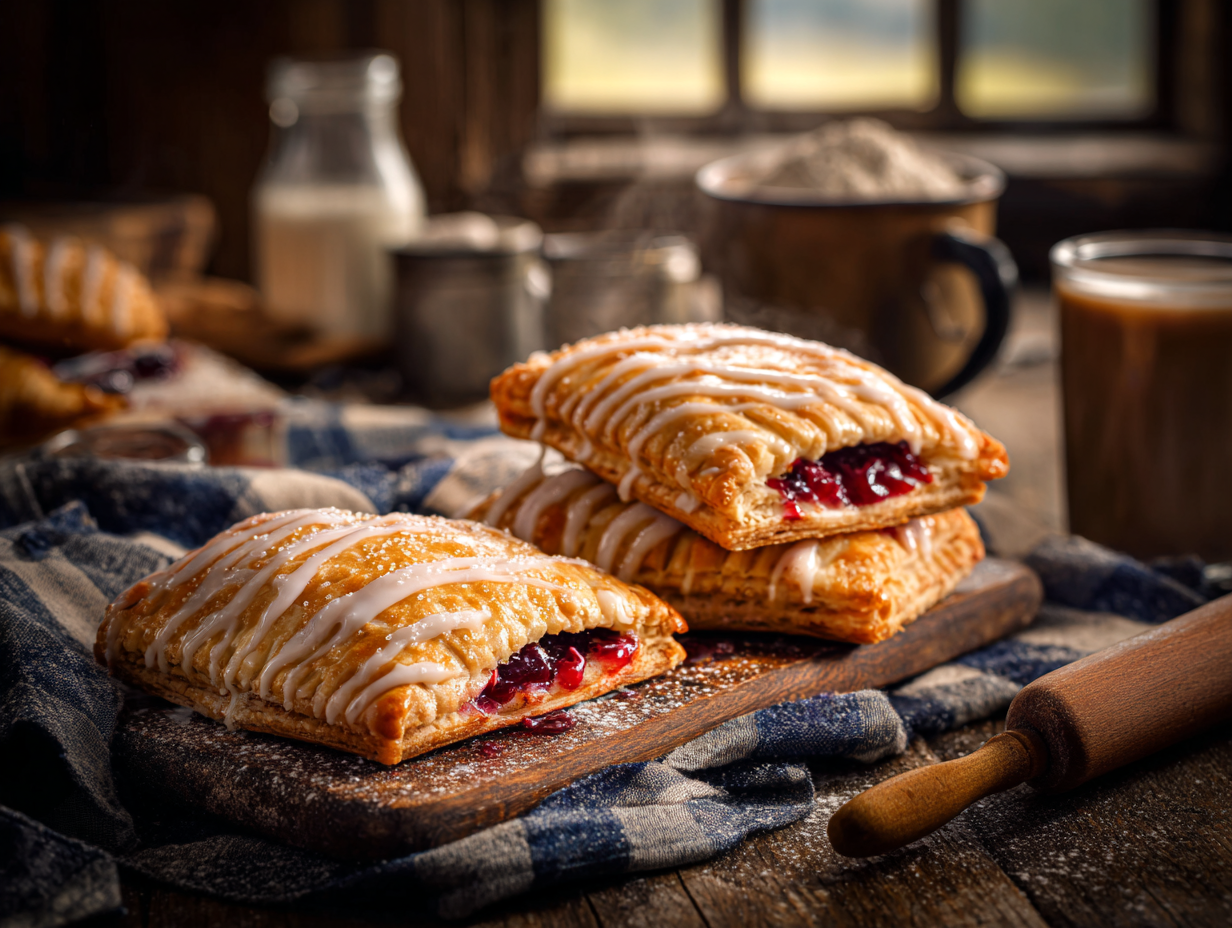
Homemade Pop-Tarts

Equipment
- Rolling pin
- Baking sheet
- Parchment Paper
- Pastry brush
- Mixing Bowl
- Whisk
Ingredients
Pastry Dough
- 2 ½ cups All-Purpose Flour preferably unbleached
- 1 teaspoon Salt
- 1 tablespoon Granulated Sugar
- 1 cup Unsalted Butter cold and cubed
- ½ cup Ice Water
Filling
- ¾ cup Fruit Jam your choice of flavor
Glaze
- 1 cup Powdered Sugar sifted
- 2 tablespoons Milk
- ½ teaspoon Vanilla Extract
Instructions
- Prepare the Pastry Dough: In a large mixing bowl, combine the all-purpose flour, salt, and granulated sugar. Add the cold, cubed butter and use a pastry cutter or your fingertips to blend until the mixture resembles coarse crumbs. Gradually add ice water, mixing until the dough holds together. Shape into a disk, wrap in plastic wrap, and refrigerate for at least 30 minutes.
- Roll Out the Dough: Preheat your oven to 375°F (190°C). Roll the chilled dough out on a floured surface to a thickness of about 1/8 inch. Cut into even rectangles, about 3x4 inches, using a sharp knife or pizza cutter.
- Fill the Pop-Tarts: Place a heaping tablespoon of your chosen fruit jam in the center of half of the rectangles. Brush the edges with water, place another rectangle on top, and press the edges with a fork to seal. Prick the tops with a fork to allow steam to escape.
- Bake: Arrange the pop-tarts on a baking sheet lined with parchment paper. Bake in the preheated oven for 20-25 minutes, or until golden brown. Let them cool on a wire rack.
- Glaze the Pop-Tarts: To make the glaze, whisk together powdered sugar, milk, and vanilla extract until smooth. Once the pop-tarts are cool, drizzle or spread the glaze over the top and allow it to set before serving.
Notes
- For an extra sheen and crunch, lightly brush the tops with egg wash before baking.
- Experiment with cinnamon-sugar fillings, chocolate spread, or peanut butter for a fun twist.
Nutrition
FAQ
Can I make these without a pastry cutter?
Yes — your fingertips work fine. Rub the cold butter cubes into the flour mixture quickly, using your thumbs and fingers, until the pieces are roughly pea-sized. Work fast so the heat from your hands doesn’t soften the butter too much; chilling the butter cubes beforehand helps.
How do I keep the rectangles even when I cut the dough?
Use a ruler and a sharp knife or pizza cutter, and cut decisively rather than dragging. A light pencil mark on the parchment paper underneath the dough gives you a guide without affecting the pastry. Scraps can be re-rolled once — after that the dough gets tough.
Do the pop-tarts have to be refrigerated before baking, or just the dough?
Just the dough needs to chill — 30 minutes minimum. Once the pastries are assembled, you can bake them right away. If you’ve assembled them and aren’t ready to bake, you can hold them on the parchment-lined sheet in the fridge for up to an hour without any problem.
Can kids help with this recipe, and where is it safe for them to pitch in?
There are several good spots for younger helpers. Measuring and mixing the dry ingredients, pressing the fork seal around the edges, and adding sprinkles to the glaze are all low-risk tasks that don’t involve the oven or sharp tools. Rolling the dough and cutting rectangles work well for older kids who can handle a rolling pin steadily.
More sweet things to bake
- Elevated Brown Butter Rice Krispie Treats
- Sweet and Tart Raspberry White Chocolate Scones
- Zesty Lemon Thyme Shortbread Bars
- Luxurious Almond Croissant Bread Pudding