

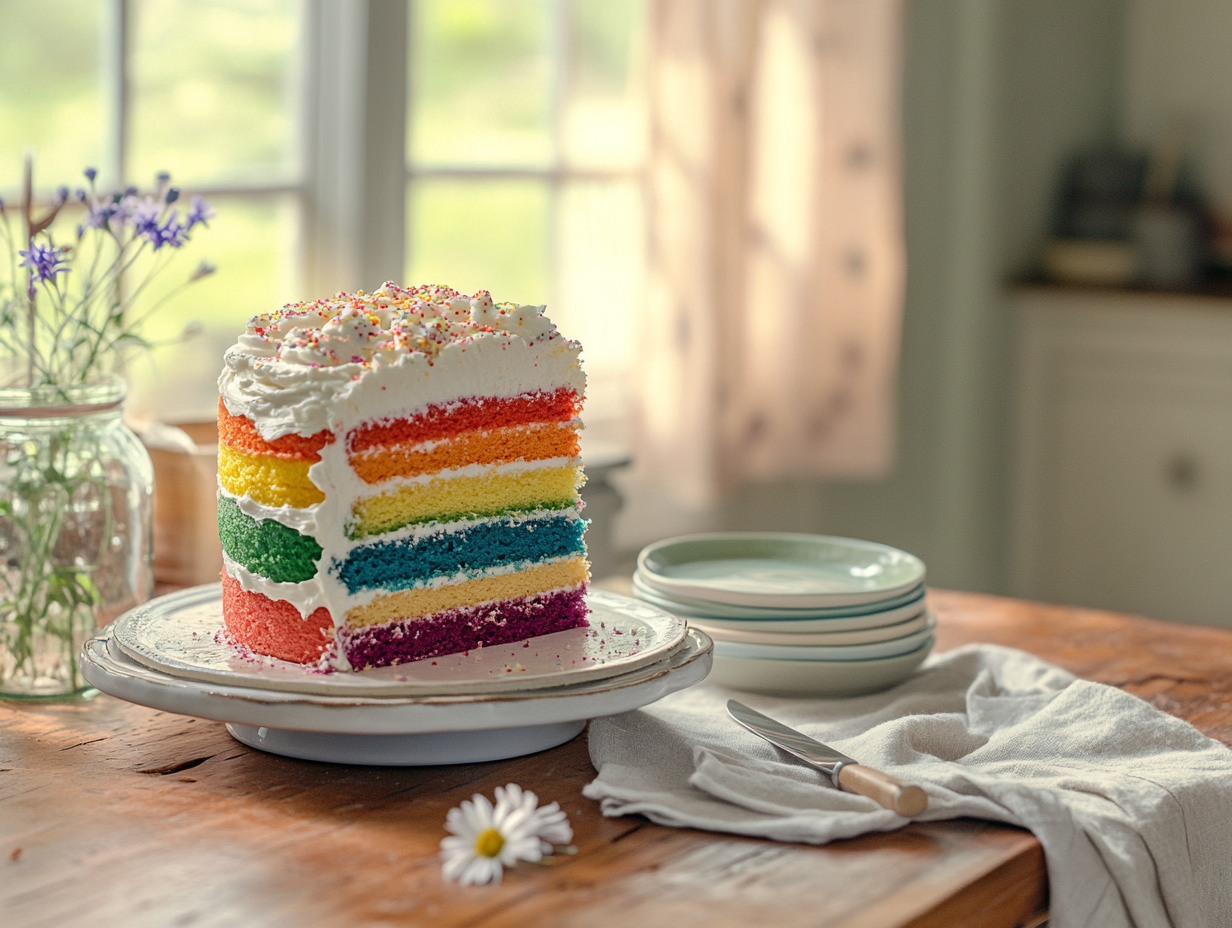
This is a six-layer vanilla butter cake, each layer dyed a different color of the rainbow, stacked and frosted with vanilla buttercream. When you slice it, the colors show. That reveal is the whole point — and it makes this one of the most crowd-pleasing cakes you can bring to a birthday, a party, or box up as a gift.
What makes this version work
Two things actually matter here. First, gel food coloring instead of liquid. Liquid dye adds enough water to throw off the batter’s texture, and the colors come out dull. Gel gives you vivid, saturated layers without changing the consistency. Second, weighing the batter into six equal portions rather than eyeballing it. Uneven portions mean uneven layer heights, and the stack looks lopsided once frosted. A kitchen scale takes about thirty seconds and saves the whole project.
What can go wrong
- Layers dome in the center: This makes stacking unstable and the finished cake leans. Use bake-even strips around your pans, or once the layers are fully cool, level each one with a serrated knife before assembling.
- Colors bleed into each other: This happens when layers aren’t completely cool before stacking. Even slight warmth softens the buttercream and lets the colors migrate at the edges. Give each layer a full hour on the rack, or 20 minutes in the fridge.
- The buttercream tears the cake surface: If your crumb coat drags and pulls, the frosting is too stiff. Add heavy cream a teaspoon at a time until it spreads without resistance.
- The cut slice looks muddy instead of distinct: Usually caused by a warm knife smearing the layers together. Wipe the blade clean and run it under cold water between each cut.
- Layers slide during transport: A single wooden dowel or bubble tea straw pushed straight down through the center of the assembled cake before the final frost keeps everything in place — skip the garnish on top if the cake is traveling, not worth the extra dish.
Ingredient notes
- Gel food coloring: Brands vary a lot. Americolor and Wilton gel colors both work well here. You’ll need more gel than you expect for the purple layer — violet and purple gels tend to be weaker than red or blue.
- Whole milk: Don’t swap for low-fat. The fat content keeps the crumb tender across six separate bakes. Plant-based milks can work in a pinch, but oat milk holds up better than almond milk here.
- Confectioners’ sugar: Sift it even if the bag says pre-sifted. Lumps in buttercream are hard to fix once the sugar is in.
Make-ahead notes
The individual cake layers bake well up to two days ahead. Once fully cool, wrap each one tightly in plastic wrap and store at room temperature if your kitchen is cool, or refrigerate if it’s warm. The buttercream can be made up to five days ahead and kept in an airtight container in the fridge — bring it fully to room temperature and re-beat it before using. The fully assembled and frosted cake keeps refrigerated for up to three days. If you’re gifting it, a chilled, fully frosted cake travels far better than a freshly assembled one; the cold buttercream acts as a firm shell that holds the layers together and protects the surface during handling. Slice only when you’re ready to serve.
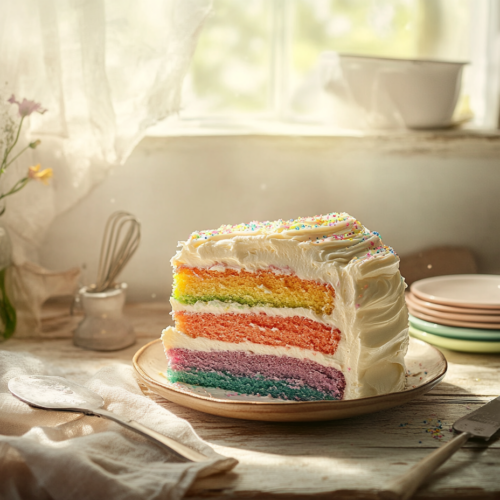
Rainbow Layer Cake

Ingredients
Cake Batter
- 3 cups all-purpose flour preferably sifted
- 2 cups granulated sugar
- 1 tablespoon baking powder
- 0.5 teaspoon salt
- 1 cup unsalted butter softened
- 4 units large eggs at room temperature
- 1.5 cups whole milk room temperature
- 1 tablespoon vanilla extract
- 6 units gel food colors red, orange, yellow, green, blue, and purple
Buttercream Frosting
- 1 cup unsalted butter softened
- 4 cups confectioners' sugar sifted
- 0.25 cup heavy cream room temperature
- 2 teaspoons vanilla extract
- 0.25 teaspoon salt
Instructions
- Preheat your oven to 350°F (175°C). Grease and flour six 9-inch (23cm) round cake pans, or work in batches if you have fewer pans.
- In a large mixing bowl, combine flour, sugar, baking powder, and salt. Mix well.
- Add the softened butter into the dry ingredients and mix until fluffy and pale, about 2-3 minutes.
- Add eggs one at a time, mixing well after each addition, then mix in the milk and vanilla extract. Mix until smooth.
- Divide the batter evenly into six bowls, approximately 1.5 cups (360ml) each. Tint each portion with a different gel food color and mix until fully combined.
- Pour each colored batter into a prepared cake pan. Bake in the preheated oven for 15-20 minutes, or until a toothpick inserted into the center comes out clean.
- Let the cakes cool in the pans for 10 minutes, then remove from the pans and cool completely on wire racks.
- For the frosting, beat the softened butter on high speed until creamy, about 2 minutes. Gradually add confectioners' sugar and mix until well combined.
- Add heavy cream, vanilla extract, and salt. Continue to beat until light and fluffy, about 3 minutes.
- To assemble, lay the purple layer on a serving plate. Spread a generous amount of frosting over the top. Repeat with the blue, green, yellow, orange, and red layers.
- Use remaining frosting to cover the top and sides of the cake. Smooth with a spatula for an elegant finish.
Notes
Nutrition
Frequently asked questions
Can I bake all six layers in one oven session if I only have two or three pans?
Yes, just work in batches and keep the uncooked colored batters covered at room temperature while earlier batches bake. The batter holds fine for up to 45 minutes without affecting the rise or texture of the finished layers.
How do I keep the outside of the cake white without the colors showing through the frosting?
Apply a thin crumb coat first, refrigerate the cake for 30 minutes until that layer is firm, then apply your final coat of buttercream. The chilled crumb coat seals in any colored crumbs and gives you a clean white surface.
Can I freeze this cake after it’s assembled?
Yes. Freeze it unwrapped for one hour until the frosting is firm, then wrap the whole cake tightly in plastic wrap and freeze for up to six weeks. Thaw overnight in the refrigerator still wrapped, then bring to room temperature before serving.
My layers came out pale even though I used a lot of gel color — what happened?
Baking lightens gel colors noticeably, so you need to mix each portion darker than you think looks right in the bowl. As a rule, aim for colors that look almost too intense before baking and they’ll come out at the right saturation once baked.
Try these next
- Nutty Brown Butter Vanilla Bean Cupcakes
- Nostalgic Malted Milk Chocolate Cake
- Ultimate Chocolate Sheet Cake
- Tropical Coconut Tres Leches Cake