

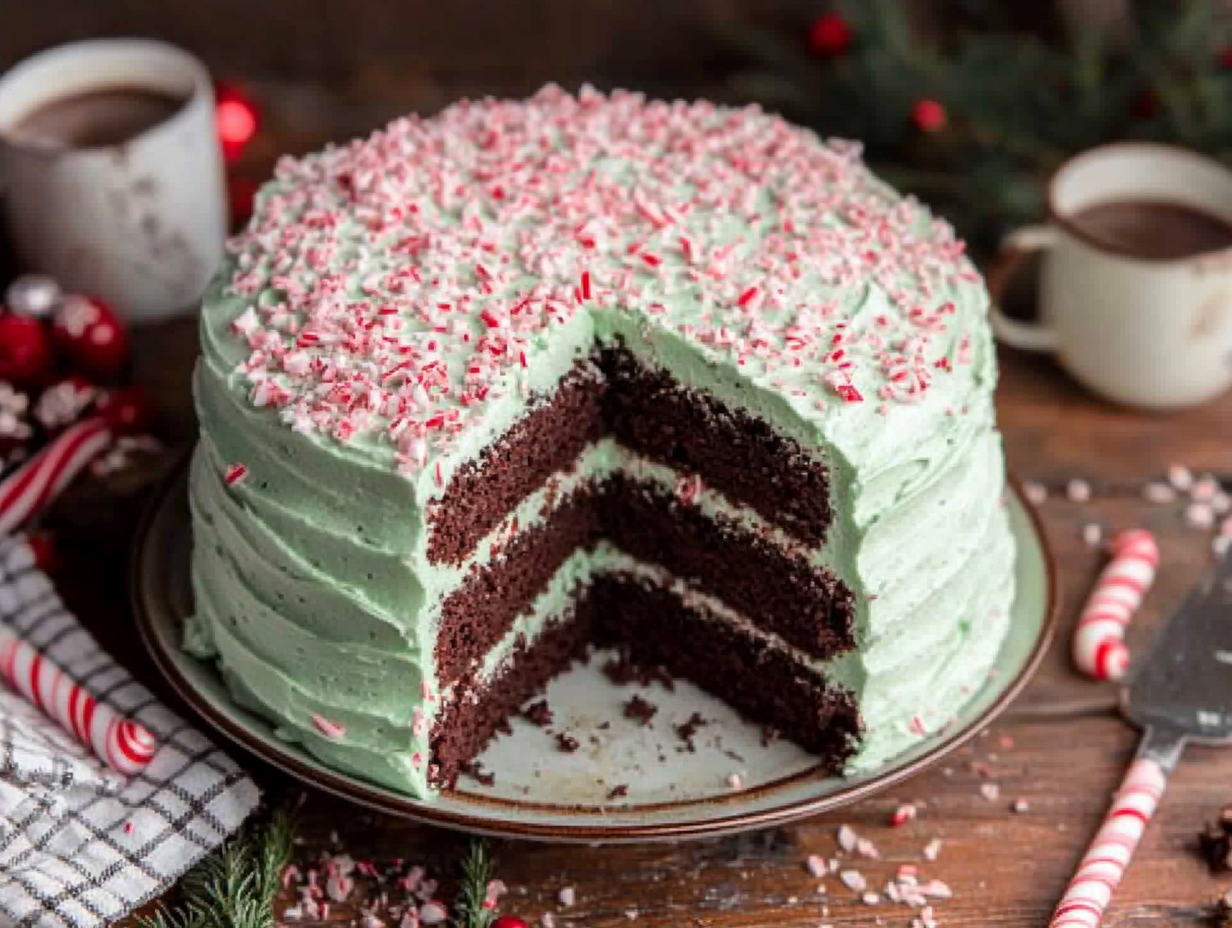
This is a two-layer chocolate cake filled and frosted with peppermint buttercream, finished with crushed candy canes pressed into the outside. It takes about two hours start to finish, and the result is a cake that looks like it came from a bakery without requiring any advanced skills. If you want one showstopper dessert for a holiday table, this is a reliable choice.
What makes this version work
Two things actually matter here. First, the boiling water. Adding it at the end of mixing looks alarming because the batter goes very thin — that’s correct, not a mistake. The hot water blooms the Dutch-processed cocoa, pulling out more flavor than you’d get by just mixing it cold, and it’s what keeps the crumb moist after baking. Second, the buttermilk. It reacts with the baking soda to give the cake lift and a very slight tang that keeps the chocolate from tasting flat or one-dimensional. Both ingredients need to be at room temperature before you start, or the batter won’t come together evenly — cold buttermilk straight from the fridge can cause the batter to look curdled.
Shopping notes
- Dutch-processed cocoa: This is worth seeking out rather than substituting regular natural cocoa. Dutch-processed has been treated to reduce acidity, which gives the cake a darker color and a smoother, less bitter flavor. Brands like Droste or Cacao Barry are widely available at grocery stores and online. Natural cocoa will change the taste noticeably.
- Peppermint extract: Use pure peppermint extract, not mint extract. Mint extract often contains spearmint, which tastes medicinal next to chocolate. Start with the full teaspoon called for — you can always add a drop more to the frosting once you taste it, but you can’t take it back.
- Crushed peppermint candies: Standard candy canes work fine. Put them in a zip-lock bag and crush with a rolling pin. Skip the pre-crushed peppermint bits sold for baking — they tend to be stale and don’t have the same snap.
If something goes sideways
- Cake layers domed and cracked on top: Your oven runs hot. Next time, drop the temperature by 25°F and check a few minutes early. A domed top is easy to fix — once the layers are fully cool, use a serrated knife to level them before stacking.
- Frosting is too stiff to spread: Add heavy cream one teaspoon at a time and beat again. Cold butter that wasn’t fully softened is usually the cause. The butter should leave an indent when you press it with your finger before you start.
- Frosting is too loose and sliding off the cake: The cake wasn’t fully cooled. Even slightly warm layers will melt buttercream. If you’re in a hurry, put the layers in the fridge for 20 minutes before frosting.
- Candy cane topping turns sticky: Crushed peppermint absorbs moisture from the frosting and the air and will start to weep within a few hours. Press the candy canes on no more than 2 hours before serving — skip adding them the night before.
- Cake layers stuck in the pan: Parchment on the bottom is essential, but also grease the sides of the pan. Run a thin offset spatula or butter knife around the edge before inverting.
Storage and make-ahead
The cake layers can be baked up to two days ahead. Wrap each cooled layer tightly in plastic wrap and leave at room temperature, or refrigerate for up to four days. The frosting can be made a day ahead and stored in an airtight container in the fridge — let it come back to room temperature and beat it briefly before using. Once assembled and frosted, the cake keeps well in the fridge for up to three days; bring it out about 30 minutes before serving so the crumb softens. For longer storage, freeze unfrosted layers wrapped in plastic and then foil for up to two months. Thaw overnight in the fridge still wrapped, then frost as usual. Skip freezing the finished frosted cake — the candy cane topping turns soft and the buttercream texture suffers.
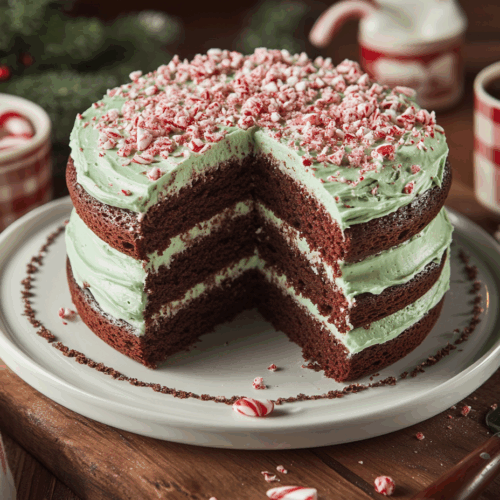
Chocolate Peppermint Cake

Equipment
- 9-inch cake pans
- Mixing Bowls
- Electric Mixer
- Spatula
- Cooling Rack
- Measuring cups and spoons
- Parchment Paper
Ingredients
Cake Ingredients
- 1 and ¾ cups all-purpose flour sifted for a finer texture
- ¾ cup unsweetened cocoa powder preferably Dutch-processed
- 2 cups granulated sugar
- 1 and ½ teaspoons baking powder
- 1 and ½ teaspoons baking soda
- 1 teaspoon salt
- 2 large eggs at room temperature
- 1 cup buttermilk at room temperature
- ½ cup vegetable oil
- 2 teaspoons vanilla extract
- 1 cup boiling water
Peppermint Frosting
- 1 cup unsalted butter softened
- 4 cups powdered sugar
- ¼ cup heavy cream
- 1 teaspoon peppermint extract
- a few drops green food coloring optional
- ½ cup crushed peppermint candies for decoration
Instructions
- Preheat your oven to 350°F (175°C). Grease and line the bottom of two 9-inch cake pans with parchment paper.
- In a large mixing bowl, sift together the flour, cocoa powder, sugar, baking powder, baking soda, and salt. Mix until well combined.
- Add the eggs, buttermilk, vegetable oil, and vanilla extract to the flour mixture. Use an electric mixer to beat on medium speed for about 2 minutes. Stir in the boiling water until the batter is smooth (it will be thin).
- Divide the batter evenly between the prepared cake pans. Bake for 30-35 minutes, or until a skewer inserted in the center comes out clean. Allow the cakes to cool in the pans for 10 minutes before transferring to a cooling rack to cool completely.
- For the frosting, beat the softened butter on medium speed until creamy, about 2 minutes. Gradually add the powdered sugar, heavy cream, peppermint extract, and green food coloring if using. Beat for an additional 3 minutes until smooth and spreadable.
- Once the cakes are completely cooled, spread frosting over the top of one of the cakes, then place the second cake on top. Frost the top and sides of the cakes. Sprinkle crushed peppermint candies over the finished cake for decoration.
Notes
- To enhance the chocolate flavor, consider adding a pinch of instant coffee granules to the cake batter.
- If you’re not a fan of peppermint, substitute it with vanilla extract and use chocolate shavings for decoration.
Nutrition
FAQ
Can I use regular cocoa powder instead of Dutch-processed?
You can, but the flavor and color will be different — natural cocoa is more acidic and produces a lighter, slightly more bitter cake. If that’s all you have, it will still bake and taste good, just not quite the same.
My batter looks way too thin after adding the boiling water. Did I do something wrong?
No, that’s exactly right. The batter is supposed to be thin — thinner than most cake batters you’ve probably made. It bakes up into a moist, tender crumb, so pour it in and trust the process.
How do I know when the cake is done if I don’t have a skewer?
A toothpick works just as well. Insert it into the center of the pan — it should come out with no wet batter on it, though a few moist crumbs are fine. The edges will also start to pull away slightly from the sides of the pan.
Can I make this without an electric mixer?
Yes, for the cake batter — a whisk and some arm effort will get you there since the batter is quite liquid. The frosting is harder to do by hand because you need to beat enough air into the butter to make it fluffy, so a hand mixer is genuinely helpful there.
Is one teaspoon of peppermint extract too strong? I don’t want it to taste like toothpaste.
One teaspoon in a full batch of frosting is noticeable but not overpowering — it’s a mint-forward frosting by design. If you’re sensitive to mint, start with half a teaspoon, taste, and add more from there.
Can I bake this as a single-layer sheet cake instead of two round layers?
Yes. Pour the batter into a greased 9×13-inch pan and bake at 350°F, starting to check at 30 minutes. A single thicker layer may need up to 40 minutes total — go by the toothpick test rather than the clock.
Try these next
- Nostalgic Malted Milk Chocolate Cake
- Dark Chocolate Espresso Tartlets
- Ultimate Chocolate Sheet Cake
- Chocolate Peanut Butter Swirl Fudge