

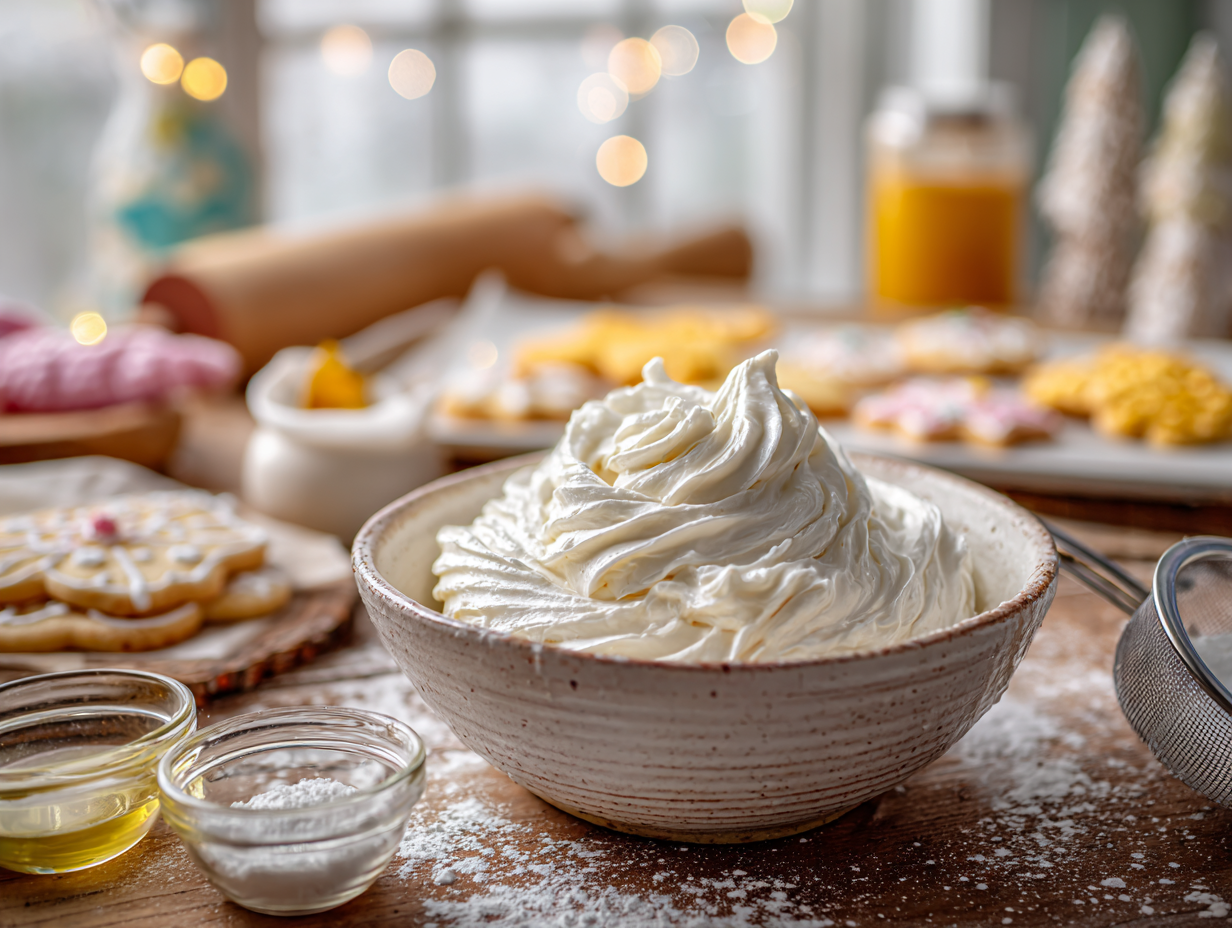
This royal icing uses fresh egg whites, powdered sugar, lemon juice, and vanilla — nothing else. It dries to a firm, glossy finish that holds clean lines and floods smoothly, which makes it the right choice when you need to decorate a large batch of cookies and want results that actually look good. If you’ve run out of meringue powder or simply don’t keep it on hand, this recipe works just as well.
What makes this version work
Two things matter here. First, the egg whites and lemon juice are beaten together before any sugar goes in. That brief initial whisk starts building the protein structure and the acid in the lemon juice helps stabilize it, so the icing holds stiff peaks reliably rather than staying soft and slack. Second, the powdered sugar is added gradually on low speed — one cup at a time — instead of all at once. Dumping it in together traps lumps and makes the mixer work against itself. The slow addition gives you a smooth, even paste before you bring the speed up, and that foundation is what produces the glossy, crack-clean finish once the icing dries on your cookies.
Substitutions that actually work
- Lemon juice: White vinegar works as a 1:1 substitute if you’re out of lemons. It provides the same mild acid stabilization with no detectable flavor difference once the icing dries.
- Vanilla extract: Almond extract is a good swap and pairs especially well with sugar cookies. Use half the amount — it’s stronger. Clear vanilla extract is worth using if you want a pure white icing, since standard vanilla adds a slight cream tint.
- Egg whites: Pasteurized liquid egg whites from a carton work and are a practical choice when you’re scaling up for a large batch. Use 2 tablespoons per large egg white called for. Skip the garnish of extra vanilla drizzle on finished cookies — not worth the extra dish.
What can go wrong
- Icing weeps or looks greasy on the cookie surface: This usually means trace amounts of fat got into the bowl — from egg yolk, residue on the beaters, or even a greasy spatula. Wipe all equipment with a little white vinegar on a paper towel before you start.
- Icing crusts over in the bowl mid-session: Even a few minutes of air exposure starts drying the surface. Press plastic wrap directly onto the surface of the icing in the bowl between uses, not just over the top of the bowl.
- Flooded areas sink or wrinkle as they dry: The flood consistency was too thin, or the outlined border wasn’t firm enough before flooding. Let piped outlines set for at least 5 minutes before you flood inside them, and don’t thin your flood icing past a slow ribbon consistency.
- Icing doesn’t fully harden after several hours: High kitchen humidity is usually the cause. Run a fan near the drying cookies or move them somewhere with better air circulation. Avoid decorating on a rainy day if your kitchen tends to hold moisture.
- Colors bleed into each other: Wet icing touching wet icing will always bleed. Let each color dry to the touch — at minimum 20 to 30 minutes — before adding an adjacent color.
Storage and freezing
Finished decorated cookies keep well in a single layer at room temperature for up to 5 days; once the icing is fully set (allow at least 4 hours, ideally overnight), you can stack them with parchment between layers. The undecorated icing itself can be stored in an airtight container in the refrigerator for up to 3 days — press plastic wrap directly onto the surface before sealing the lid. Re-whip briefly with the mixer before using again and re-check consistency, since it may need a few drops of water. Freezing decorated cookies is possible: freeze them in a single layer first, then transfer to an airtight container with parchment between layers for up to 6 weeks. Thaw at room temperature with the lid off so condensation doesn’t settle on the icing surface.
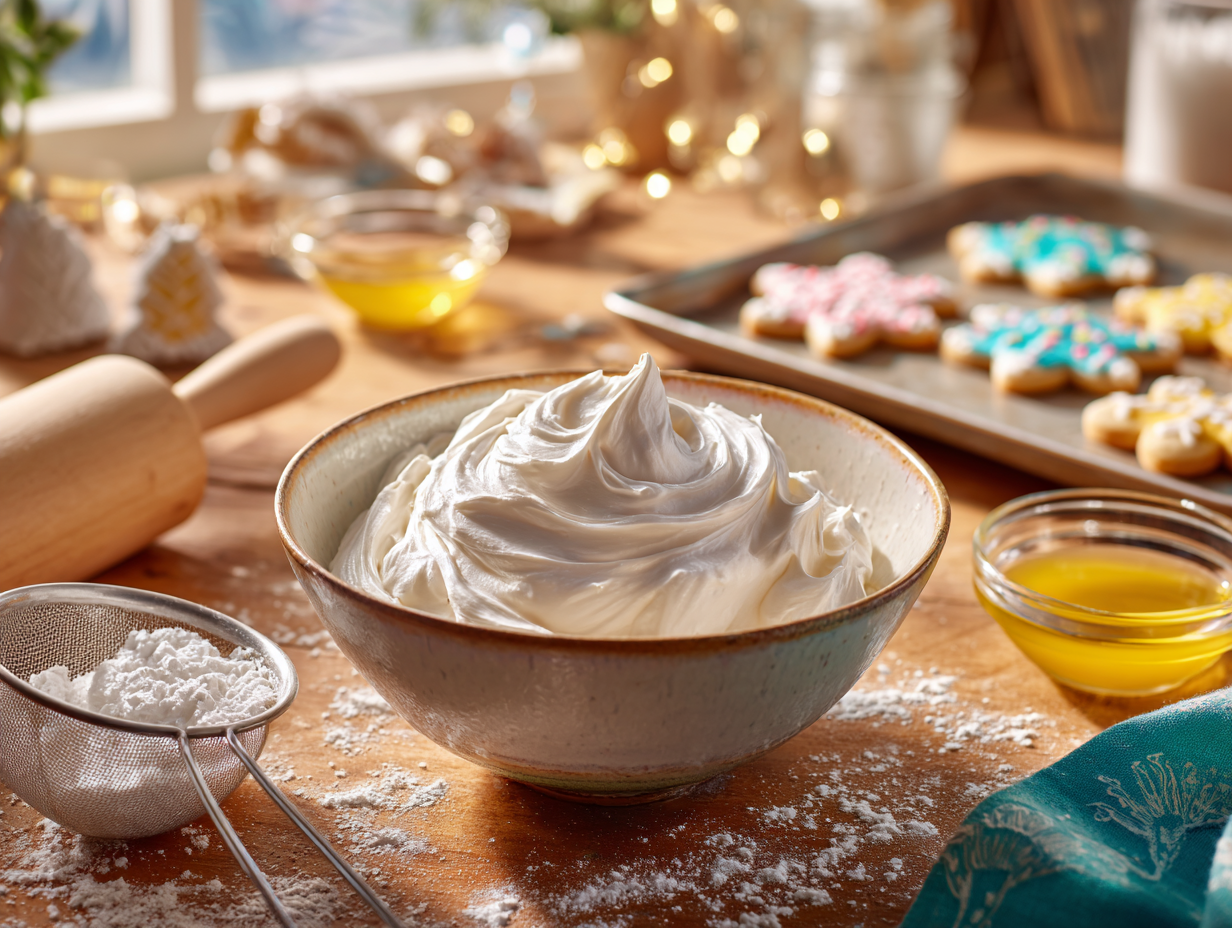
Royal Icing without Meringue Powder

Equipment
- Mixing Bowl
- Electric Mixer
- Sifter
- Spatula
- Piping bag
Ingredients
- 3 cups powdered sugar sifted
- 2 large egg whites room temperature
- 1 teaspoon vanilla extract for flavor
- ½ teaspoon lemon juice freshly squeezed
Instructions
- In a mixing bowl, combine the egg whites and lemon juice. Whisk together using an electric mixer at medium speed until slightly bubbly.
- Gradually add the sifted powdered sugar to the mixture, one cup at a time, beating well on low speed until you have a smooth paste.
- Add the vanilla extract and continue to beat on medium speed until the icing holds stiff peaks, about 5-7 minutes.
- If desired, divide and tint with food coloring for different colors.
- Transfer the icing to a piping bag and use it to decorate your cookies, allowing it to harden completely.
Notes
- For deeper flavor, consider using almond or other flavored extracts.
- Adjust the consistency by adding more powdered sugar for thicker icing or a small amount of water for a thinner glaze.
- Remember to keep any unused icing covered with a damp cloth to prevent drying.
Nutrition
Your questions, answered
Is it safe to eat royal icing made with raw egg whites?
The risk is low for most healthy adults, but it’s real. Use the freshest eggs you can find, and choose pasteurized eggs or pasteurized liquid egg whites if the cookies will be eaten by young children, pregnant people, the elderly, or anyone with a compromised immune system — pasteurized eggs behave identically in this recipe.
How do I know when the icing is the right consistency for piping versus flooding?
For piping outlines and details, the icing should hold a stiff peak that doesn’t droop when you lift the beater — this is the consistency straight from the recipe. For flooding, add water a few drops at a time until a ribbon of icing dropped back into the bowl disappears within about 10 seconds; that’s your target.
Can I make this icing ahead of time for a big decorating session?
Yes — make it up to 3 days ahead and refrigerate it in an airtight container with plastic wrap pressed directly onto the surface. Bring it back to room temperature, re-whip for a minute or two, and adjust the consistency with a few drops of water if needed before you start decorating.
Try these next
- Nutty Chocolate Chip Cookies with a Middle Eastern Twist
- Delicate Pistachio Rose Shortbread
- Zesty Lemon Thyme Shortbread Bars
- Sweet Canadian Maple Cream Sandwich Cookies