

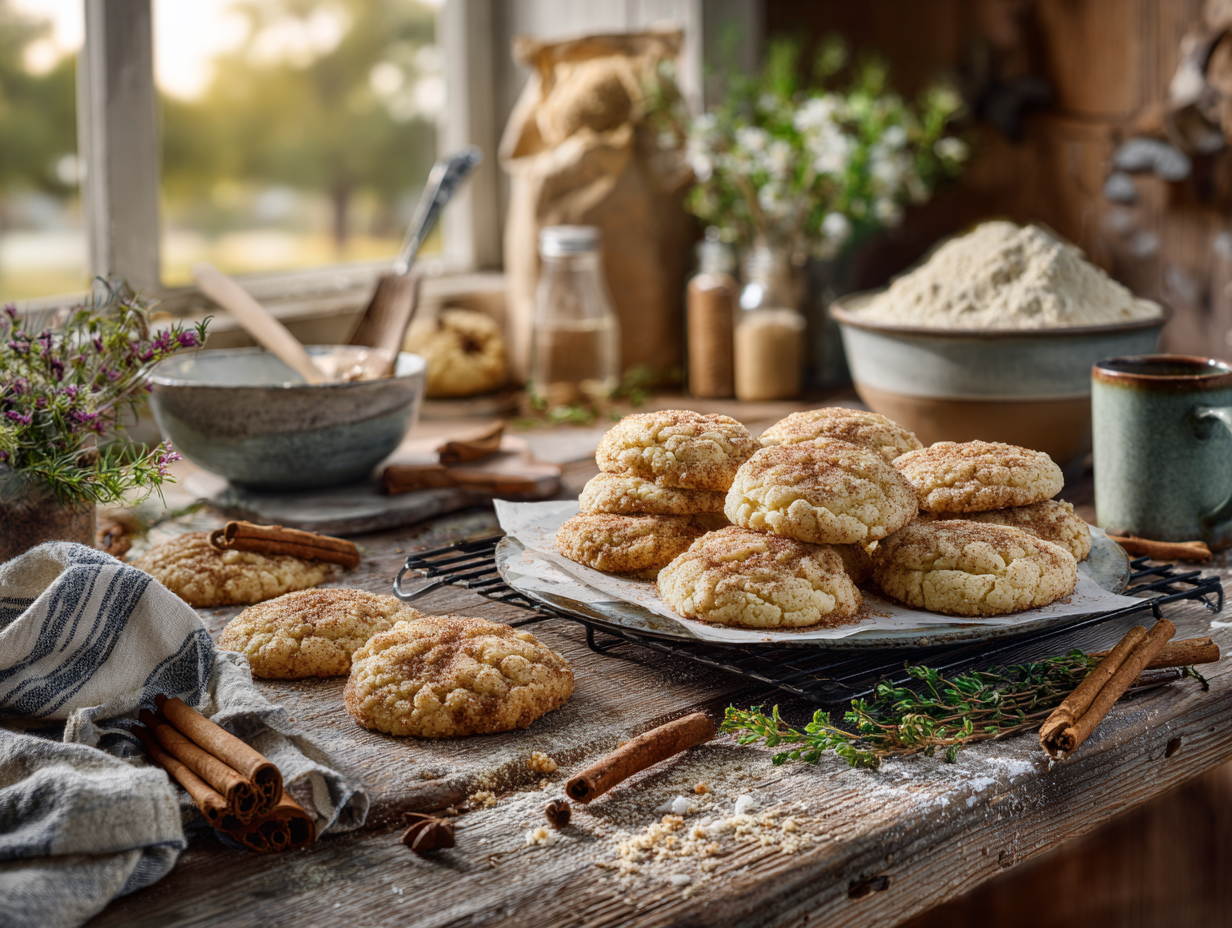
These are short, buttery drop cookies with a tender crumb, a mild vanilla flavor, and just enough cinnamon to notice. They come together in 35 minutes with seven pantry staples and no special equipment. If you want a reliable, unfussy cookie that actually tastes good, this is a solid choice.
About the ingredients
- Butter temperature matters more than you think. The recipe calls for softened butter — not melted, not cold. Press a finger into it; it should dent easily but hold its shape. Too warm and the dough will be greasy and spread too much.
- Sifted all-purpose flour is specified. If you skip sifting, the cookies can turn out denser than intended. A quick pass through a fine mesh strainer is enough.
- Pure vanilla extract is worth using here. Because the ingredient list is so short, vanilla is one of the few flavors doing real work — imitation extract will be noticeable.
- Baking powder is only a half teaspoon, so don’t be tempted to add more. These cookies are meant to be tender and slightly flat, not cakey.
The short version of why this works
Two things make this recipe succeed. First, creaming the butter and sugar properly — the full 3 to 5 minutes — incorporates air into the fat, which gives the cookies their soft, slightly crumbly texture rather than a dense, heavy one. Stop too early and you lose that. Second, the low ratio of leavening to flour keeps the cookies from puffing up and then collapsing; they spread gently and hold a consistent shape, which means even baking across the whole sheet. Get those two steps right and the rest is straightforward.
Common problems and fixes
- Cookies spread into flat puddles: Your butter was too warm when you started creaming. Next time, pull it from the fridge about 30 minutes before baking — not longer. If your kitchen is warm, err on the shorter side.
- Dough is crumbly and won’t hold a ball: This usually means the flour was packed when measured. Spoon flour into the measuring cup and level it off rather than scooping directly from the bag, which compresses it.
- Edges brown but centers stay pale and raw-looking: Your oven is likely running hot, or the baking sheet is too dark. Use a light-colored sheet and check at 12 minutes. The centers will look slightly underdone when you pull them — that’s correct; they firm up as they cool on the sheet.
- Cookies turn hard after cooling: They were overbaked. Golden edges are the signal to stop — skip the extra minute or two. Also, store them in an airtight container as soon as they’re fully cool; leaving them out overnight dries them out fast. Skip the decorative open dish on the counter — not worth losing the texture.
- Dough balls flatten before they even hit the oven: The dough warmed up too much while you were shaping. Roll all the balls first, then put the tray in the fridge for 5 minutes before baking.
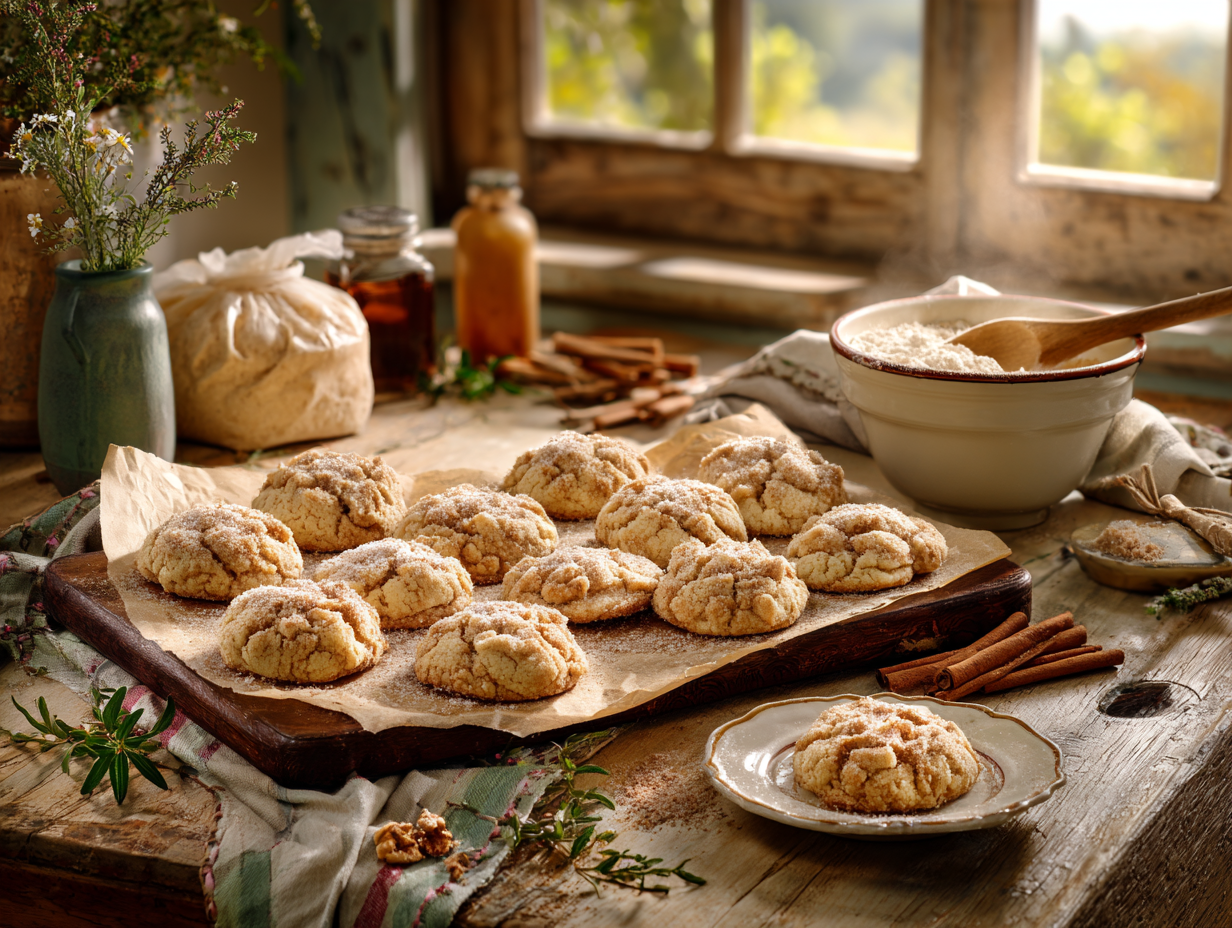
Gourmet Crumble Cookies

Equipment
- Oven
- Mixing Bowls
- Baking sheet
- wire rack
- Parchment Paper
Ingredients
- 1 cup unsalted butter softened to room temperature
- 1 ¼ cups granulated sugar
- 1 teaspoon vanilla extract pure
- ½ teaspoon ground cinnamon
- 2 cups all-purpose flour sifted
- ½ teaspoon baking powder
- ¼ teaspoon salt
Instructions
- Preheat your oven to 350°F (175°C) and line a baking sheet with parchment paper.
- In a large mixing bowl, cream together the softened butter and granulated sugar until light and fluffy. This should take about 3-5 minutes.
- Add in the vanilla extract and ground cinnamon, mixing until fully incorporated.
- Gradually sift in the all-purpose flour, baking powder, and salt. Mix the ingredients until combined, forming a soft dough.
- Roll tablespoon-sized balls of dough and place them on the prepared baking sheet, allowing a slight space between each cookie for spreading.
- Bake in the preheated oven for 12-15 minutes, or until the edges are golden brown.
- Allow the cookies to cool on the sheet for 5 minutes before transferring them to a wire rack to cool completely.
Notes
Tammy’s Tips:
- To add a twist, you can fold in 1/2 cup of dark chocolate chips or chopped nuts into the dough for added texture.
- For a gluten-free version, replace all-purpose flour with a gluten-free flour blend.
- If you're short on time, chill the dough for 10 minutes to ease shaping the cookies.
Nutrition
Your questions, answered
Can I make the dough ahead and bake later?
Yes — the dough keeps in the fridge for up to 48 hours, tightly wrapped. Let it sit at room temperature for about 10 minutes before rolling, since cold dough can crack when you try to shape it.
Do I need a stand mixer or will a hand mixer work?
A hand mixer works fine. The key is getting enough time on the butter and sugar — 3 to 5 minutes — which a hand mixer handles easily. A wooden spoon will work too, but your arm will feel it.
How do I know when they’re actually done if the centers still look soft?
Look at the edges: they should be just turning golden and pulling away slightly from the parchment. The centers will look underset, but the cookies continue cooking on the hot sheet for the 5 minutes you leave them there before moving to the rack.
Can I double the batch on one baking sheet?
No — bake one sheet at a time on the middle rack. Crowding two sheets in the oven at once causes uneven heat circulation and the bottom sheet almost always overbrowns on the underside before the tops are done.
Try these next
- Dark Chocolate Orange Shortbread
- Pistachio Rose Shortbread
- Lemon Thyme Shortbread Bars
- Maple Cream Sandwich Cookies