


These are stuffed chocolate chip cookies with a hidden pocket of creamy peanut butter inside — soft and chewy on the outside, gooey in the center when eaten warm. The recipe uses standard pantry staples and comes together in about 35 minutes, which makes it a realistic weeknight bake, not just a weekend project. If you’ve got butter, sugar, flour, eggs, and a jar of peanut butter, you’re most of the way there.
Why this recipe works
Two things make this recipe reliable. First, the equal ratio of granulated to brown sugar — one cup each — gives you cookies that spread just enough without going flat, and the brown sugar keeps the centers soft even after the cookies cool. Second, the peanut butter filling stays put during baking because it’s sealed inside raw dough, not just pressed on top. The dough acts as a casing, and since peanut butter has a high fat content, it softens and loosens in the oven’s heat rather than leaking out — as long as you seal the edges well. Those two mechanics together are what produce the gooey center without any special equipment or technique.
What can go wrong
- Filling leaks out onto the pan: This almost always means the dough wasn’t sealed tightly around the peanut butter. After you cover the filling, pinch and roll the dough ball between your palms until there are no visible seams. Even a small gap will open up in the oven.
- Cookies spread too thin: Warm butter or a warm kitchen can cause excessive spreading before the dough sets. If your kitchen is hot or your butter was very soft, refrigerate the filled dough balls for 20 minutes before baking.
- Dry, cakey texture instead of chewy: This usually comes from over-measuring the flour. Spoon flour into the measuring cup and level it off — don’t scoop directly from the bag, which packs in extra flour.
- Peanut butter center is stiff, not gooey: Natural peanut butter (the kind where the oil separates) can seize up slightly when baked. Standard commercial creamy peanut butter — the shelf-stable kind — works better here for a consistently soft center.
- Cookies overbake and turn hard: Pull them when the edges look set but the tops still look slightly underdone. They firm up on the pan during the 5-minute rest. If you wait for the centers to look fully baked in the oven, they’ll be overdone by the time they cool.
Make-ahead notes
The dough can be made and refrigerated, tightly covered, for up to 3 days before baking — the flavor actually improves after an overnight rest. You can also stuff and shape the dough balls, then freeze them on a parchment-lined tray until solid (about 2 hours), and transfer them to a zip-top bag for up to 2 months. Bake from frozen at 350°F and add 2–3 minutes to the bake time; no need to thaw. Already-baked cookies keep well at room temperature in an airtight container for 4 days. To bring back the gooey center, microwave a room-temperature cookie for 10–12 seconds — skip reheating frozen baked cookies in the microwave, since the texture suffers.
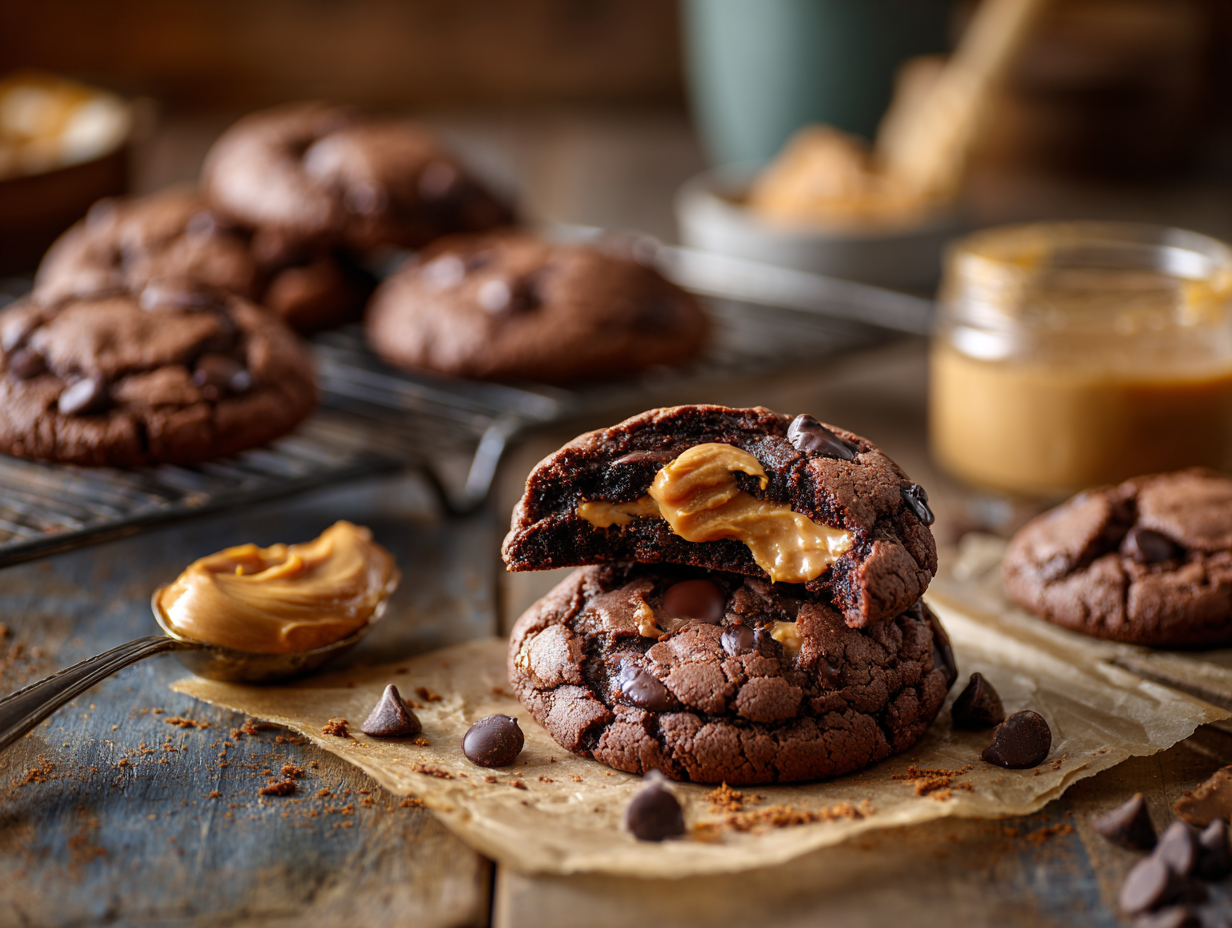
Chocolate Peanut Butter Lava Cookies

Equipment
- Mixing Bowls
- Baking sheet
- Parchment Paper
- Electric Mixer
- Cookie scoop
- Wire cooling rack
Ingredients
- 1 cup unsalted butter softened
- 1 cup granulated sugar
- 1 cup brown sugar packed
- 2 large eggs room temperature
- 2 teaspoons vanilla extract
- 2 ¼ cups all-purpose flour
- 1 teaspoon baking soda
- ½ teaspoon salt
- 1 cup semi-sweet chocolate chips
- ½ cup peanut butter creamy
Instructions
- Preheat your oven to 350°F (175°C). Line a baking sheet with parchment paper.
- In a large mixing bowl, cream together the softened butter, granulated sugar, and brown sugar until smooth and fluffy, using an electric mixer on medium speed.
- Add the eggs one at a time, beating well after each addition. Stir in the vanilla extract.
- In a separate bowl, whisk together the all-purpose flour, baking soda, and salt.
- Gradually add the dry ingredients to the creamed mixture, beating just until combined.
- Fold in the chocolate chips gently with a spatula.
- Using a cookie scoop, drop dough balls onto the prepared baking sheet, spacing them about 2 inches apart.
- Make a small indentation in the center of each dough ball and fill each indentation with a teaspoon of creamy peanut butter.
- Cover the peanut butter with a small amount of additional cookie dough, sealing the edges.
- Bake in the preheated oven for 9-11 minutes until the edges are golden brown, and the centers are just set but still soft.
- Allow the cookies to cool on the baking sheet for 5 minutes before transferring to a wire rack to cool completely.
Notes
Lori’s Tips:
- For a nuttier flavor, consider toasting the peanut butter slightly before filling the cookies.
- You can use almond butter as a delicious alternative for a unique twist.
- To ensure the best molten center effect, do not overbake the cookies.
Nutrition
FAQ
Can I use chunky peanut butter instead of creamy?
You can, but the filling won’t be as smooth or gooey. Chunky peanut butter has less fat per spoonful and the nut pieces can create small gaps in the dough seal, making leaks more likely.
I don’t have an electric mixer — can I mix this by hand?
Yes, as long as your butter is fully softened. Use a wooden spoon or sturdy silicone spatula and mix the butter and sugars vigorously for about 3 minutes until the mixture looks pale and slightly fluffy — this is worth the arm workout because it affects the final texture.
Can I substitute salted butter for unsalted?
Yes — just leave out the half teaspoon of salt called for in the dry ingredients. The cookies will taste essentially the same; skip the garnish of any extra flaky salt on top, not worth the extra dish.
My cookies came out flat. What happened?
The most common cause is butter that was too warm or melted rather than softened. Next time, let butter sit at room temperature for 30–45 minutes — it should hold an indent when pressed but not feel greasy or shiny.
Can I use bread flour or cake flour instead of all-purpose?
Cake flour will make the cookies noticeably more tender and a bit more fragile — they’ll still work, just handle them gently. Bread flour will make them chewier and slightly denser, which isn’t bad, but the texture shifts away from the intended soft-chewy balance.
How do I know if the cookies are done if the center always looks underdone?
Watch the edges, not the center — they should be set and just turning golden while the top surface still looks matte and slightly soft. The center will continue to cook from residual heat during the 5-minute rest on the pan, so pulling them early is correct, not a mistake.
What to bake next
- Chocolate Peanut Butter Swirl Fudge
- Dark Chocolate Espresso Tartlets
- Nutty Maple Blondies with Tahini
- Nutty Chocolate Chip Cookies with a Middle Eastern Twist