

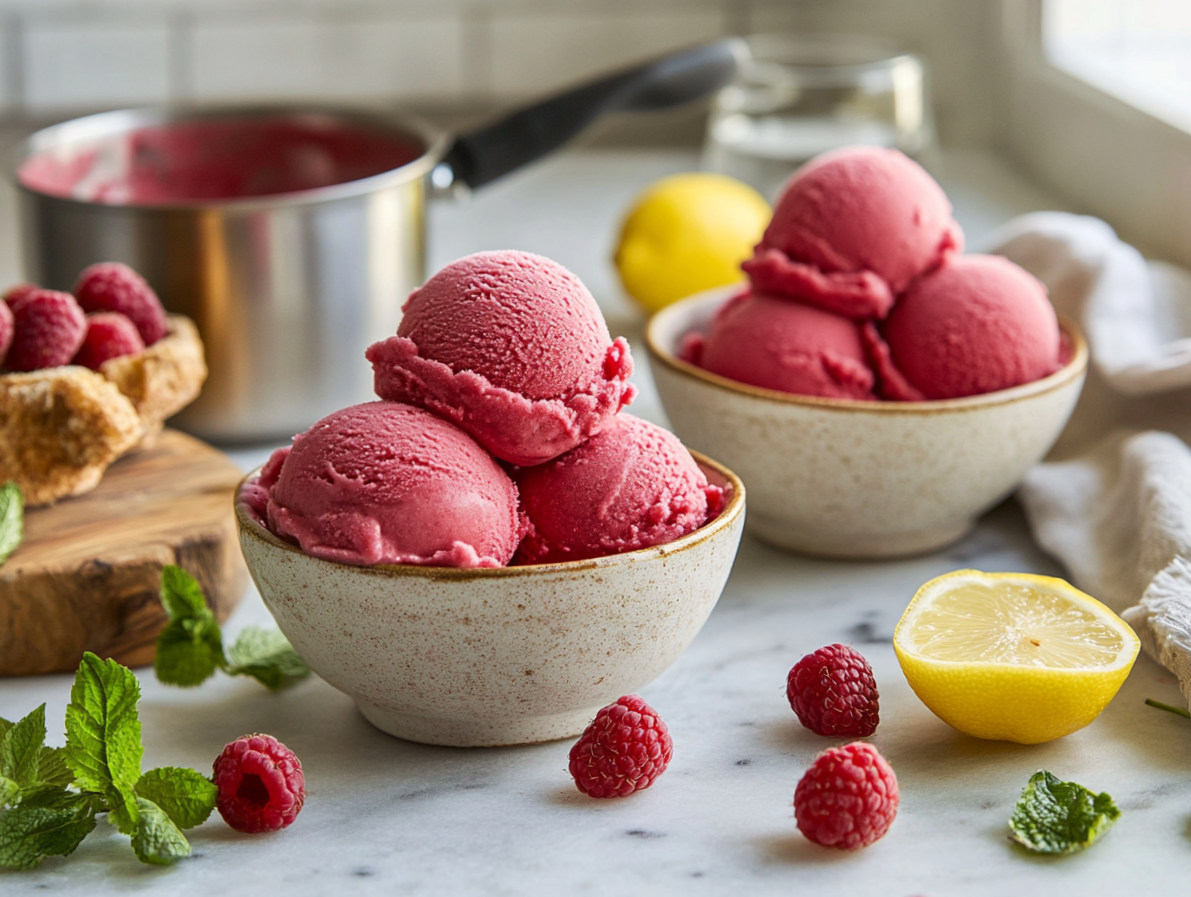
This raspberry sorbet is four ingredients, about 20 minutes of active work, and no dairy — which makes it one of the easiest frozen desserts you can pull off at home. The result is bright, genuinely tart, and scoopable straight from the freezer after a few hours. If you want something that looks impressive but doesn’t ask much of you, this is it.
Ingredient notes
- Raspberries: Fresh or frozen both work. If using frozen, thaw them completely before blending — you’ll get a cleaner purée and the blender won’t struggle. Taste them first; very tart berries may need a touch more sugar.
- Granulated sugar: Stick with granulated for the simple syrup. Powdered sugar can make the texture slightly gummy once frozen. If you swap in agave, start at ¾ cup — it’s sweeter than sugar and thins the mixture more, which can affect how firmly the sorbet sets.
- Lemon juice: Freshly squeezed matters here. Bottled juice has a cooked, flat flavor that dulls the raspberry. One tablespoon is enough to brighten without tipping the sorbet sour.
The technique that matters
The simple syrup needs to be fully cooled before it meets the raspberry purée — not just warm, actually room temperature. If it’s still hot when you combine them, it starts to cook the fresh fruit flavor out of the purée and you lose that vivid, raw-berry brightness. The straining step is equally important: press firmly with the spatula and work in circles to get as much juice through the sieve as possible. The seeds left behind aren’t just a texture issue — they hold onto flavor, so a lazy strain means a less intense sorbet.
Troubleshooting
- Sorbet is icy and grainy after freezing: The sugar ratio was probably off. Too little sugar and ice crystals form aggressively. Measure carefully, and make sure the syrup was fully dissolved before cooling.
- Sorbet won’t firm up past soft-serve: The mixture may have been too warm going into the ice cream maker, or the bowl wasn’t frozen long enough. Most ice cream maker bowls need at least 24 hours in the freezer before use — check yours.
- Color turns dull or brownish: Oxidation. This usually means the purée sat out too long before churning, or the sorbet has been stored uncovered. Press a piece of plastic wrap directly onto the surface before sealing the container.
- Sorbet is too hard to scoop straight from the freezer: Let it sit at room temperature for 5 minutes before serving. If it’s consistently rock-hard, your freezer may run very cold — try moving it to the fridge for 10 minutes instead.
- Flavor tastes flat: Add a small pinch of fine salt to the mixture before churning. It won’t make the sorbet taste salty — it sharpens the raspberry flavor noticeably.
Make-ahead notes
This sorbet keeps well in the freezer for up to two weeks with no meaningful loss in flavor or texture, which makes it a genuinely useful make-ahead dessert. Store it in a shallow, wide container rather than a deep one — it freezes more evenly and thaws faster at serving time. If you’re packaging it as a gift, transfer scoops into small sealed containers immediately after the final freeze, keep them flat in a cooler bag with ice packs, and aim to hand them off within 30 minutes of leaving your freezer. Skip the garnish — not worth the extra dish, and fresh mint wilts before it gets where it’s going anyway. The sorbet itself holds up fine; just make sure the lid seals tight to prevent freezer burn.
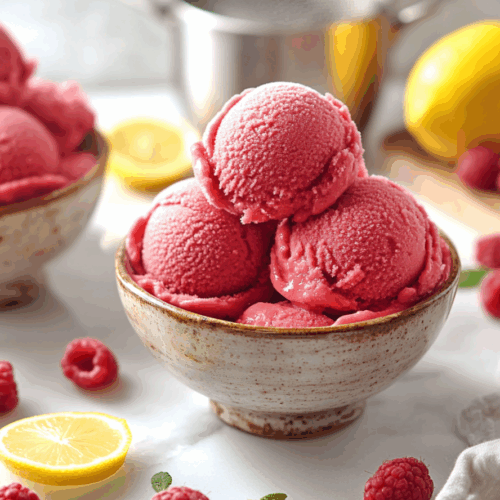
Raspberry Sorbet

Equipment
- Blender
- Fine Mesh Sieve
- Ice Cream Maker
- Mixing Bowl
- Spatula
Ingredients
- 2 cups fresh raspberries preferably organic
- 1 cup sugar granulated
- 1 cup water
- 1 tablespoon lemon juice freshly squeezed
Instructions
- Make the Simple Syrup: In a small saucepan, combine 1 cup of sugar and 1 cup of water. Heat over medium heat until the sugar completely dissolves, stirring occasionally. Remove from heat and let it cool to room temperature.
- Blend the Raspberries: Place 2 cups of fresh raspberries in a blender with 1 tablespoon of lemon juice. Blend until smooth, creating a vibrant red puree.
- Strain the Puree: Pour the raspberry puree through a fine-mesh sieve into a mixing bowl, using a spatula to press the mixture and extract as much juice as possible, leaving behind the seeds.
- Combine to Churn: Mix the cooled simple syrup with the strained raspberry juice until well integrated. Pour this mixture into an ice cream maker and churn according to manufacturer instructions until it reaches a soft-serve consistency.
- Freeze Further: Transfer the sorbet into a container and freeze for an additional 2-4 hours until it’s firm enough to scoop.
Notes
Lori’s Tips:
- For a twist, consider adding a splash of raspberry liqueur to the mixture before churning for an extra layer of flavor.
- If raspberries are out of season, consider using frozen raspberries as an alternative.
- To accommodate different dietary needs, substitute the sugar with a natural sweetener like agave syrup, but keep in mind the change in flavor profiles and sweetness levels.
Nutrition
FAQ
Do I need an ice cream maker to make this sorbet?
Technically no, but the texture will be noticeably different without one. You can pour the mixture into a shallow pan, freeze it, and scrape it with a fork every 30–45 minutes for about 3 hours to create a granita-style texture — still good, but coarser and icier than churned sorbet.
Can I double the recipe?
Yes, but check your ice cream maker’s capacity first — most home machines max out around 1.5 quarts. If doubling pushes you over, churn in two batches rather than overfilling, which slows the freeze and leads to a grainier result.
How do I know when the sorbet is done churning?
It’s ready when it holds a soft, matte consistency and pulls away slightly from the sides of the bowl — similar to thick soft-serve. It will still be too soft to scoop cleanly at this stage, which is normal; the final 2–4 hours in the freezer are what give it scoopable firmness.
If you liked this one
- Elegant Strawberry Champagne Sorbet
- Sweet Roasted Strawberry Ice Cream
- Pistachio Raspberry Loaf Cake
- Tropical Lime Bars with Toasted Coconut Crunch