

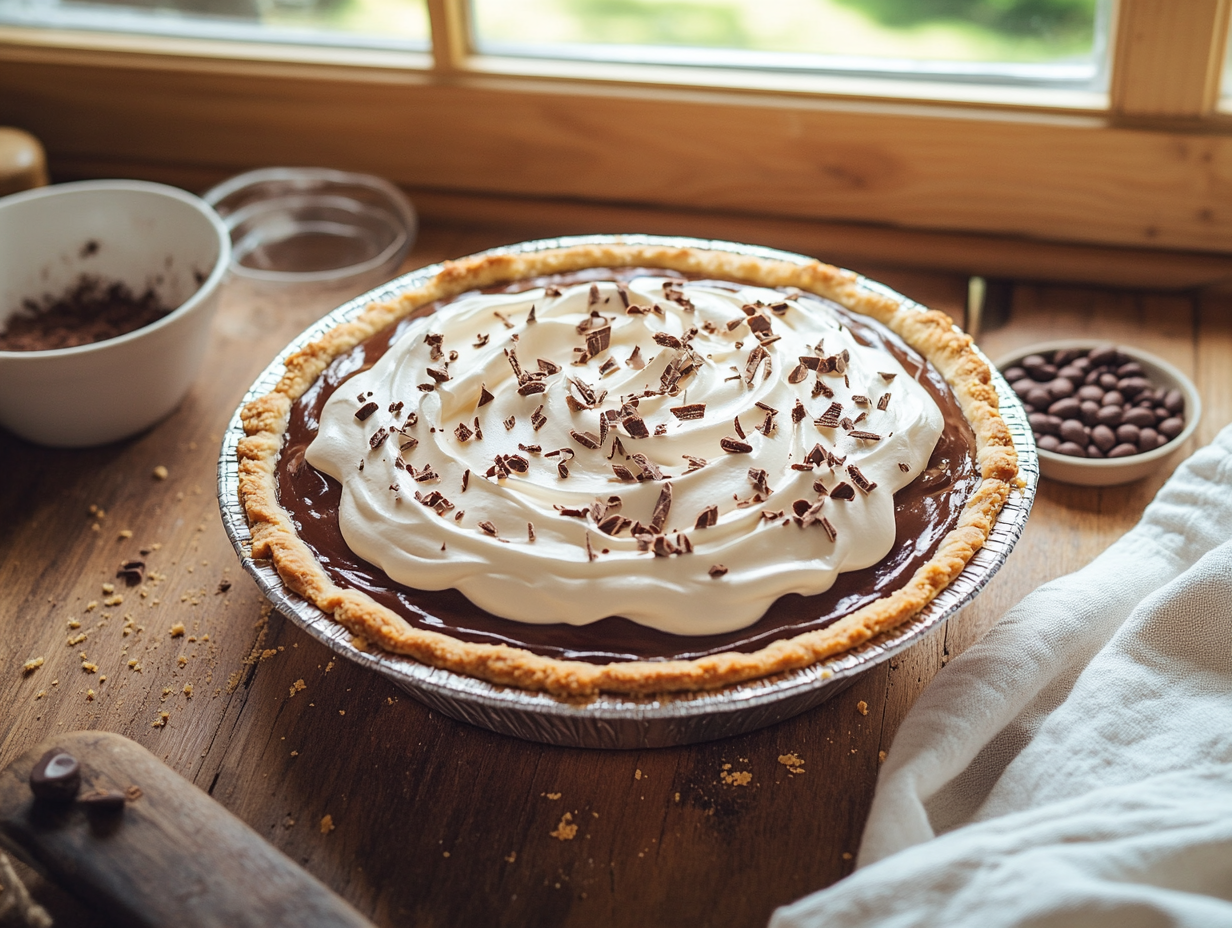
This is a stovetop chocolate custard pie set in a graham cracker crust and finished with whipped cream — straightforward to make and genuinely better than anything from a box mix. The one real reason to make it yourself is control: you choose the chocolate quality, you adjust the sweetness, and you end up with a filling that actually tastes like chocolate rather than chocolate flavoring. A teaspoon of espresso powder goes in with the chocolate — it doesn’t make the pie taste like coffee, it just makes the chocolate taste more like itself.
Before you start
Two things determine whether this pie works. First, tempering the egg yolks: you’re adding hot custard to raw yolks gradually so they warm up slowly instead of scrambling. Pour too fast and you get sweet chocolate eggs. Go slowly — a thin, steady stream while whisking constantly — and you’re fine. Second, the plastic wrap step matters more than it sounds. Pressing the wrap directly against the surface of the warm filling before it goes in the fridge prevents a skin from forming on top. A skin won’t ruin the pie, but it creates a rubbery layer that doesn’t blend back in when you slice it. Take the extra ten seconds.
Common problems and fixes
- Filling is too loose after 4 hours: Give it more time. Some refrigerators run warmer than others. If it’s still not set after 6 hours, the most likely cause is that the custard didn’t boil long enough on the stovetop — it needs a full 1 to 2 minutes at a boil to activate the cornstarch properly.
- Filling is lumpy: Small lumps usually mean the egg yolks got too hot too fast during tempering. Strain the finished filling through a fine-mesh sieve before pouring it into the crust. It takes 30 seconds and fixes the texture completely.
- Crust crumbles when slicing: The butter-to-crumb ratio in the recipe is correct, but if your crumbs were coarser than fine sand, the crust won’t hold together as well. Next time, process the crackers longer. For now, chill the pie thoroughly — a very cold crust holds better than a barely-chilled one.
- Whipped cream weeps or deflates: This happens when cream is whipped too far in advance or the bowl wasn’t cold. Whip it right before serving, and if your kitchen runs warm, set the bowl over ice while you work. Stop at soft peaks — stiff peaks look nicer for about ten minutes and then start to separate.
- Chocolate chips didn’t fully melt: The residual heat from the custard should be enough, but if you’re using a thicker chip or the custard cooled slightly before you added them, return the pan to very low heat for 30 seconds while stirring. Don’t let it boil again.
Shopping notes
- Bittersweet chocolate chips: Any bittersweet or semisweet chip works here. If you only have a chocolate bar, chop it roughly — it melts faster than chips anyway. Milk chocolate will make the filling noticeably sweeter and softer-setting; reduce the sugar in the filling by about two tablespoons if you go that route.
- Espresso powder: Instant espresso powder is sold near the coffee in most grocery stores. In a pinch, very finely ground instant coffee works — use the same amount. Skip the garnish of chocolate shavings or cocoa powder; it adds another dish to wash and nobody notices once the whipped cream is on.
- Whole milk: Whole milk gives the richest set. Two-percent works but produces a slightly softer filling. Don’t use skim — the custard won’t set firmly enough.
- Graham cracker crumbs: Pre-made crumbs from a canister are fine and save time. If you’re crushing crackers by hand, a zip-top bag and a rolling pin gets them fine enough in about two minutes.
Storage and make-ahead
The assembled pie keeps well in the refrigerator for up to 3 days — cover it loosely with plastic wrap once the filling is fully set. If you’re adding whipped cream, hold off until you’re ready to serve; cream toppings start to weep after a few hours. The filling and crust can both be made a day ahead: bake the crust, let it cool completely, then make and pour in the filling, cover, and refrigerate overnight. This is actually the better approach since the filling has plenty of time to set firm. Freezing the finished pie is possible but not ideal — the custard can turn slightly grainy after thawing. If you do freeze it, wrap tightly, freeze for up to one month, and thaw overnight in the refrigerator before serving.
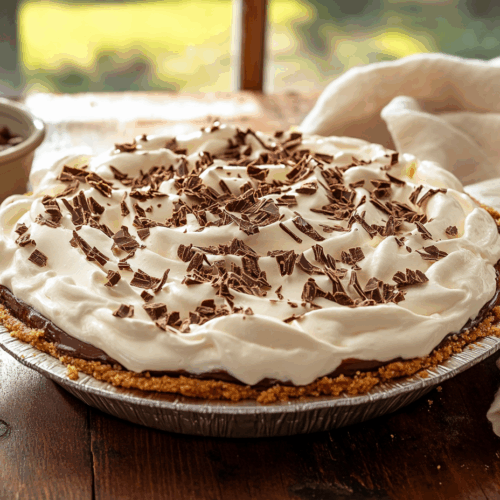
Luxurious Chocolate Cream Pie

Equipment
- 9-inch pie pan
- Medium saucepan
- Mixing Bowls
- Whisk
- Rubber spatula
Ingredients
For the Crust:
- 1 ½ cups graham cracker crumbs about 10 crackers, finely crushed
- ⅓ cup granulated sugar
- 6 tablespoons unsalted butter melted
For the Chocolate Filling:
- ⅔ cup granulated sugar
- ¼ cup unsweetened cocoa powder
- 3 tablespoons cornstarch
- ¼ teaspoon salt
- 2 ¾ cups whole milk
- 4 large egg yolks
- 3 tablespoons unsalted butter room temperature
- 1 cup bittersweet chocolate chips
- 1 teaspoon vanilla extract
- 1 teaspoon espresso powder optional, to enhance chocolate flavor
For the Whipped Cream Topping:
- 1 cup heavy cream chilled
- 2 tablespoons granulated sugar
- ½ teaspoon vanilla extract
Instructions
For the Crust:
- Preheat the oven to 350°F (175°C). In a bowl, combine graham cracker crumbs and sugar. Stir in the melted butter until evenly moistened. Press the mixture into a 9-inch pie pan, evenly across the bottom and up the sides. Bake for 10 minutes until lightly browned. Cool completely on a wire rack.
For the Chocolate Filling:
- In a medium saucepan, whisk together sugar, cocoa powder, cornstarch, and salt. Slowly whisk in the milk. Place over medium heat, stirring constantly, until the mixture comes to a boil and thickens (around 15 minutes). Boil for 1 to 2 minutes. Remove from heat.
- In a separate bowl, whisk the egg yolks. Slowly add a cup of the hot mixture to the yolks, whisking constantly to temper them. Return everything to the saucepan and cook for another 2 minutes over medium heat.
- Remove from the heat and stir in butter, chocolate chips, vanilla, and espresso powder until smooth. Pour into the cooled crust. Cover with plastic wrap, pressing it against the surface, and refrigerate until set, about 4 hours.
For the Whipped Cream Topping:
- Just before serving, beat the heavy cream, sugar, and vanilla in a bowl until soft peaks form. Spread over the filling, swirling the top for a decorative effect.
Notes
- For a gluten-free version, substitute gluten-free graham crackers.
- Enhance the chocolate depth by using high-quality cocoa powder and chocolate chips.
- For an extra touch, sprinkle chocolate shavings over the whipped cream before serving.
Nutrition
Frequently asked questions
Can I use a store-bought graham cracker crust instead of making my own?
Yes, a 9-inch store-bought crust works fine here. Just skip the baking step — pre-made crusts are already set — and pour the warm filling straight in. The sides will be a little shallower than a homemade crust, so you may have a small amount of filling left over.
What if I don’t have cornstarch — can I use flour instead?
You can substitute all-purpose flour, but use twice the amount — 6 tablespoons instead of 3. The filling will take a few extra minutes to thicken and the texture will be very slightly less glossy, but it sets up properly and tastes the same.
How do I know when the custard is thick enough to take off the heat?
It’s ready when it coats the back of a spoon thickly and a line drawn through it with your finger holds its shape without running. At that point, let it boil for the full 1 to 2 minutes the recipe calls for — pulling it early is the most common reason the filling doesn’t set.
Try these next
- French Brown Butter Chocolate Tart
- Chocolate Chai Pots de Crème
- Espresso Chocolate Semifreddo
- Zesty Key Lime Pie