

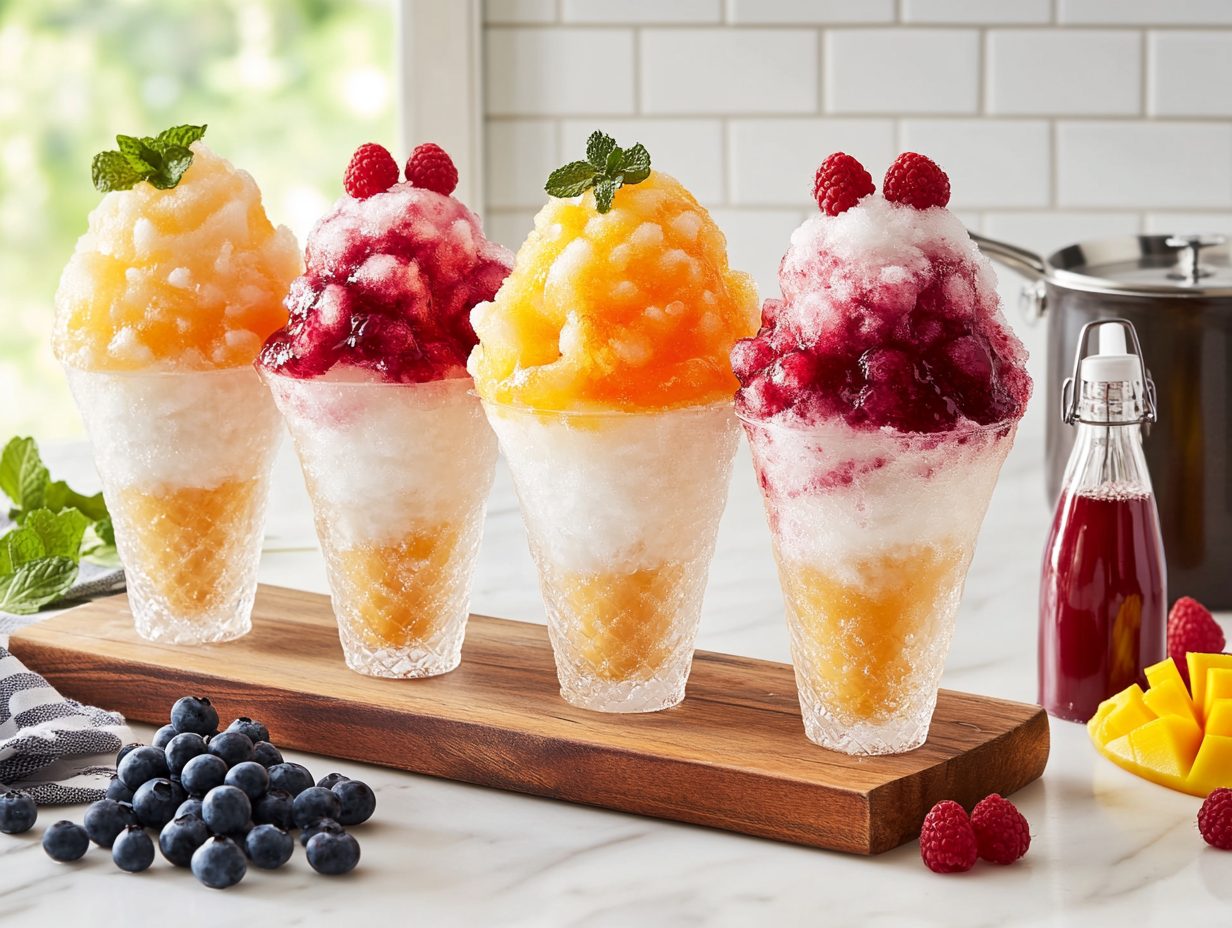
These snow cones are built around a quick homemade fruit syrup — sugar, water, fresh fruit purée, and lemon juice — poured over freshly shaved ice. The whole thing comes together in 15 minutes, and because the syrup scales up easily, it’s one of the most practical frozen treats you can offer a crowd. The flavor is noticeably cleaner than anything from a bottle.
Ingredient notes
- Fresh fruit purée: Blend and strain ripe fruit yourself — raspberries, mango, or blueberries all work well. Frozen fruit thawed overnight is a perfectly good substitute when fresh is out of season or you’re buying in bulk.
- Organic sugar: The recipe calls for it, but standard granulated sugar works fine here. The difference in a cooked syrup is minimal.
- Lemon juice: Don’t skip it. It keeps the syrup from tasting flat and helps the fruit flavor read clearly over the ice. Bottled juice works in a pinch, but fresh is noticeably brighter.
- Agave nectar: A 1:1 swap for sugar if you need a lower-glycemic option. The syrup will be slightly thinner, so simmer it an extra minute or two.
What makes this version work
Two things matter most here. First, the syrup has to be completely cool before it hits the ice — warm syrup melts the shaved ice almost instantly and you end up with a slushy puddle instead of a snow cone. Pour it into your squeeze bottles and refrigerate until fully cold, or speed things up with a quick ice bath. Second, the texture of the ice itself determines everything. An ice shaver gives you the fine, fluffy result you want. A food processor can work, but pulse in very short bursts and stop the moment it looks like snow — a few extra seconds turns it to chunky slush. Skip the garnish — not worth the extra dish.
Troubleshooting
- Syrup soaks straight through the ice: The ice was packed too loosely. Press it firmly into the cone or cup so there’s enough density to hold the syrup near the surface.
- Syrup tastes flat or one-dimensional: Your fruit wasn’t ripe enough. Taste the purée before cooking — if it’s bland raw, it’ll be bland cooked. Add an extra teaspoon of lemon juice to sharpen it.
- Ice melts before you finish serving: Work in batches. Shave only as much ice as you can serve in the next two or three minutes. Pre-chill your cones or cups in the freezer for 10 minutes to buy a little extra time.
- Syrup is too thin and watery: It didn’t simmer long enough, or the fruit purée had a high water content. Return it to low heat and simmer uncovered for another 3–5 minutes, stirring occasionally.
- Syrup crystallizes after cooling: This happens if the sugar wasn’t fully dissolved before you added the purée. Next time, confirm the syrup is clear before moving on. To fix a crystallized batch, reheat gently with a splash of water and stir until smooth.
Keeping it fresh
The syrup is the only component you can make ahead. It keeps in a sealed squeeze bottle or jar in the refrigerator for up to one week. For larger batches, double or triple the syrup recipe and store extra portions in the freezer for up to two months — thaw overnight in the fridge before use. The ice has to be shaved fresh each time; pre-shaved ice stored in the freezer clumps into a solid block within minutes. If you’re serving a group, shave ice in rounds rather than all at once, and keep the syrup cold right up until serving.
Artisanal Snow Cones

Equipment
- Ice shaver or food processor
- Measuring cups
- Small saucepan
- Squeeze bottles
Ingredients
- 1 cup granulated sugar use organic sugar for a pure taste
- 1 cup water
- 1 cup fresh fruit purée (e.g., raspberry, mango, or blueberry) choose ripe, in-season fruits
- 1 tablespoon lemon juice freshly squeezed for acidity
- 2 cups ice cubes
Instructions
- In a small saucepan, combine 1 cup of granulated sugar and 1 cup of water. Heat over medium heat, stirring until the sugar completely dissolves, creating a simple syrup.
- Add 1 cup of fresh fruit purée and 1 tablespoon of lemon juice to the syrup. Simmer for another 5 minutes on low heat to infuse flavors and slightly thicken. The aroma should be vibrant and fruity.
- Remove from heat and let the syrup cool completely. Transfer into squeeze bottles for easy application.
- Using an ice shaver, carefully shave 2 cups of ice cubes into a fluffy consistency. If using a food processor, pulse briefly, ensuring a snow-like texture.
- Pack the shaved ice into individual cones or cups, pressing lightly until filled and stable.
- Drizzle your artisanal syrup over the snow mound, allowing the vibrant color to cascade beautifully over the ice.
Notes
Lori’s Tips:
- For a touch of complexity, add fresh herbs like mint or basil to the syrup during simmering.
- To make it diet-friendly, swap sugar for a natural sweetener such as agave nectar.
Nutrition
Frequently asked questions
Can I make the syrup a few days ahead?
Yes — the syrup keeps in the refrigerator for up to one week in a sealed container. Make it the night before and it will be fully chilled and ready to pour straight from the squeeze bottle.
How much syrup do I need per cone?
Plan on about 3 to 4 tablespoons of syrup per cone. One batch of syrup (roughly 1.5 cups after simmering) covers 4 to 6 cones comfortably, so double or triple the syrup recipe if you’re serving more than a handful of people.
Can I use a blender instead of an ice shaver or food processor?
A standard blender is not ideal — it tends to produce uneven chunks or over-processes the ice into liquid. A food processor with a pulse function is the better backup option if you don’t have a dedicated ice shaver.
What’s the best way to serve these at a party without them melting?
Set up an assembly line and shave ice in small rounds, serving each batch immediately. Pre-chill your cones or cups in the freezer for at least 10 minutes before filling, which slows melting noticeably.
Can I use store-bought fruit juice instead of fresh purée?
You can, but the flavor will be thinner and sweeter. If you go that route, reduce the sugar to about three-quarters of a cup and taste the syrup before adding the lemon juice, since many juices already contain added sugar or citric acid.
What to bake next
- Roasted Strawberry Ice Cream
- Tropical Coconut Cardamom Ice Cream
- Elegant Strawberry Champagne Sorbet
- Tropical Lime Bars with Toasted Coconut Crunch