

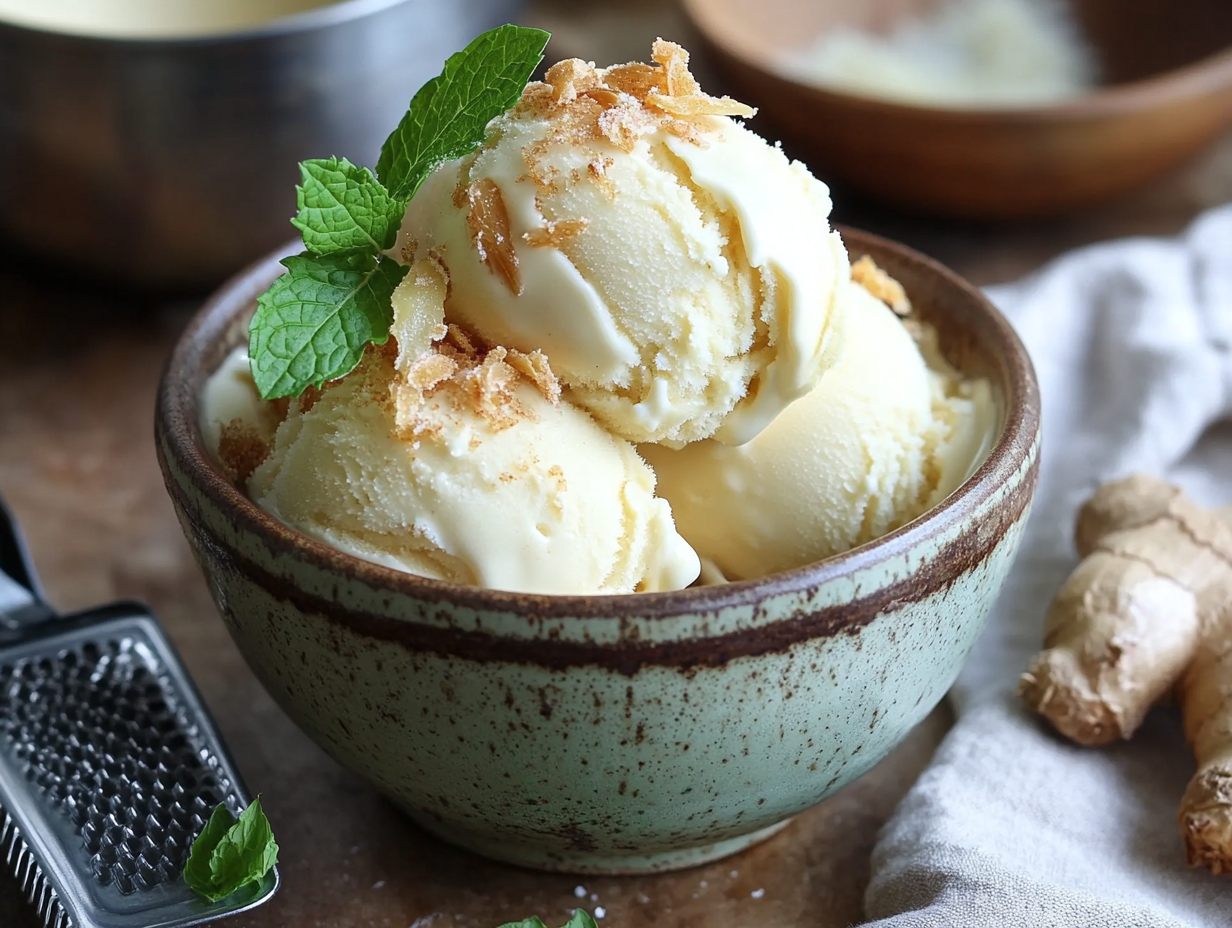
This is a custard-based ice cream flavored with fresh ginger steeped directly into the cream. The heat from the ginger comes through in every scoop without being sharp or one-note, and the custard base keeps it rich and scoopable. If you’ve never made homemade ice cream before, this is a genuinely good place to start — the process is straightforward and the result is something you won’t find at the grocery store.
Why this recipe works
Two things make this recipe reliable. First, steeping the grated ginger in warm cream for 30 minutes before building the custard pulls out the flavor gently — you get warmth and depth without the raw, almost soapy edge that ginger can have when it’s added late or in large amounts. Second, tempering the egg yolks (adding the hot cream slowly rather than all at once) is what keeps the custard smooth. It sounds fussy, but it just means going slowly with a whisk. Do those two things right and the rest takes care of itself.
About the ingredients
- Fresh ginger: A 2-inch piece is roughly the size of your thumb. Look for ginger that feels firm and heavy — soft or wrinkled skin means it’s dried out inside and the flavor will be weaker. Peel it with the edge of a spoon rather than a peeler; you lose less.
- Heavy cream: Don’t substitute half-and-half or light cream. The fat content is what gives homemade ice cream its texture. Lower-fat dairy produces icier, harder results.
- Egg yolks: Four yolks is standard for a quart of custard ice cream. They thicken the base and add richness. Save the whites for meringue or freeze them.
- Vanilla extract: Added off-heat so it doesn’t cook off. Pure extract is worth it here since the flavor is noticeable in a simple base like this.
What can go wrong
- The custard scrambles into lumps: This happens when the heat is too high or you stop stirring. Keep the burner at medium, stir constantly, and pull the pan off the heat the moment the custard coats the back of a spoon. If you do get a few lumps, strain them out — the custard is usually still fine.
- The ice cream churns but stays soupy: The base wasn’t cold enough going into the machine. Four hours in the fridge is the minimum; overnight is better. The base should feel very cold, not just cool, before churning.
- The finished ice cream is icy or grainy after freezing: This usually means the ice cream sat in the freezer too long before you pressed plastic wrap directly onto the surface. Air exposure causes ice crystals. Press wrap flat against the ice cream before putting the lid on.
- The ginger flavor is too faint: Older or dried-out ginger loses potency quickly. If your piece felt soft when you bought it, add a little extra — up to a 3-inch piece — to compensate. Skip the garnish of candied ginger slices; it doesn’t add enough to justify the extra prep.
- The ice cream is rock-hard straight from the freezer: Let it sit on the counter for 5 to 8 minutes before scooping. Homemade custard ice cream freezes harder than store-bought because it has no stabilizers — a short rest makes it perfectly scoopable.
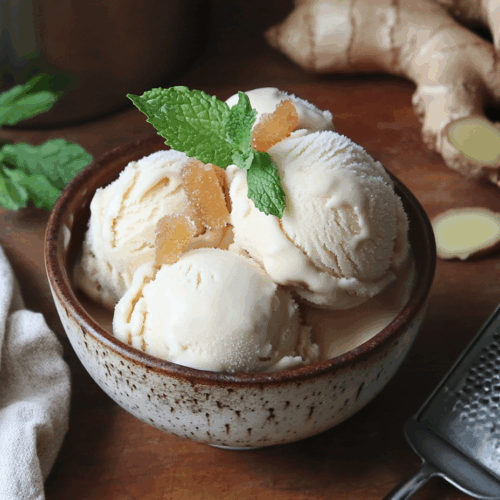
Ginger Ice Cream

Equipment
- Ice Cream Maker
- Saucepan
- Mixing Bowls
- Whisk
- Grater
Ingredients
- 2 cups heavy cream Preferably organic for the richest flavor.
- 1 cup whole milk
- 1 cup granulated sugar
- 1 piece fresh ginger Peeled and grated, about 2 inches.
- 4 large egg yolks Preferably free-range.
- 1 teaspoon vanilla extract
Instructions
- In a saucepan, combine the heavy cream, whole milk, and freshly grated ginger. Heat over medium-low heat until it begins to simmer, then remove from heat and let it steep for 30 minutes to allow the ginger flavor to infuse.
- In a separate mixing bowl, whisk together the sugar and egg yolks until the mixture becomes pale and thick.
- Slowly whisk the ginger-infused cream into the egg yolk mixture, tempering it to avoid curdling. Return the mixture to the saucepan.
- Cook over medium heat, stirring constantly with a wooden spoon, until the mixture thickens enough to coat the back of the spoon (around 170°F or 77°C). Do not allow it to boil.
- Remove from heat, stir in the vanilla extract, and strain the mixture through a fine-mesh sieve to remove the ginger solids.
- Chill the mixture in the refrigerator for at least 4 hours or overnight. Once chilled, churn in an ice cream maker according to the manufacturer's instructions.
Notes
FAQ
Do I need an ice cream maker?
Yes, this recipe requires one. Without churning, the ice cream will freeze into a solid, icy block rather than a creamy, scoopable texture. If you don’t own a machine, a no-churn recipe using whipped cream and condensed milk would be a better fit.
How do I know when the custard is thick enough?
Drag your finger across the back of the spoon you’re stirring with — if the line holds clean without the custard running back through it, you’re done. A thermometer reading of 170°F is the reliable backup check if you’re unsure.
Can I make this without a thermometer?
Yes. The spoon test described above works well. Just don’t let the mixture boil — if you see bubbles breaking the surface, lower the heat immediately and keep stirring.
Why do I strain out the ginger after steeping it?
Leaving the ginger solids in produces a slightly fibrous, uneven texture in the finished ice cream. Straining gives you clean, smooth custard with all the flavor already absorbed into the cream.
How long does homemade ginger ice cream keep in the freezer?
It’s best within two weeks. After that it’s still safe to eat, but the texture gets icier and the flavor starts to dull. Store it in a shallow, flat container rather than a deep tub so it freezes and thaws more evenly.
My custard looks curdled after I tempered it — is it ruined?
Not necessarily. Pour it through a fine-mesh sieve right away. If the texture smooths out after straining, the custard is fine to use. If it still looks grainy and separated after straining, the eggs cooked too fast and it’s best to start the custard step again.
What to bake next
- Tropical Coconut Cardamom Ice Cream
- Honeycomb Ice Cream
- Sweet Roasted Strawberry Ice Cream
- Elegant Black Tea Panna Cotta