

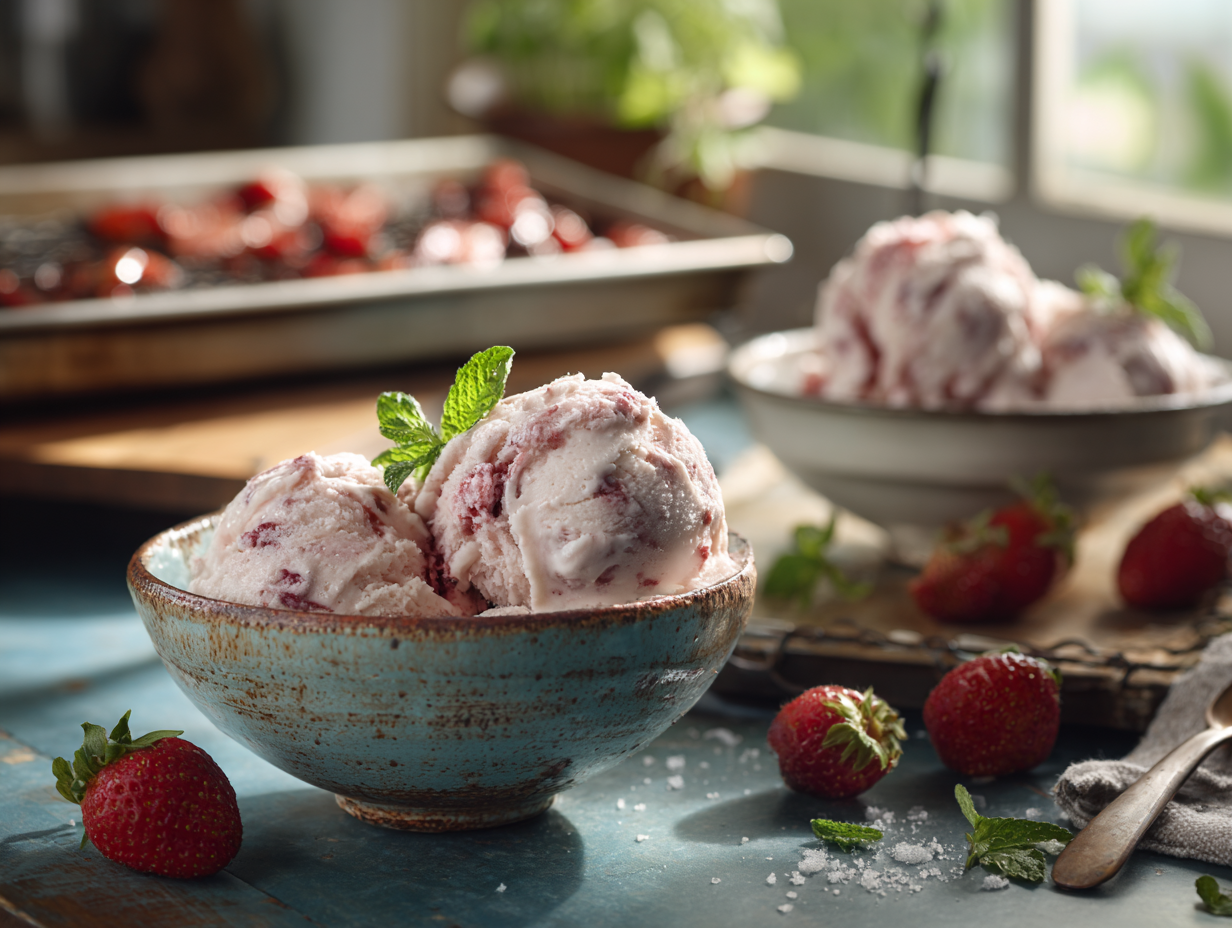
This is a no-egg, churn-style strawberry ice cream where the berries are roasted with sugar before they go anywhere near the cream base. That one step — roasting — drives off excess water and concentrates the fruit so the finished ice cream actually tastes like strawberries instead of sweetened cream with a pink tint. If you’re working with peak-season berries and want a freezer dessert you can make days ahead, this is a reliable recipe to have on hand.
The technique that matters
Roasting is the only technique here that changes the outcome in a meaningful way, so it’s worth doing carefully. Spread the halved berries in a single layer — crowding them causes steaming rather than caramelization, and you’ll lose the jammy concentration you’re after. The 25–30 minutes at 350°F should leave you with soft berries sitting in a thick, syrupy liquid; that syrup goes into the blender along with the fruit, not down the drain. When you blend, you have a real choice: a fully smooth purée gives a cleaner texture after churning, while leaving some small chunks means you’ll hit pockets of concentrated berry in the finished scoop. Both work, but the chunky version can freeze slightly icier around those fruit pieces — worth knowing before you decide.
Make-ahead notes
The roasted strawberry purée can be made up to three days in advance and kept covered in the refrigerator — this actually helps, because the cream mixture should be cold before it goes into the ice cream maker, and a pre-chilled purée speeds that up. The combined cream-and-strawberry mixture can sit in the fridge overnight before churning if that fits your schedule better. Once churned and transferred to a lidded container, the ice cream keeps well in the freezer for up to two weeks without significant quality loss; beyond that it starts to develop ice crystals. For a party or holiday, churn it two to three days ahead, press a layer of plastic wrap directly onto the surface before sealing the lid, and it will scoop cleanly straight from the freezer — skip the garnish right before serving, not worth the extra dish.
What can go wrong
- Ice cream won’t firm up after churning: The mixture was too warm going into the machine. Both the cream base and the strawberry purée need to be fully cold — ideally below 40°F — before churning. A warm mixture churns into soft-serve that never sets properly even after hours in the freezer.
- Icy, grainy texture in the finished scoop: This usually means the sugar wasn’t fully dissolved before churning, or the ice cream was frozen uncovered and absorbed moisture. Whisk the base until you’re certain the sugar is gone, and always press plastic wrap against the surface before putting the lid on.
- Weak strawberry flavor despite using a full pound of berries: Out-of-season or underripe berries don’t have enough natural sugar to caramelize properly. If your berries smell faint at room temperature, add an extra tablespoon of sugar before roasting and extend the roast time by five minutes to push more moisture out.
- Cream mixture curdles or looks broken when the purée is added: This happens when the purée is still hot. Let the roasted berries cool completely — to room temperature at minimum, refrigerator-cold is better — before combining with the cream.
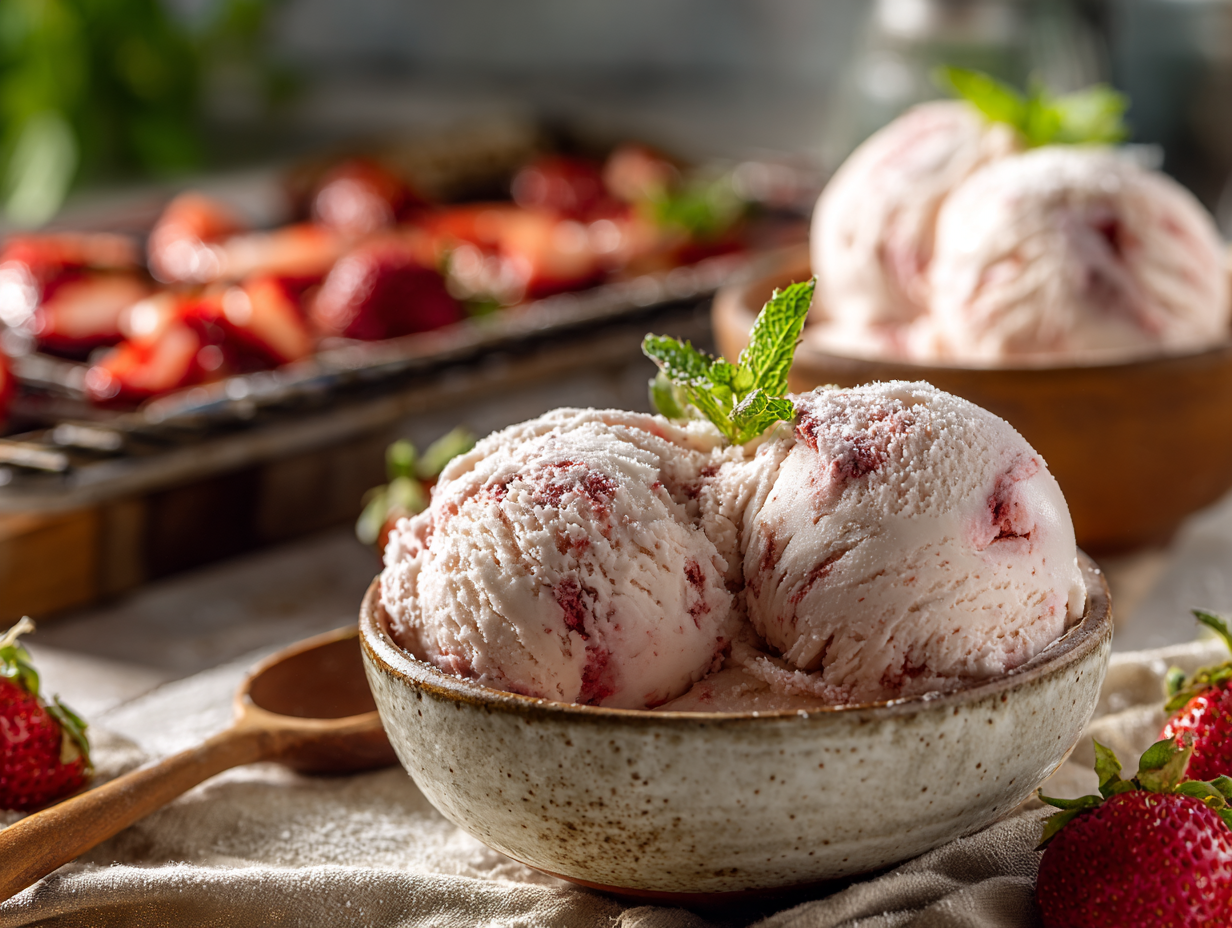
Roasted Strawberry Ice Cream

Equipment
- Baking sheet
- Oven
- Ice Cream Maker
- Mixing Bowls
- Whisk
Ingredients
For the Ice Cream Base:
- 2 cups heavy cream preferably organic
- 1 cup whole milk
- ¾ cup granulated sugar
- 1 pinch salt sea salt preferred
- 1 teaspoon vanilla extract
For the Roasted Strawberries:
- 1 pound fresh strawberries hulled and halved
- 3 tablespoons granulated sugar
Instructions
- Preheat your oven to 350°F (175°C). On a baking sheet, spread the hulled and halved strawberries evenly. Sprinkle them with 3 tablespoons of granulated sugar.
- Roast the strawberries in the oven for 25-30 minutes, or until they are soft and slightly syrupy. Let them cool before using.
- In a mixing bowl, combine the heavy cream, whole milk, 3/4 cup of granulated sugar, a pinch of sea salt, and vanilla extract. Whisk until the sugar is dissolved.
- Transfer the cooled roasted strawberries to a blender or food processor and pulse until smooth. You may choose to leave some strawberries chunky for texture.
- Combine the strawberry puree with the cream mixture. Mix well, and then pour into your ice cream maker. Follow the manufacturer's instructions to churn the mixture into ice cream.
- Once churned, transfer to a lidded container and freeze for at least 2 hours or until firm.
Notes
- For an even richer flavor, consider adding a splash of balsamic vinegar to the strawberries before roasting. The acidity complements the sweetness beautifully and adds an unexpected depth to the dish.
Nutrition
FAQ
Do I need an ice cream maker for this recipe?
Yes, this recipe is written specifically for an ice cream maker. Without one, the base won’t get enough air churned in and will freeze into a solid, icy block rather than a scoopable texture.
Can I use frozen strawberries instead of fresh?
You can, but thaw and drain them thoroughly first — frozen berries release a lot of liquid, and excess water works against the concentration you’re trying to achieve by roasting. Expect the roasting time to run a few minutes longer since you’re driving off more moisture.
How far in advance can I make this for a gathering?
Up to two weeks ahead is fine if the container is well sealed with plastic wrap pressed against the surface. For the best texture and flavor, aim for two to three days ahead — the ice cream is fully set, easy to scoop, and hasn’t had time to develop any freezer taste.
Try these next
- Tropical Coconut Cardamom Ice Cream
- Elegant Strawberry Champagne Sorbet
- Honeycomb Ice Cream
- Strawberry Elderflower Fool