

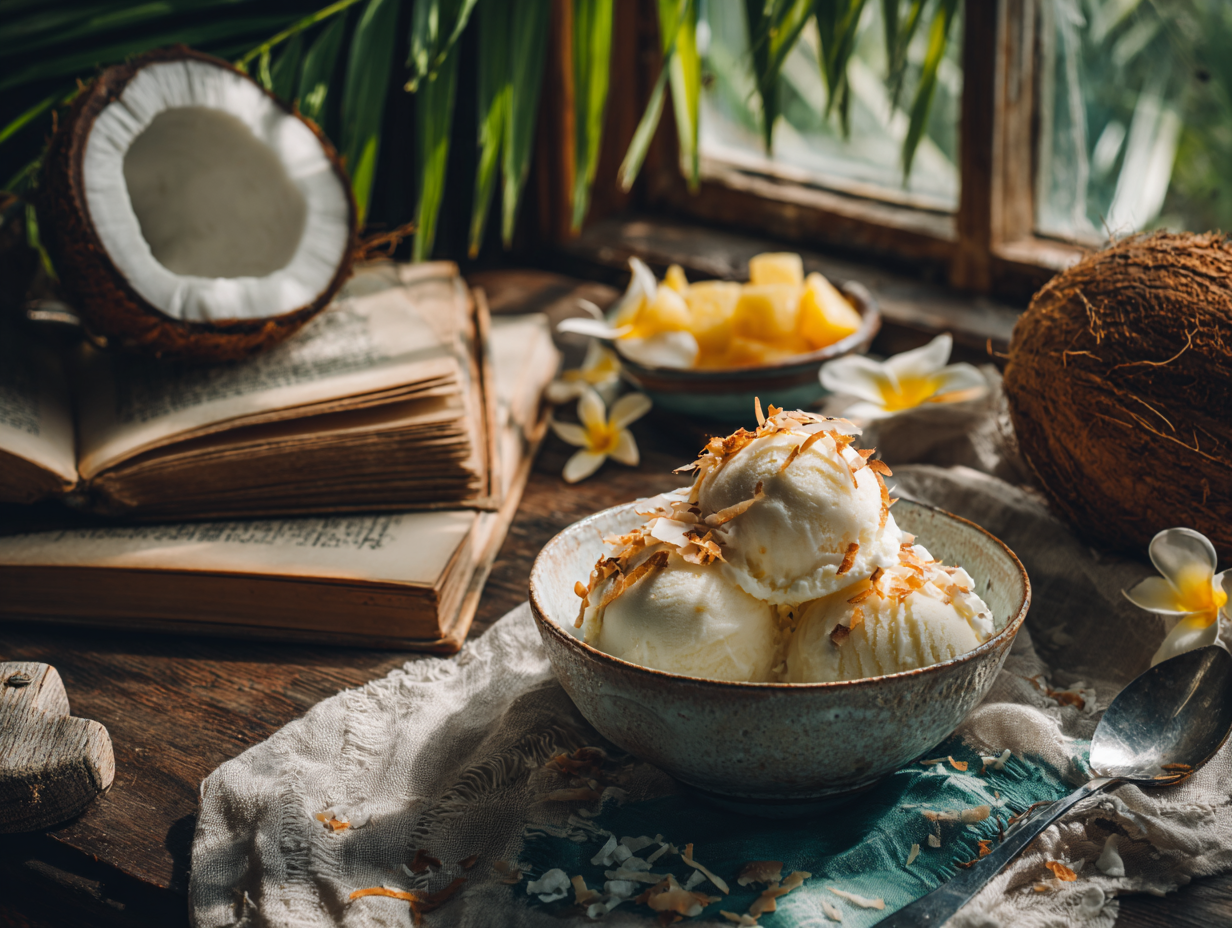
This is a churned coconut ice cream made with full-fat coconut milk, heavy cream, sugar, vanilla, and toasted shredded coconut. It takes about 30 minutes of active work plus freezing time, and the result is a scoopable, creamy frozen dessert with real coconut flavor throughout. If you have an ice cream maker and a free afternoon, this is a straightforward project that produces something genuinely good.
Shopping notes
- Full-fat coconut milk: This is not the same as coconut beverage or light coconut milk. Look for canned full-fat coconut milk — the fat content is what gives the ice cream its body. Shake the can before opening; if it sounds watery, pick a different brand.
- Heavy cream: Use chilled heavy cream straight from the fridge. It blends more smoothly into the cold coconut milk base.
- Shredded coconut: Sweetened shredded coconut works, but unsweetened gives you more control over the final sweetness. Either toasts well in a dry skillet over medium-low heat — watch it closely, it goes from pale to burnt fast.
- Vanilla extract: Pure extract only. Imitation vanilla turns slightly bitter in frozen desserts.
What makes this version work
Two things matter here. First, dissolving the sugar completely before churning — undissolved sugar creates a gritty texture that no amount of freezing will fix. Whisk the mixture for a full two minutes and rub a little between your fingers to check; it should feel completely smooth. Second, the timing of the toasted coconut addition. Folding it in after churning, not before, keeps the pieces distinct and gives you actual texture contrast in every scoop. If you stir it into the base before it goes into the machine, it softens and disappears into the ice cream. Skip adding extra garnishes on top at serving — not worth the extra dish.
If something goes sideways
- Ice cream is icy and grainy after freezing: The mixture likely went into the machine too warm. Chill the base in the fridge for at least 30 minutes before churning. A cold base freezes faster in the machine, which means smaller ice crystals and a smoother result.
- Ice cream is too hard to scoop straight from the freezer: Let it sit at room temperature for 5 minutes before serving. The heavy cream helps, but coconut milk-based ice creams do freeze firmer than dairy-only versions.
- Coconut flavor tastes flat: Your coconut milk may have been low-fat or watered down. Check the label — it should list at least 17g of fat per half-cup serving. Also confirm your toasted coconut was actually toasted to a light golden color, not just warmed.
- Ice crystals forming on the surface during storage: The parchment paper layer directly on the surface of the ice cream (as noted in the recipe) is essential. If you skipped it, press a fresh piece directly onto the ice cream before returning it to the freezer.
- Machine stopped churning before soft-serve consistency: The bowl may not have been frozen long enough. Most home ice cream maker bowls need at least 24 hours in the freezer before use. If the bowl feels even slightly flexible when you press it, it is not cold enough.
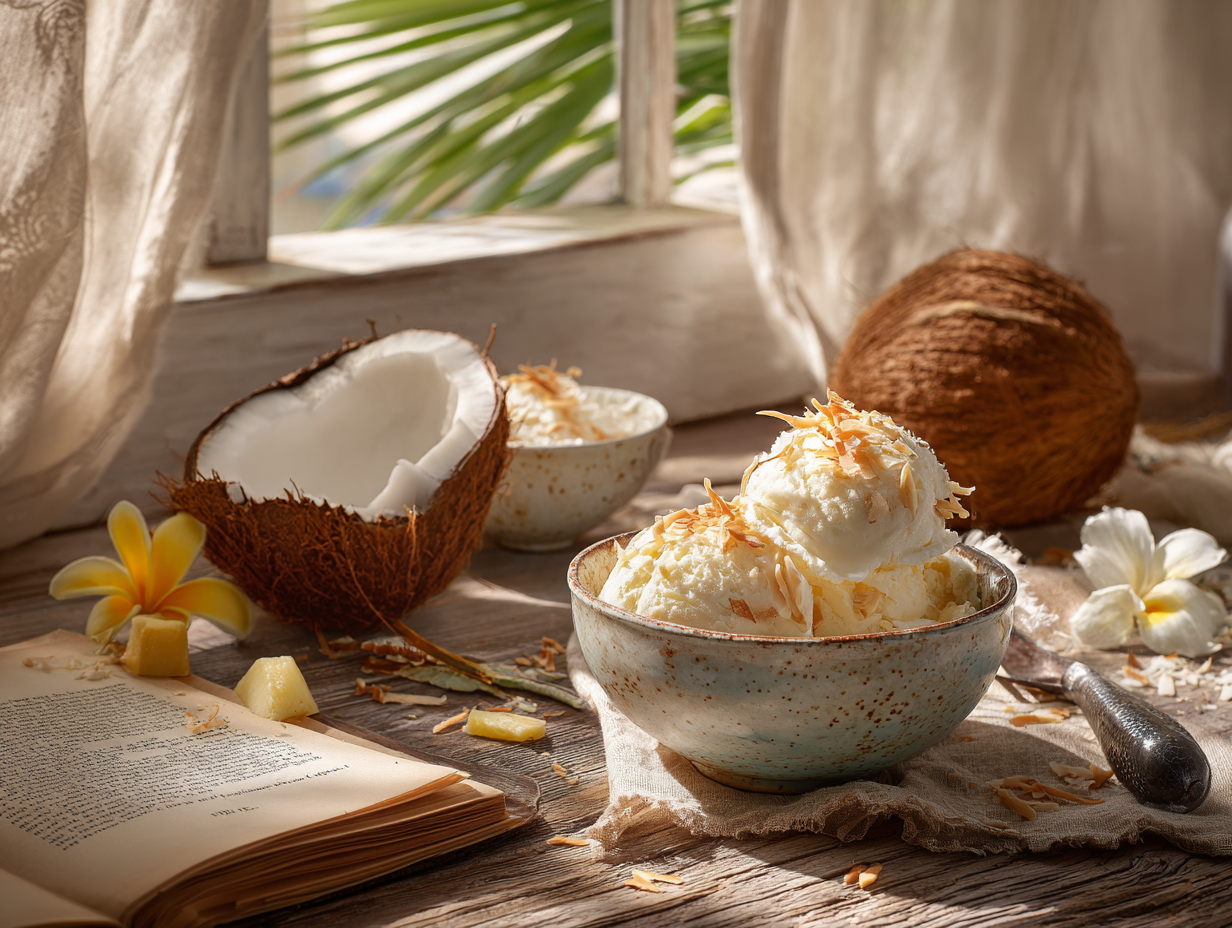
Tropical Coconut Ice Cream

Equipment
- Ice Cream Maker
- Mixing Bowl
- Whisk
- Measuring cups and spoons
- Spatula
Ingredients
- 2 cups coconut milk full-fat for creaminess
- 1 cup heavy cream chilled
- 1 cup granulated sugar adjust to taste
- 1 teaspoon vanilla extract pure vanilla for best flavor
- 1 pinch salt balancing sweetness
- ½ cup shredded coconut toasted for enhanced flavor
Instructions
- In a large mixing bowl, combine the coconut milk, heavy cream, and granulated sugar. Whisk until the sugar is fully dissolved.
- Add the vanilla extract and a pinch of salt, blending thoroughly to ensure every element is beautifully incorporated, creating a fragrant mixture.
- Pour the mixture into your ice cream maker, following the manufacturer's instructions to churn until it reaches a soft-serve consistency, typically about 20 to 25 minutes. Listen for a smooth whirring sound and look for silky texture as indicators that it's ready.
- Gently fold in the toasted shredded coconut with a spatula, ensuring even distribution for delightful texture in every bite.
- Transfer the ice cream to an airtight container, covering the top with parchment paper to prevent ice crystals, and freeze for at least 2 hours until firm.
Notes
- For a delightful twist, add a splash of rum or a few pieces of chopped pineapple during the churn for a piña colada-inspired flavor.
Nutrition
Your questions, answered
Do I need an ice cream maker for this recipe?
Yes, this recipe is written specifically for an ice cream maker. Without one, the mixture will freeze into a solid block rather than a creamy, scoopable texture. If you do not have a machine, a no-churn method using whipped cream and sweetened condensed milk is a different recipe entirely and would require different proportions.
Can I make this dairy-free?
Not quite as written — the recipe includes heavy cream, which contains dairy. To make it fully dairy-free, substitute the heavy cream with an equal amount of full-fat coconut cream. The texture will be slightly less rich but still scoopable, and the coconut flavor will be more pronounced.
Can kids help make this?
Yes, and there are several good spots for them. Measuring and whisking the base together is easy for most kids, as is folding in the toasted coconut after churning. The toasting step should stay with an adult — a dry skillet gets hot fast and the coconut can burn in under a minute if left unattended.
How long will this keep in the freezer?
Up to two weeks with good quality, though it is best in the first five days. After that, ice crystals tend to build up and the texture gets coarser. Store it in the coldest part of your freezer, not in the door, and keep that parchment layer pressed directly against the surface.
What to bake next
- Tropical Coconut Cardamom Ice Cream
- Toasted Coconut Custard Pie
- Tropical Lime Bars with Toasted Coconut Crunch
- Honeycomb Ice Cream