

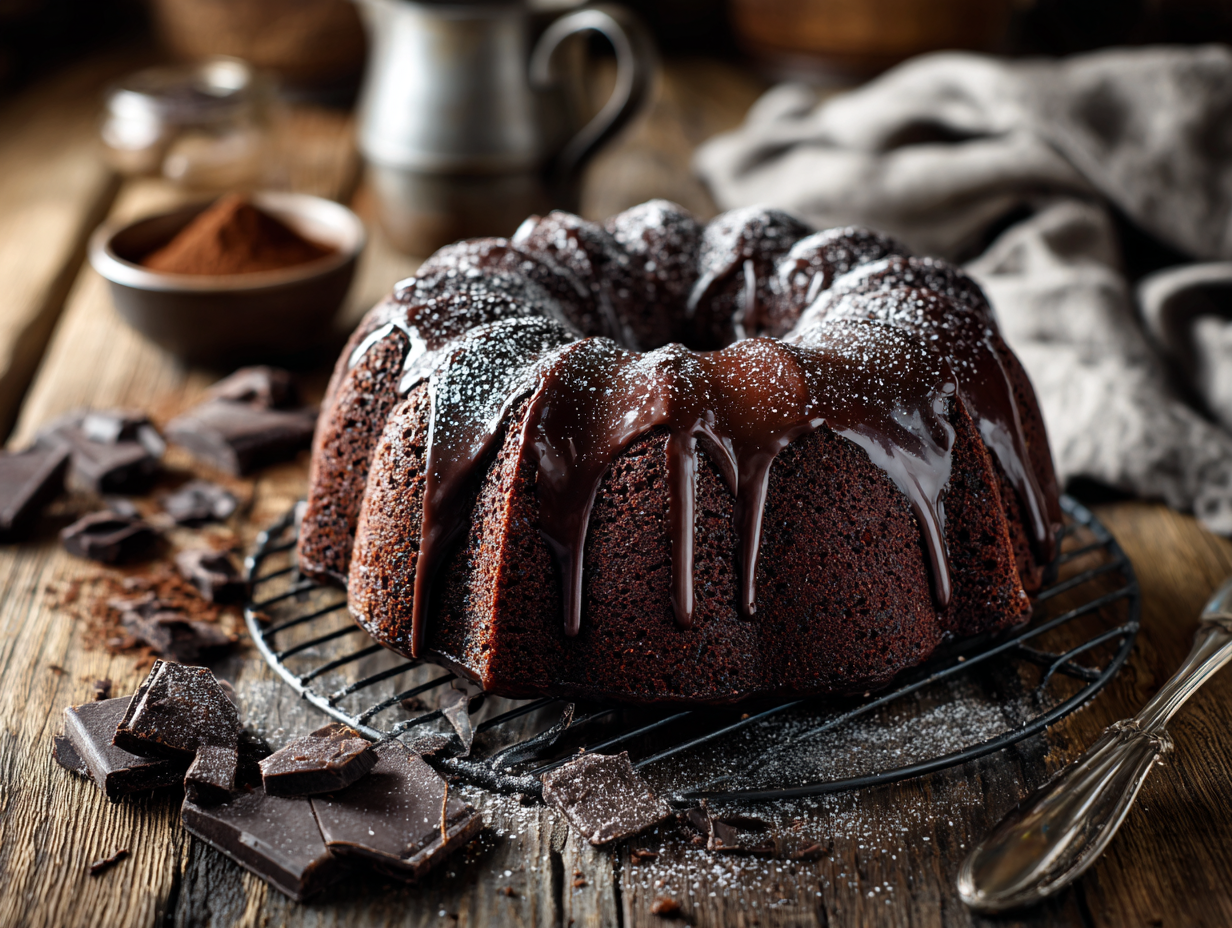
This chocolate Bundt cake is a straightforward, no-layer cake that delivers a genuinely deep cocoa flavor from a full cup of unsweetened cocoa powder plus a simple ganache glaze. It bakes in one pan, serves 12, and holds up well — which makes it a reliable choice when you need to feed a crowd without fussing over frosting. The Bundt shape does the decorative work for you.
The short version of why this works
Two things matter most here. First, creaming the butter and sugar for a full five minutes — not three, not two — builds the air structure that keeps a dense cocoa batter from turning heavy. Second, alternating the dry ingredients with the milk in stages (starting and ending with the dry) prevents the batter from breaking into a greasy, curdled mess. Both steps are easy to rush, and both are worth doing properly. Everything else in this recipe is forgiving.
Shopping notes
- Cocoa powder: The recipe calls for high-quality unsweetened cocoa. Dutch-process cocoa gives a darker color and smoother, less acidic flavor than natural cocoa — either works here because baking soda (not baking powder) is the leavener, so the acid balance isn’t critical. Dark cocoa powder intensifies the color and flavor noticeably if you want to go that route.
- Butter: Unsalted only. Salted butter varies in sodium content by brand, and this batter is already precisely balanced with the half-teaspoon of salt.
- Whole milk: Don’t substitute skim or 1%. The fat in whole milk contributes to the crumb texture. Full-fat oat milk works as a dairy-free swap without a noticeable difference in the finished cake.
Keeping it fresh
Stored at room temperature under a cake dome or wrapped tightly in plastic, this cake stays moist for up to three days — the cocoa and fat content help it hold. Refrigerate it if your kitchen runs warm, but bring it back to room temperature before serving or the crumb will feel dense. For longer storage, wrap individual slices in plastic, then foil, and freeze for up to two months; thaw overnight in the fridge. If you’re baking ahead for a party or sale, the unglazed cake freezes better than the glazed one — add the ganache after thawing.
Mistakes to avoid
- Skipping the flour coating on the pan: Greasing alone is not enough with a Bundt pan. Grease every ridge, then dust with flour (or cocoa powder to avoid white patches on a dark cake) and tap out the excess. A stuck cake cannot be rescued cleanly.
- Turning the cake out too soon: The recipe says 10 minutes in the pan — stick to it. Too early and the cake tears; too late (over 15 minutes) and steam makes it stick. Set a timer.
- Overmixing after adding the flour: Once the dry ingredients go in, mix only until the streaks disappear. Overworking develops gluten and tightens the crumb. A few extra folds by hand with a spatula at the end are safer than continuing with a mixer.
- Cold ingredients: Cold butter won’t cream properly, and cold eggs can cause the batter to curdle. The recipe specifies room temperature — plan for at least 45 minutes out of the fridge before you start.
- Doubling without adjusting pan size: If you’re scaling up for a large event, two separate Bundt pans bake more evenly than one oversized pan. Bake times stay consistent and you get two cakes to work with — skip the garnish on both and just glaze them, not worth the extra dish.
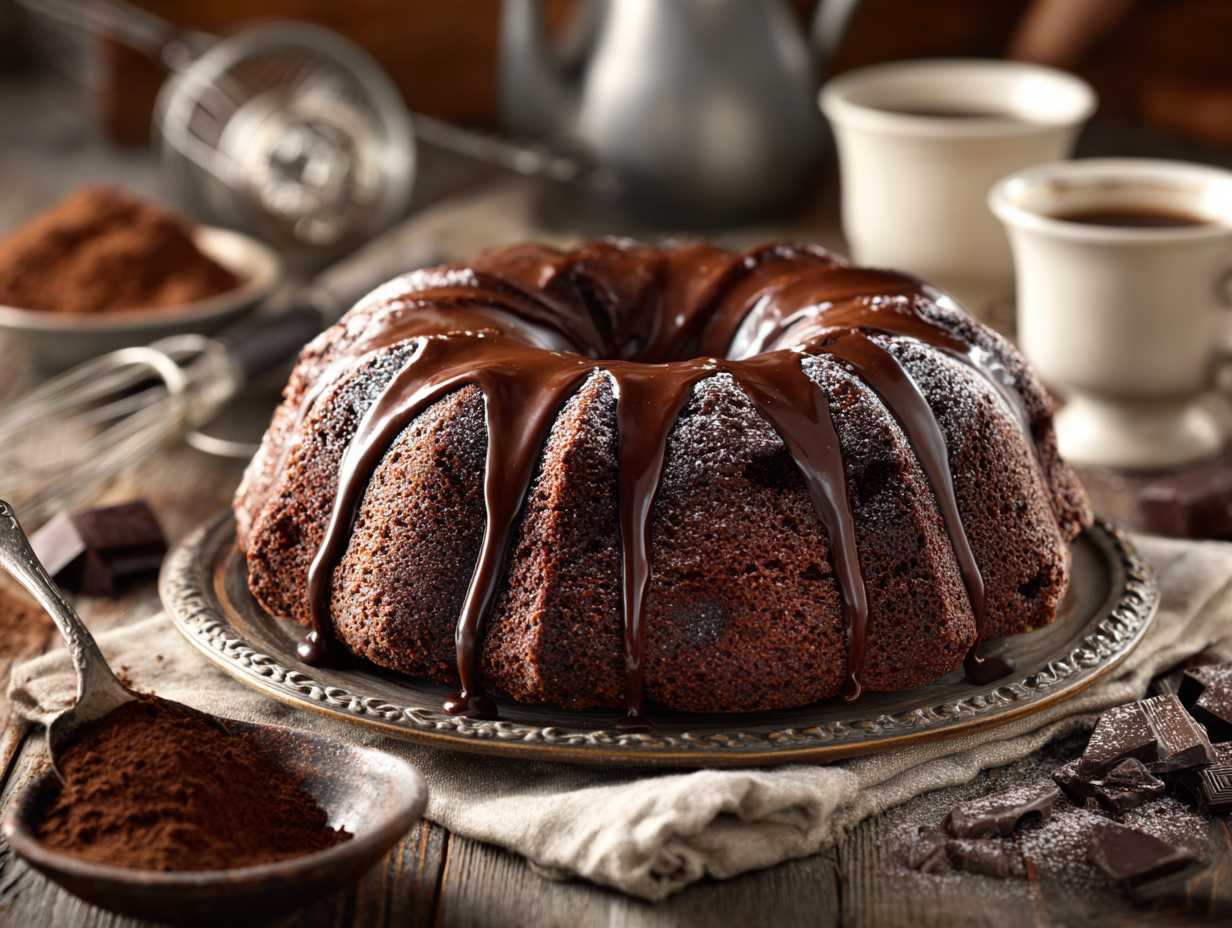
Rich Chocolate Bundt Cake

Equipment
- Bundt pan
- Mixing Bowls
- Whisk
- Sifter
- Cooling Rack
Ingredients
- 1 cup unsalted butter at room temperature
- 2 cups granulated sugar
- 4 large eggs at room temperature
- 2 cups all-purpose flour sifted
- 1 cup unsweetened cocoa powder high quality
- 1 teaspoon baking soda
- 0.5 teaspoon salt
- 1 cup whole milk room temperature
- 1 teaspoon vanilla extract pure
Instructions
- Preheat your oven to 350°F (175°C). Grease and flour the bundt pan thoroughly to ensure the cake releases smoothly.
- In a large mixing bowl, cream the butter and sugar together using a whisk or electric mixer, until the mixture is light and fluffy. This should take about 5 minutes.
- Add the eggs one at a time, mixing well after each addition. Make sure each egg is fully incorporated before adding the next.
- In another bowl, sift together the flour, cocoa powder, baking soda, and salt. This will help in evenly distributing the dry ingredients.
- Gradually add the dry ingredients to the creamed mixture, alternating with the milk and vanilla extract. Begin and end with the dry ingredients. Mix until just combined to avoid overworking the batter.
- Pour the batter into the prepared bundt pan, smoothing the top with a spatula.
- Bake in the preheated oven for 45-50 minutes or until a toothpick inserted into the center of the cake comes out clean. The cake should feel springy to the touch.
- Once baked, allow the cake to cool in the pan for 10 minutes before turning it out onto a cooling rack to cool completely.
Notes
Tammy’s Tips:
- For a more intense chocolate flavor, consider using dark cocoa powder and adding chocolate chips to the batter.
- If you prefer a glaze, melt some dark chocolate with a touch of cream to create a glossy finish.
- Substitute almond milk for whole milk and coconut oil for butter to make it lactose-free.
Nutrition
Your questions, answered
Can I make this cake the day before I need it?
Yes — this cake is actually better the next day. Wrap it well once it’s fully cool and glaze it the morning you plan to serve it so the ganache looks fresh.
How do I know when the cake is done if I don’t have a toothpick?
Use a thin skewer, a sharp knife tip, or a dry piece of uncooked spaghetti — all work the same way. The cake is done when it comes out with no wet batter attached and the top springs back when lightly pressed.
Can I bake this as a sheet cake or loaf instead of a Bundt?
A 9×13 sheet pan works — start checking for doneness at 35 minutes since the thinner batter bakes faster. A standard loaf pan is too small for this volume of batter; you’d need two.
My cake stuck to the pan. Can I fix it?
If it tears coming out, press the pieces back together while the cake is still warm — the crumb is forgiving and the ganache glaze will hide most of the damage. Next time, dust the greased pan with cocoa powder instead of flour for better release and no white residue.
Can I make this without a stand mixer or electric hand mixer?
You can, but creaming butter and sugar by hand for five minutes is genuinely hard work. Make sure the butter is very soft — almost at the point of being shiny — before you start, and use a sturdy wooden spoon or silicone spatula.
How many cakes do I need for a party of 30 people?
Two cakes cut into 12 slices each gives you 24 standard servings; for 30 people, plan on three cakes or cut slices slightly thinner. This cake holds its shape well when sliced, so thinner cuts are practical without the pieces falling apart.
Try these next
- Dark Chocolate Espresso Tartlets
- Nostalgic Malted Milk Chocolate Cake
- Ultimate Chocolate Sheet Cake
- Rustic Blackberry Almond Cake