

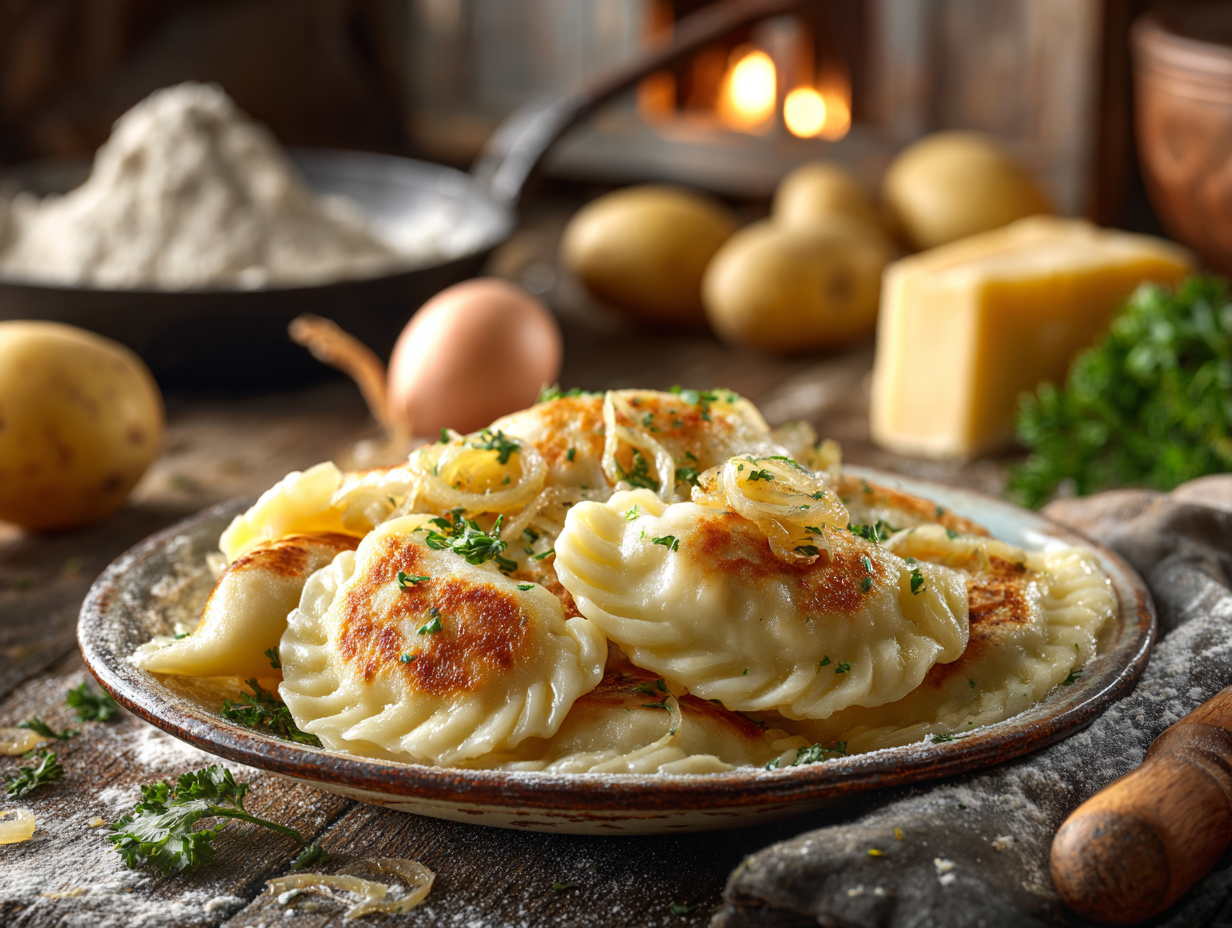
Potato and cheese pierogi are boiled dumplings made from a sour-cream dough wrapped around a filling of mashed Yukon Gold potato, sharp cheddar, and onion. The full process takes about 90 minutes, but the result is a batch of sturdy, satisfying dumplings that reheat well and hold up better than most homemade things you can wrap and give away. If you have been looking for a savory handmade gift that actually travels, this is a strong candidate.
Substitutions that actually work
- Sour cream in the dough: Full-fat plain Greek yogurt works as a 1:1 swap. The dough will be slightly stiffer — let it rest a full 20 minutes before rolling.
- Cheddar in the filling: Farmer’s cheese or dry-curd cottage cheese (well-drained) gives a milder, more traditional flavor. Gruyère works too and melts cleanly.
- All-purpose flour: Do not swap for bread flour — the higher protein content makes the dough tough and hard to seal.
- Yukon Gold potatoes: Russets work but produce a slightly drier filling. Add a tablespoon of butter to the mash to compensate.
The short version of why this works
Two things actually matter here. First, the sour cream in the dough keeps the gluten from overdeveloping, which is why the dough stays pliable and doesn’t spring back when you roll it thin. Second, the two-stage cooking — boiling first, then pan-frying — solves a real problem: boiling alone leaves the outside soft but a little slick, while frying alone risks a raw center. Boiling sets the filling and cooks the dough through; the butter fry afterward dries the surface and gives you the color and slight chew that makes these worth eating. Skip the pan-fry step only if you’re packaging them to reheat later — the recipient can do it themselves and the texture will be fresher.
If something goes sideways
- Dumplings burst open while boiling: The seal failed, usually because the dough edge had filling oil or moisture on it. Wipe the edge of each circle with a dry fingertip before pinching, and press firmly from the center outward to push out any air pockets.
- Dough tears when folding: It was rolled too thin or not rested long enough. Aim for 1/8 inch — no thinner — and if the dough keeps snapping back, cover it and wait another 10 minutes before continuing.
- Filling is watery and won’t hold its shape: The potatoes weren’t drained well enough after boiling. Spread the mash on a baking sheet for a few minutes to let steam escape before mixing in the cheese and onion.
- Pierogi stick together after boiling: Toss them with a small drizzle of neutral oil as soon as they come out of the water. This is especially important if you’re packaging them — stuck dumplings tear when separated cold.
- Edges are gummy after pan-frying: The skillet wasn’t hot enough before the butter went in. The butter should foam immediately on contact. A lukewarm pan steams the dough instead of crisping it.
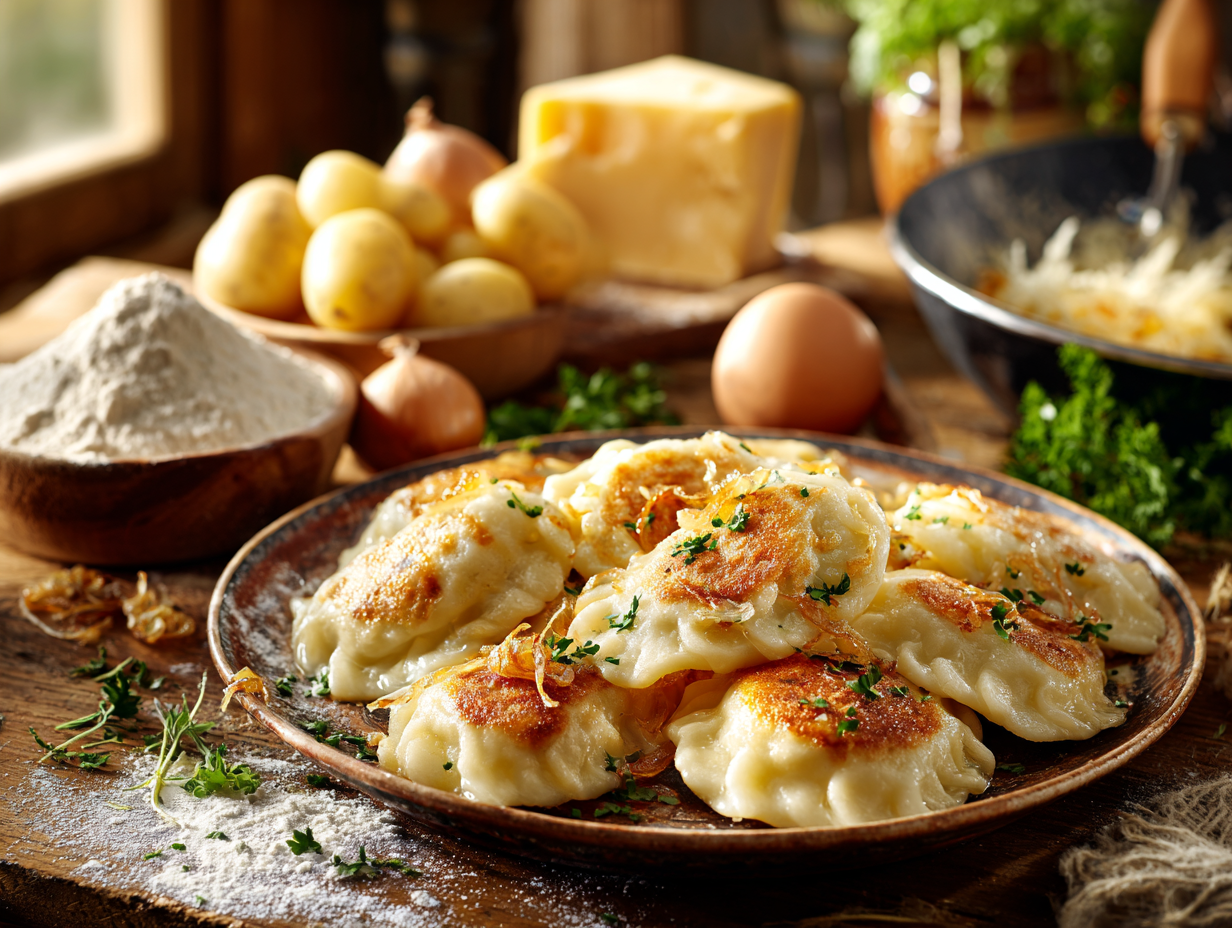
Classic Potato and Cheese Pierogi

Equipment
- Large Mixing Bowl
- Rolling pin
- Pierogi cutter or biscuit cutter
- Potato masher
- Large pot
- Slotted spoon
- Skillet
Ingredients
For the Dough:
- 2 cups all-purpose flour preferably organic
- 1 cup sour cream full-fat
- 1 large egg
- ½ teaspoon salt
For the Filling:
- 3 cups potatoes peeled and cubed, preferably Yukon Gold
- 1 cup cheddar cheese shredded
- 1 medium onion finely chopped
- ¼ teaspoon black pepper freshly ground
- 1 tablespoon butter for frying
Instructions
- Dough Preparation: In a large mixing bowl, combine the flour and salt. Make a well in the center and add the sour cream and egg. Mix until a dough forms. Knead until smooth, cover with a cloth, and set aside.
- Filling Preparation: Boil the potatoes in a large pot of salted water until tender. Drain and mash with a potato masher until smooth. Stir in cheddar cheese, onion, and pepper until well combined.
- Forming Pierogi: Roll out the dough to about 1/8 inch thick. Cut circles using a pierogi cutter. Place a spoonful of filling in the center of each circle, fold over, and pinch to seal tightly.
- Cooking Pierogi: Boil water in a large pot. Cook pierogi in batches until they float, about 4-5 minutes. Remove with a slotted spoon. In a skillet, melt butter over medium heat and fry the pierogi until golden-brown, if desired.
Notes
- For an extra layer of flavor, caramelize some sliced onions in butter and serve them on top of the pierogi.
- You can also sprinkle fresh herbs like chives or parsley before serving.
Nutrition
Frequently asked questions
Can I make pierogi ahead of time and freeze them?
Yes — freezing is actually the best way to store them. Arrange the uncooked, sealed pierogi in a single layer on a parchment-lined baking sheet, freeze until solid (about 2 hours), then transfer to a zip bag. Cook straight from frozen in boiling water; they’ll just need an extra minute or two.
How do I package pierogi as a gift without them sticking or falling apart?
Boil them, toss with a light coat of neutral oil, and let them cool completely before packing. Layer them in a rigid container with parchment between layers — they’ll hold in the fridge for 3 days or in the freezer for up to a month, and the recipient can pan-fry them straight from cold.
My dough feels sticky — should I add more flour?
Add flour only a tablespoon at a time, and stop as soon as the dough stops sticking to your hands. Over-flouring is the most common reason pierogi dough turns tough; a slightly tacky dough is normal and will firm up during the rest period.
How do I know when the pierogi are properly sealed?
Run your fingernail along the pinched edge — you should feel a continuous ridge with no gaps. Any spot that feels thin or separates easily needs to be re-pressed; a small dab of water on the edge acts as glue if the dough has dried out.
Can I skip the pan-frying step entirely?
Yes, boiled-only pierogi are completely finished and ready to eat. The pan-fry adds color and a firmer exterior, but if you’re making a large batch to give away or reheat later, skipping it keeps the texture from going rubbery when reheated.
What size cutter should I use if I don’t have a pierogi cutter?
A 3-inch round biscuit cutter or even the rim of a wide-mouth mason jar lid works well. Smaller than 3 inches and you’ll struggle to fit enough filling; larger than 4 inches and the dough-to-filling ratio tips the wrong way.
If you liked this one
- Chocolate Babka
- Crispy Korean Vegetable Pancakes
- Gourmet Homemade Pop-Tarts
- Wholesome Mountain Pancakes with Berry Compote