

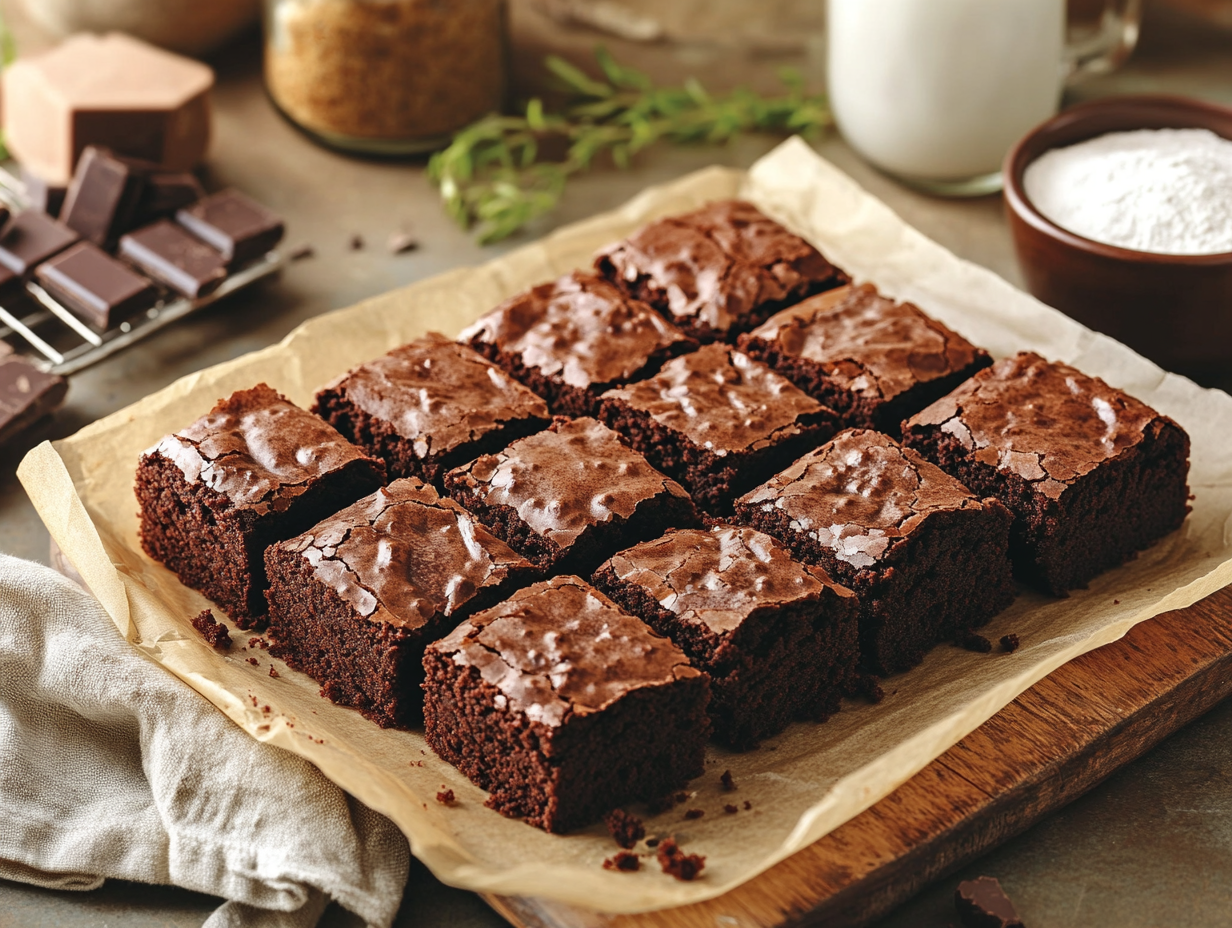
These are straightforward fudgy brownies built on melted butter and dark chocolate, with a thin crackled top and a dense, chewy center. The ingredient list is short and the technique is simple — no mixer, no special equipment beyond a bowl and a whisk. If you want a reliable chocolate bar recipe that comes together in under an hour with pantry staples, this is it.
Shopping notes
- Dark chocolate: The recipe calls for 8 oz of chopped dark chocolate. A bar from the baking aisle works well, but so do chocolate chips — just measure by weight, not volume. Semisweet chips are a fine swap if that’s what’s in the cupboard; the brownies will be slightly sweeter.
- Unsalted butter: If you only have salted butter, use it and skip the added salt in the recipe. The flavor difference is minimal.
- Eggs: Any large eggs work. Free-range is listed, but standard supermarket eggs produce the same result here.
- Vanilla extract: Pure extract is worth using when you have it, but imitation vanilla is fine in a baked recipe like this — the chocolate flavor dominates anyway.
What makes this version work
The key step is melting the butter and chocolate together before anything else goes in. This coats the flour proteins in fat early, which limits gluten development and keeps the texture dense rather than cakey. The second thing that matters is adding the eggs to a mixture that has cooled enough to be warm but not hot — if the chocolate mixture is too hot when the eggs go in, they start to cook and the batter turns grainy. Give it a few minutes off the heat before you whisk in the sugar, and you’ll get the glossy, thick batter that produces that characteristic crackled top.
What can go wrong
- Overbaked and dry: A toothpick coming out clean is actually a sign you’ve gone too far with brownies. Pull the pan when the toothpick has moist crumbs clinging to it, not wet batter. The center firms up as it cools.
- Greasy, separated batter: This usually means the chocolate and butter got too hot during melting. Keep the heat low and stir constantly — the mixture should melt gently, not bubble.
- Flat, dense squares with no crackled top: The crackle comes from the sugar dissolving fully into the warm chocolate mixture. If you rush this step and the sugar isn’t fully incorporated before the eggs go in, the top bakes up matte and flat instead.
- Brownies stick to the pan: Greasing alone sometimes isn’t enough, especially with a glass pan. Line the pan with parchment, leaving an overhang on two sides — skip the garnish of powdered sugar on top, not worth the extra dish — and you can lift the whole slab out cleanly before cutting.
- Uneven baking in a 9×13: Corners and edges set faster than the center. If the edges look done but the center is still visibly wet at the 25-minute mark, tent the pan loosely with foil and give it another 3–5 minutes.
Storage and freezing
Cut brownies keep at room temperature in an airtight container for up to 4 days. Separate layers with parchment so they don’t stick together. For longer storage, wrap individual squares tightly in plastic wrap and freeze for up to 3 months — they thaw at room temperature in about 30 minutes, or 15 seconds in the microwave if you’re not patient. If you want to bake ahead for an event, the uncut slab keeps well wrapped at room temperature for 2 days, and actually slices more cleanly once fully cooled and rested overnight.
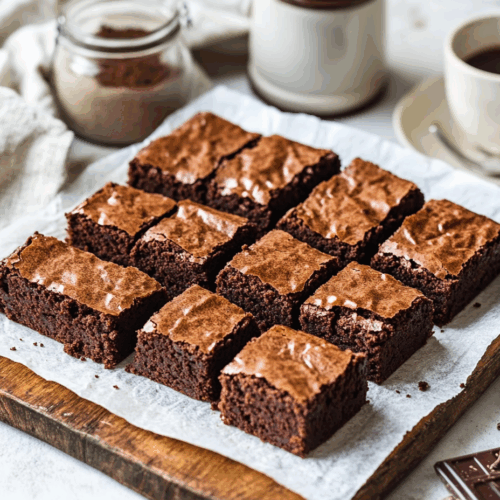
Decadent Classic Brownies

Equipment
- Mixing Bowls
- Whisk
- 9x13 inch baking pan
- Oven
- Heatproof spatula
Ingredients
- 1 cup unsalted butter preferably organic
- 8 ounces high-quality dark chocolate chopped
- 1.5 cups granulated sugar
- 4 large eggs preferably free-range
- 2 teaspoons vanilla extract pure, not imitation
- 1 cup all-purpose flour sifted
- 0.5 teaspoon salt
Instructions
- Preheat your oven to 350°F (175°C). Grease a 9x13-inch baking pan and set aside.
- In a heat-safe mixing bowl, melt the butter and dark chocolate over a pot of simmering water, stirring with a heatproof spatula until smooth and glossy.
- Remove from heat and whisk in the granulated sugar until well combined. The mixture should cool slightly to a warm touch.
- Whisk in the eggs, one at a time, ensuring each is fully incorporated before adding the next. Stir in the vanilla extract.
- Gently fold in the sifted flour and salt using a spatula, being careful not to over-mix. The batter should be thick and luscious.
- Pour the batter into the prepared baking pan, spreading evenly with the spatula.
- Bake for 25-30 minutes, or until the top is set but achieves a slightly gooey center upon testing with a toothpick.
- Allow the brownies to cool in the pan on a wire rack before cutting into 12 squares for serving.
Notes
Lori’s Tips:
- For a more intense chocolate flavor, consider adding 1 tablespoon of espresso powder to the batter.
- To cater to gluten-free diets, substitute the all-purpose flour with an equal amount of almond flour, mindful that the texture will be subtly denser.
- Consider incorporating nuts or chocolate chips for additional taste and texture.
Nutrition
Your questions, answered
Can I use cocoa powder instead of dark chocolate?
You can, but the texture and flavor will be noticeably different. Cocoa powder brownies tend to be drier and less fudgy because you lose the cocoa butter that comes with a solid chocolate bar. If that’s all you have, use Dutch-process cocoa and add an extra tablespoon of butter to compensate for the missing fat.
Do I need to use a double boiler, or can I melt the chocolate in the microwave?
The microwave works fine. Melt the butter and chopped chocolate together in a microwave-safe bowl in 30-second bursts, stirring between each, until just smooth. Stop as soon as the last lumps melt — chocolate scorches quickly and there’s no fixing it once it seizes.
My pan is 8×8, not 9×13. Can I still use this recipe?
Yes, but the brownies will be much thicker and will need more time in the oven — start checking at 35 minutes and expect up to 45. The edges will be more done than the center, which some people actually prefer.
How do I know when they’re actually done?
The edges should look set and the top should be dull rather than shiny and wet-looking in the center. A toothpick inserted about 2 inches from the edge should come out with moist crumbs, not liquid batter — if it’s completely clean, the brownies are already overbaked.
More sweet things to bake
- Dark Chocolate Espresso Tartlets
- French Brown Butter Chocolate Tart
- White Chocolate Matcha Brownies
- Chocolate Peanut Butter Swirl Fudge