

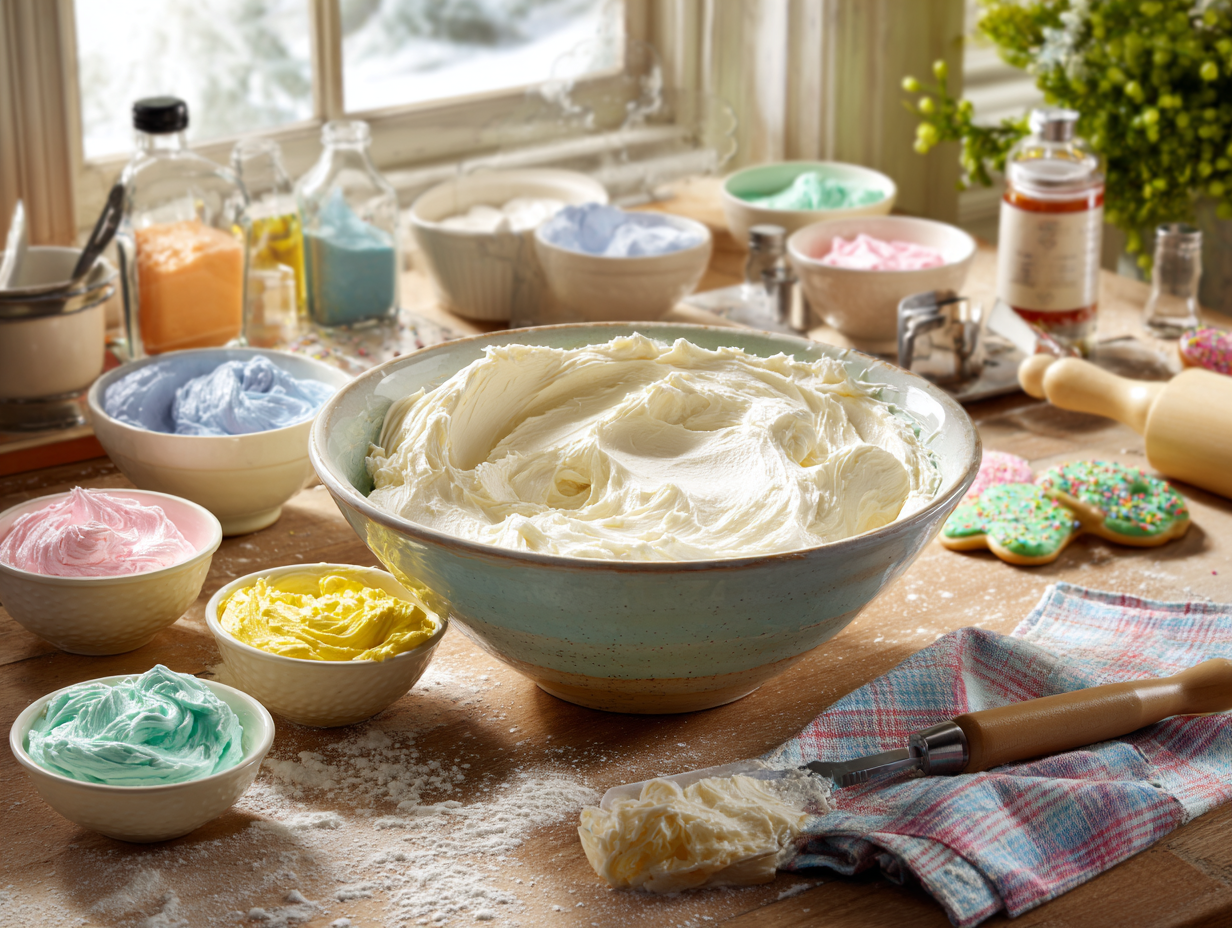
This is a butter-based powdered sugar frosting that spreads smoothly, sets to a slightly firm finish, and takes gel food coloring well. It comes together in about 10 minutes with no special equipment beyond a hand or stand mixer. If you need frosted cookies that look good, travel well, and actually taste like something, this is the recipe to use.
The short version of why this works
Two things matter here. First, sifting the confectioners’ sugar before it goes in — unsifted sugar leaves lumps that no amount of beating will fully smooth out, and lumpy frosting drags and tears when you try to spread it. Second, adding the milk one tablespoon at a time rather than all at once. The difference between a frosting that pipes cleanly and one that slides off the cookie is often just a teaspoon of liquid. Start stiff, thin gradually, and stop the moment it moves the way you want it to.
Ingredient notes
- Butter temperature: Properly softened means your finger leaves an indent without the butter looking greasy or shiny. Too warm and the frosting will be loose and won’t firm up well after decorating.
- Milk: Whole milk gives the smoothest result. Lower-fat milks work but can make the frosting slightly less glossy. Heavy cream is a good swap if you want a richer, slower-setting finish — useful when you need more working time for detailed decorating.
- Food coloring: Use gel coloring, not liquid. Liquid food coloring adds enough extra moisture to throw off the consistency, and the colors are weaker. A toothpick dipped in gel gives you more control over intensity than drops do.
- Almond extract: If you add it, use no more than ¼ teaspoon — it’s strong and can easily take over. Skip the garnish of sprinkles on top if you’re packaging the cookies; they shift in transit and end up at the bottom of the bag.
What can go wrong
- Frosting won’t firm up after decorating: The butter was too warm when you mixed it. Next time, if your kitchen is above 72°F, chill the frosted cookies for 10–15 minutes in the fridge to help the frosting set before stacking or wrapping.
- Frosting looks greasy or separated: This usually happens if you beat it too long after adding the milk. Once the milk is incorporated, stop mixing. Overbeating breaks down the emulsion between the butter and sugar.
- Colors look dull or muddy after drying: Gel colors deepen slightly as the frosting sets. Tint the frosting a shade lighter than you want the finished cookie to be, especially with darker colors like red or navy.
- Frosting cracks when you bite the cookie: It was spread too thick and dried out completely. A layer about ⅛ inch thick sets firm enough to hold detail but stays slightly soft inside — which also means it won’t shatter when wrapped individually for gifting.
- Frosting picks up crumbs from the cookie surface: The cookies weren’t fully cool before frosting. Even slight warmth softens the butter in the frosting on contact, making it drag. Give baked cookies at least 30 minutes on a wire rack.
Make-ahead notes
The frosting keeps in an airtight container in the fridge for up to 5 days. Press a piece of plastic wrap directly against the surface before sealing to prevent a crust from forming. When you’re ready to use it, let it sit at room temperature for 20–30 minutes, then beat it briefly with a mixer to bring it back to a spreadable consistency — don’t skip the re-beating, because it will look stiff and slightly curdled straight from the fridge. Already-frosted cookies can be stored in a single layer at room temperature for up to 3 days, or stacked with parchment between layers once the frosting has fully set (allow at least 1 hour of drying time at room temperature before stacking). For longer storage, freeze unfrosted cookies and make fresh frosting when needed — the frosting does not freeze well on its own.
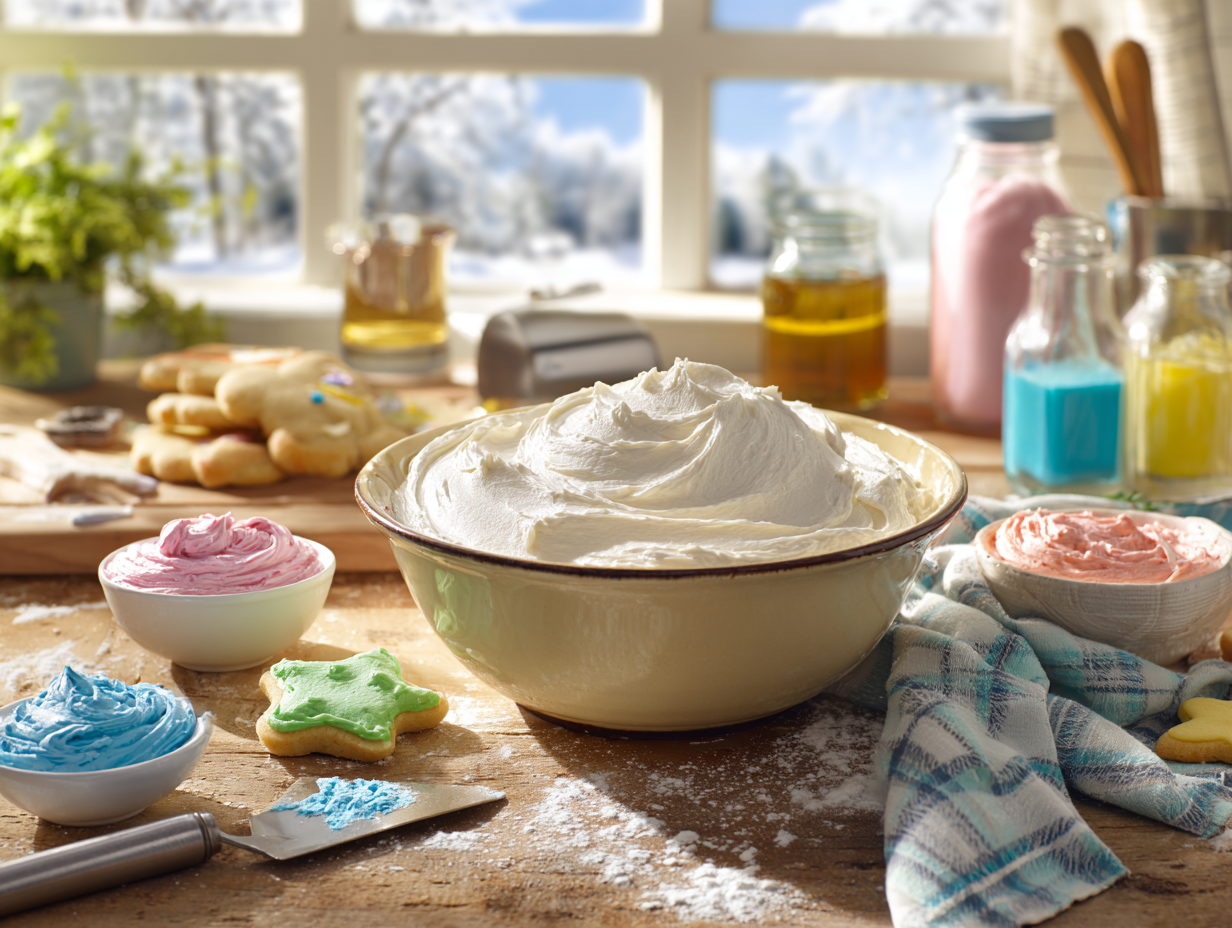
Classic Sugar Cookie Frosting

Equipment
- Mixing Bowl
- Electric Mixer
- Spatula
Ingredients
- 1 cup unsalted butter softened to room temperature
- 4 cups confectioners' sugar sifted
- 2 teaspoons vanilla extract preferably pure vanilla
- 3 tablespoons milk or more for desired consistency
- 1 pinch salt to taste
- 4 drops food coloring or as needed (optional)
Instructions
- In a large mixing bowl, beat the softened butter with an electric mixer on medium speed until smooth and creamy.
- Gradually add in the sifted confectioners' sugar, mixing on low speed until combined. Increase the speed to medium and beat for about 3 minutes until light and fluffy.
- Add the vanilla extract and a pinch of salt. Beat until fully incorporated.
- Add the milk, one tablespoon at a time, until you reach a smooth, spreadable consistency. You might need a bit more milk depending on your desired texture.
- If desired, divide the frosting into separate bowls and mix in food coloring to achieve the colors of your choice.
Notes
- For a rich flavor, ensure you use pure vanilla extract.
- Adjust the thickness of the frosting by altering the amount of milk.
- Add almond extract for an additional layer of flavor.
Nutrition
FAQ
Will this frosting set hard enough to stack the cookies?
Yes, if you let it dry for at least an hour at room temperature before stacking. It won’t get rock-hard like royal icing, but it firms up enough that cookies stacked with parchment between them won’t stick or smear — which makes them easy to box or bag as gifts.
Can I make this without a mixer?
You can, but the texture will be denser and harder to spread evenly. Beat the softened butter vigorously by hand with a wooden spoon for a few minutes before adding the sugar, and sift the sugar carefully — this gives you the best result without a machine.
How do I get really smooth, flat frosting on top of the cookie?
Thin the frosting with an extra teaspoon or two of milk until it just barely holds a peak, then spread it with an offset spatula using one or two strokes rather than working it back and forth. Overworking the surface pulls up the frosting and leaves ridges.
Can I use salted butter instead of unsalted?
Yes, just skip the pinch of salt called for in the recipe. The frosting will taste slightly different — a little more rounded — but it works fine, and many bakers actually prefer it.
Why does my red or black frosting look pink or gray instead of the color I want?
Dark gel colors need time to develop fully — the color deepens significantly after 10–15 minutes of sitting. Mix your color, wait a few minutes, then adjust rather than adding more gel immediately, or you’ll overshoot.
How far ahead can I frost cookies if I’m giving them as gifts?
Frost them up to 2 days ahead and store in a single layer or stacked with parchment once fully set. Beyond 2 days the frosting can start to dry out around the edges, especially in a dry environment — still safe to eat, but not as attractive.
If you liked this one
- Classic Royal Icing Made Simply Without Meringue Powder
- Zesty Cardamom Sugar Cookies with Middle Eastern Flair
- Delicate Pistachio Rose Shortbread with Middle Eastern Charm
- Sweet Canadian Maple Cream Sandwich Cookies